How To Update Accounts Through Import Feature
There are times when you need to update your customer’s information like their status has changed, or they’ve increased their sales, etc. Badger allows you to update your current accounts in bulk through its Import Feature. This article will walk you through on how this is done.
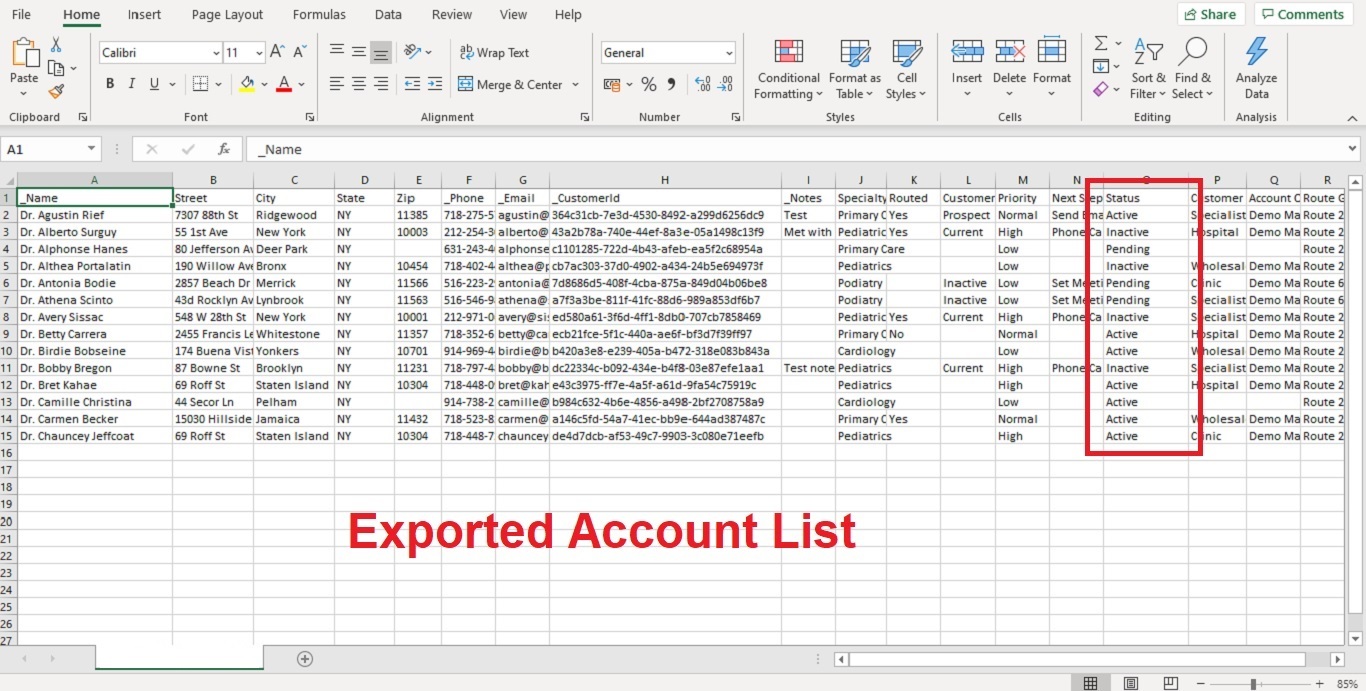
1. The first step is to export your complete account list. Click here if you want to know how to do that.
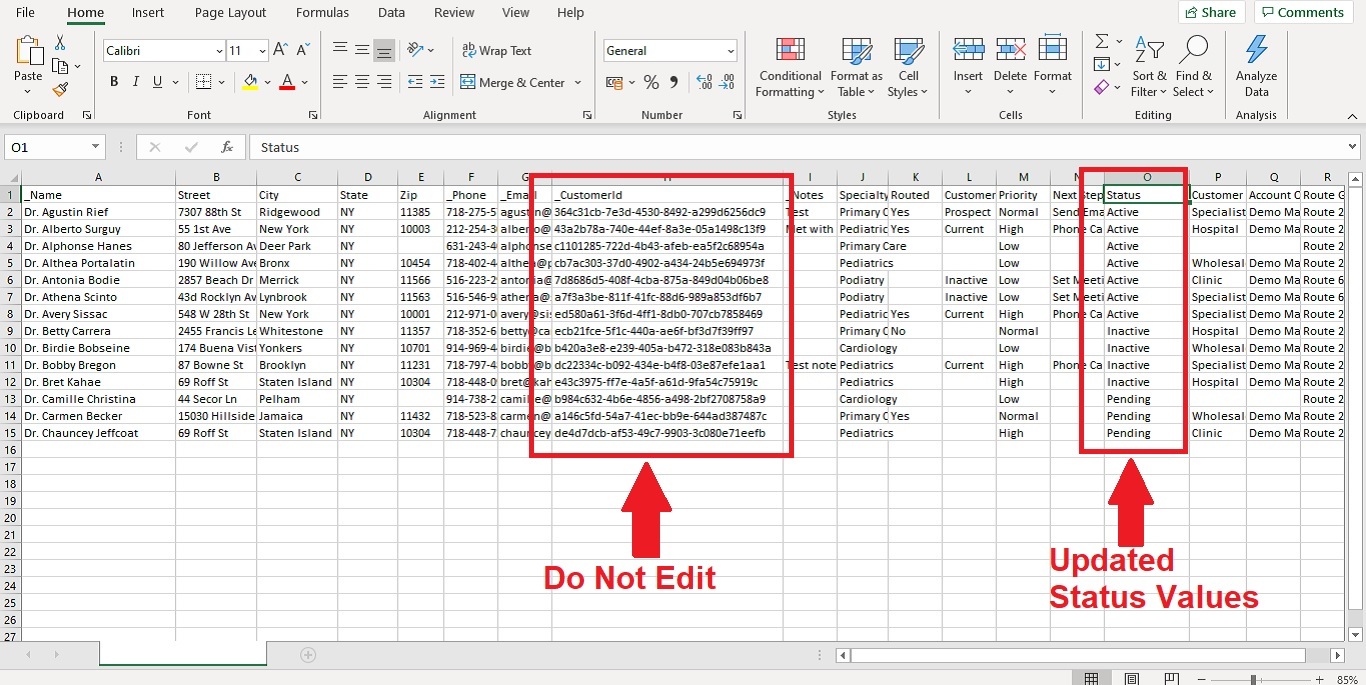
2. Once you have the exported list, go through it, and update the info that needs to be changed. In this example, let’s say you’ll change each accounts’ Status.
Note: Make sure not to touch the _CustomerId column because the app uses it as a reference to each account’s details.


3. If you’re looking to update and add new accounts at the same time, you can either add the new accounts on the exported list and assign Customer IDs, or save it on another file and upload it separately.
4. Once you have the file ready, you can now start importing it. Here are the detailed steps.
That’s it! You just learned how to update your data in Badger Maps. You can also undo your import should you have a change of heart. Click here to learn how to do that.
If you don’t have access to a computer to update and import your spreadsheet, you also have the option to use the Mass Update function in updating your account details within the app. This feature is available on both the web and mobile apps (iPhone and Android).
Also, if you only have one account to update, it's more efficient to manually edit the info right within the app.