News: Now offering a 90-day money-back guarantee!
Learn more
News: Now offering a 90-day money-back guarantee!
Learn moreImporting your customer data into Badger is easy! We have a step-by-step guide that will show you how to do it in less than 4 minutes. Just remember, you can only import your data through the web app.
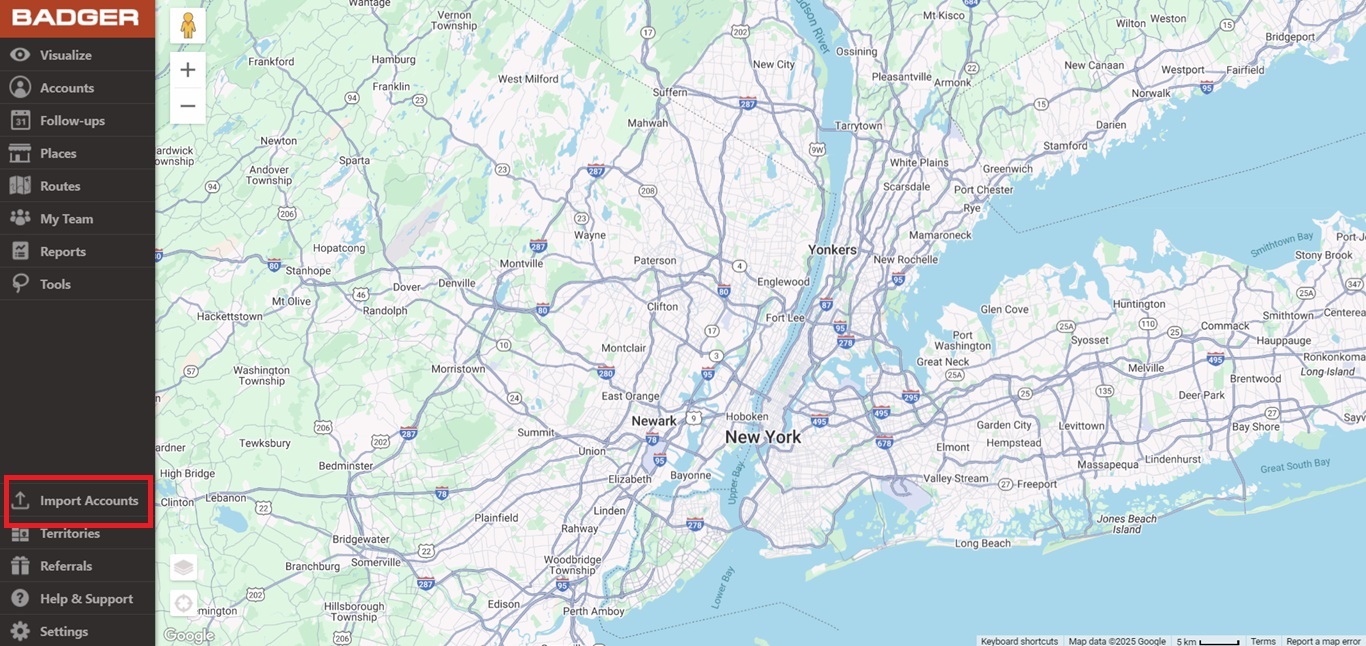
1. Here are three simple ways to start importing your data:
a. Log in to the Badger Maps web app. Then, just click on Import Accounts to get started.
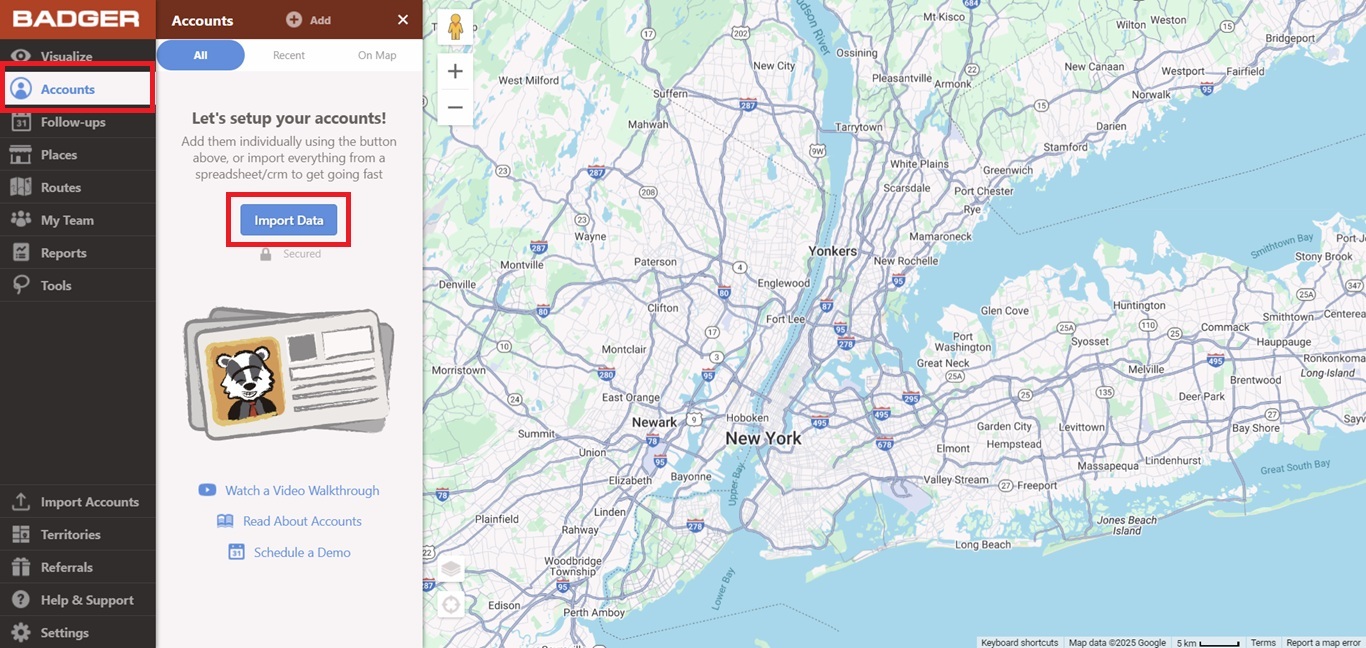
b. If you haven't saved any records yet, don't worry. You can also import your data by going to the Accounts section and selecting Import Data.
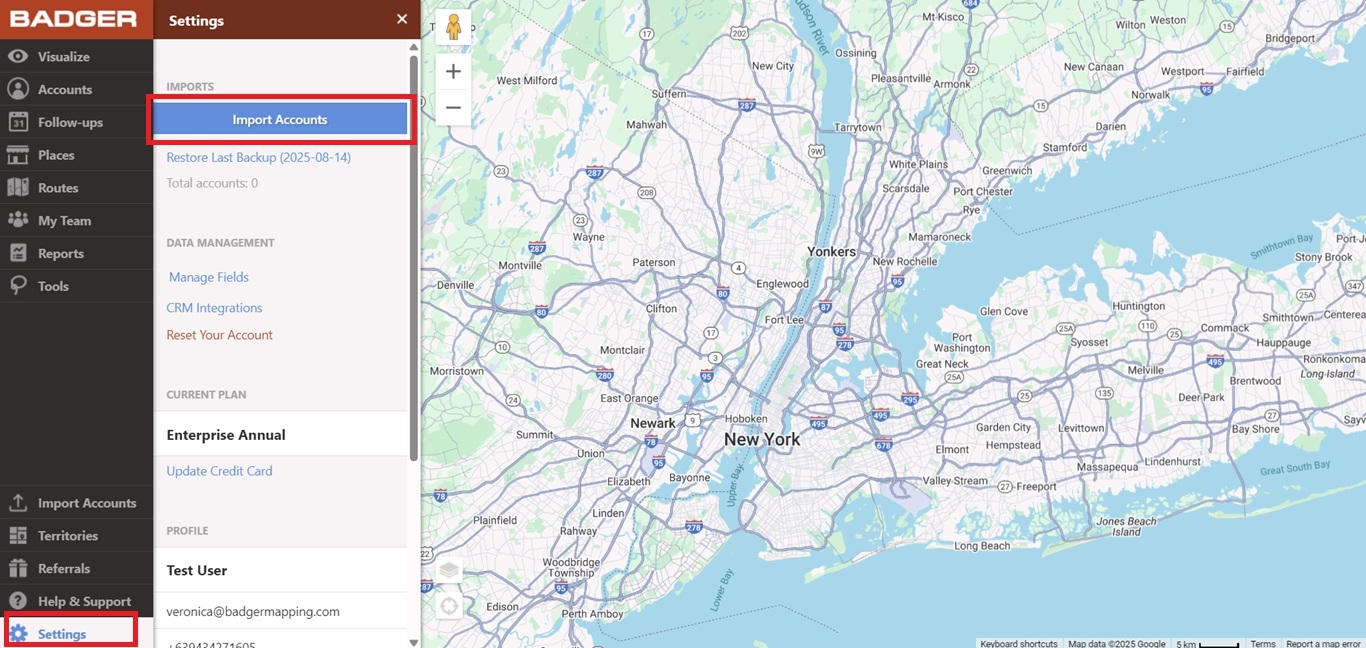
c. Another option is to go to Settings and choose Import Accounts.
Note: To successfully import the data, the file should have more than one entry. If you only have one to add, we recommend manually creating an account instead.
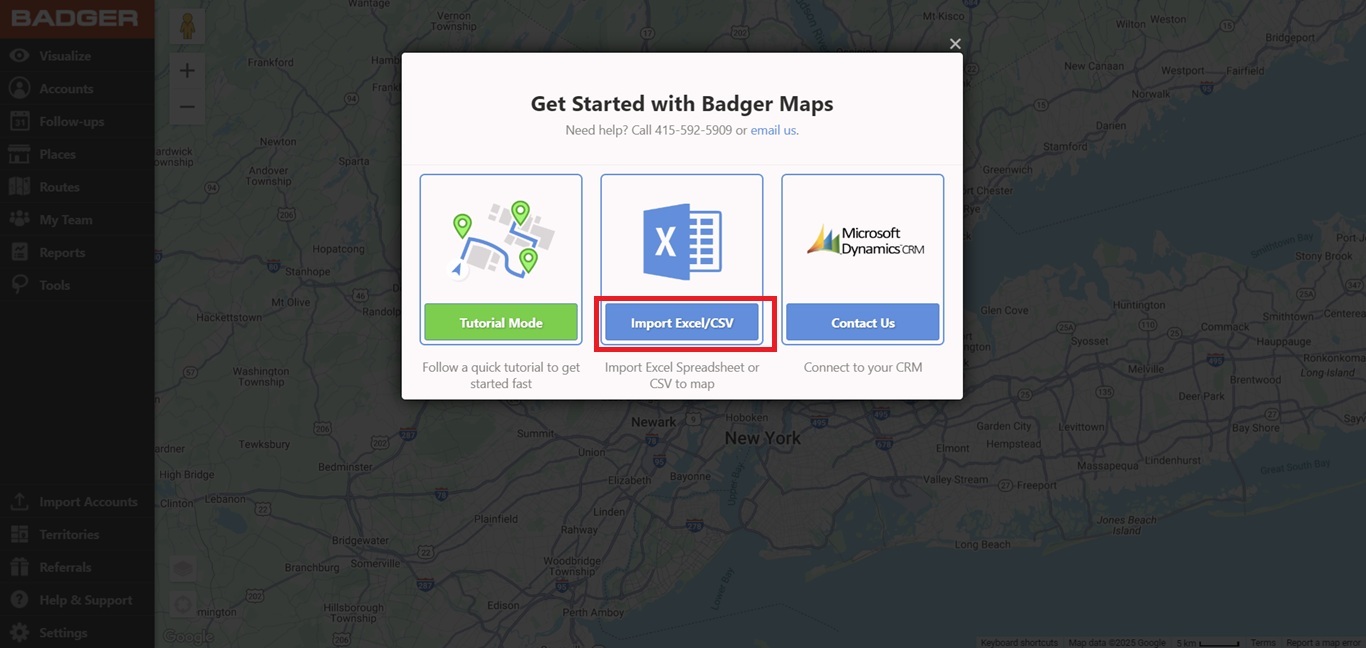
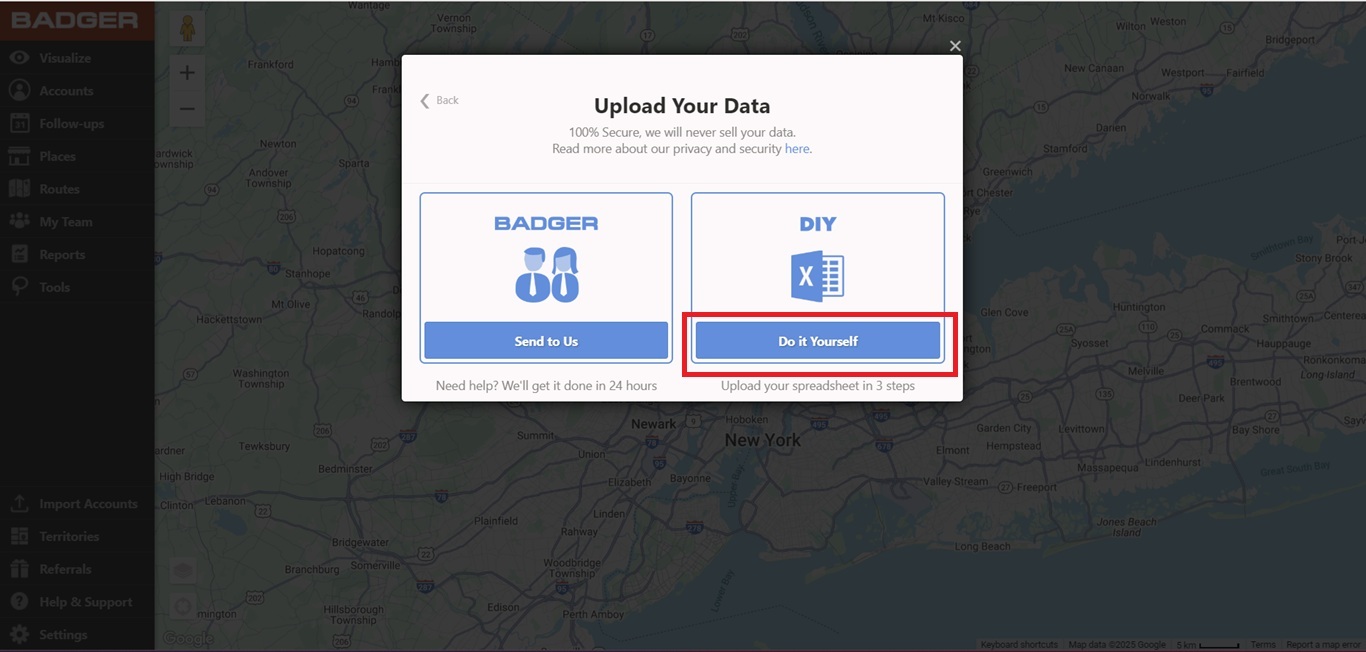
2. Select Import Excel/CSV on the pop-up window.
3. Then select Do it Yourself.
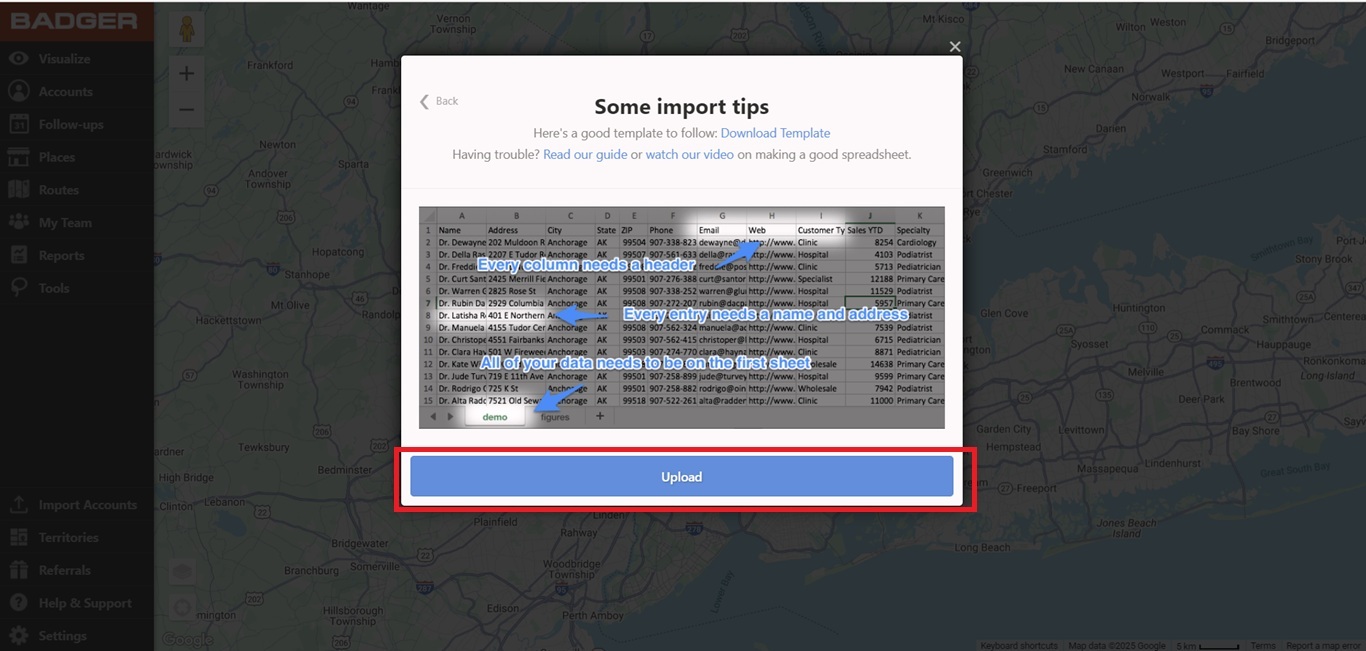
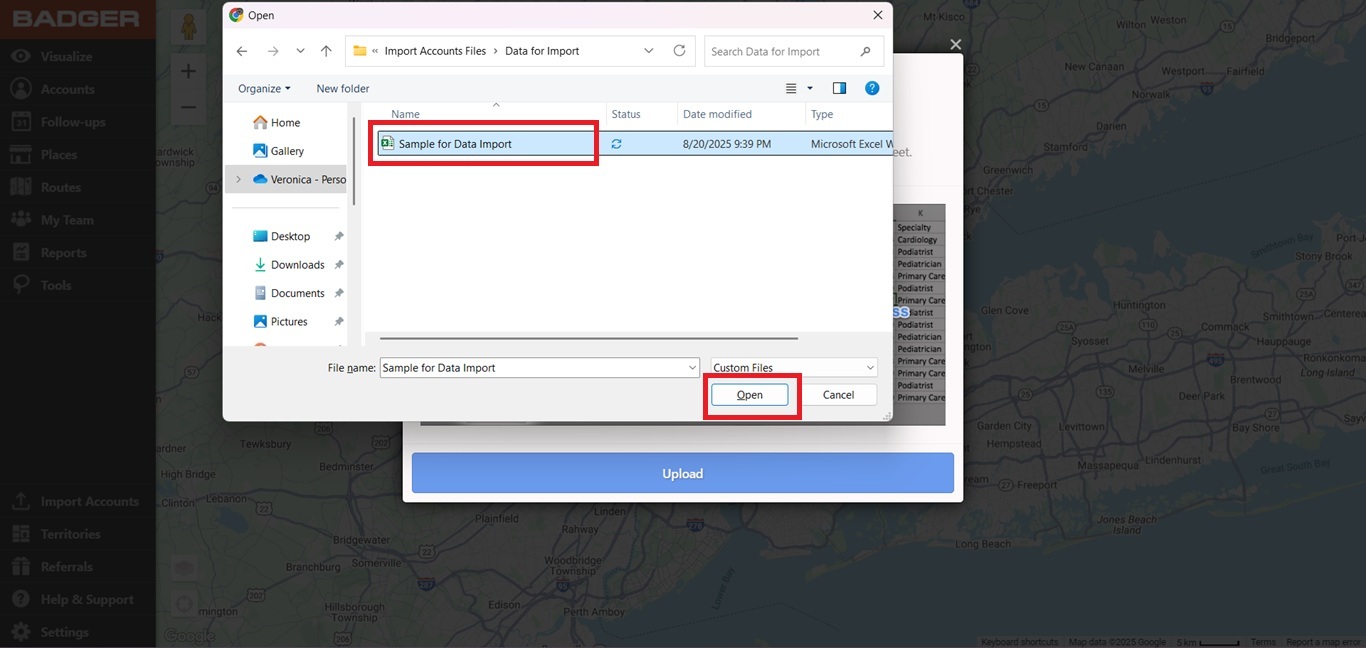
4. Click Upload, choose the Excel or CSV (.xls or .csv) file that you wish to import, and click Open.
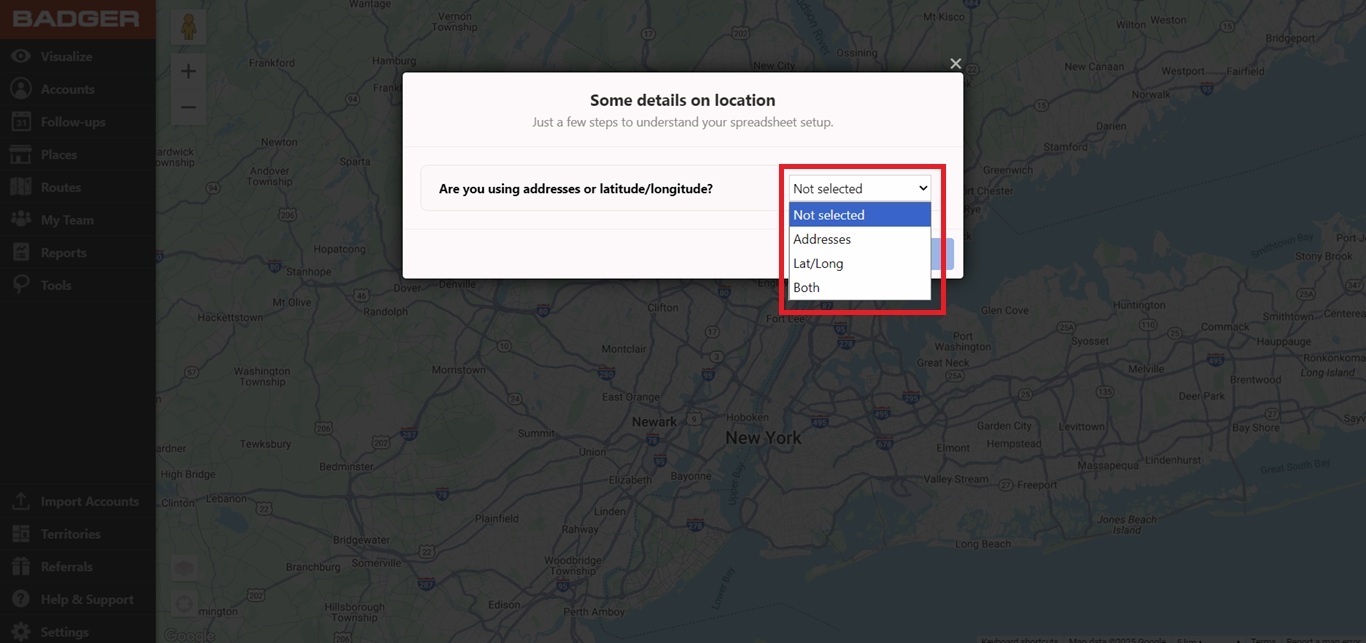
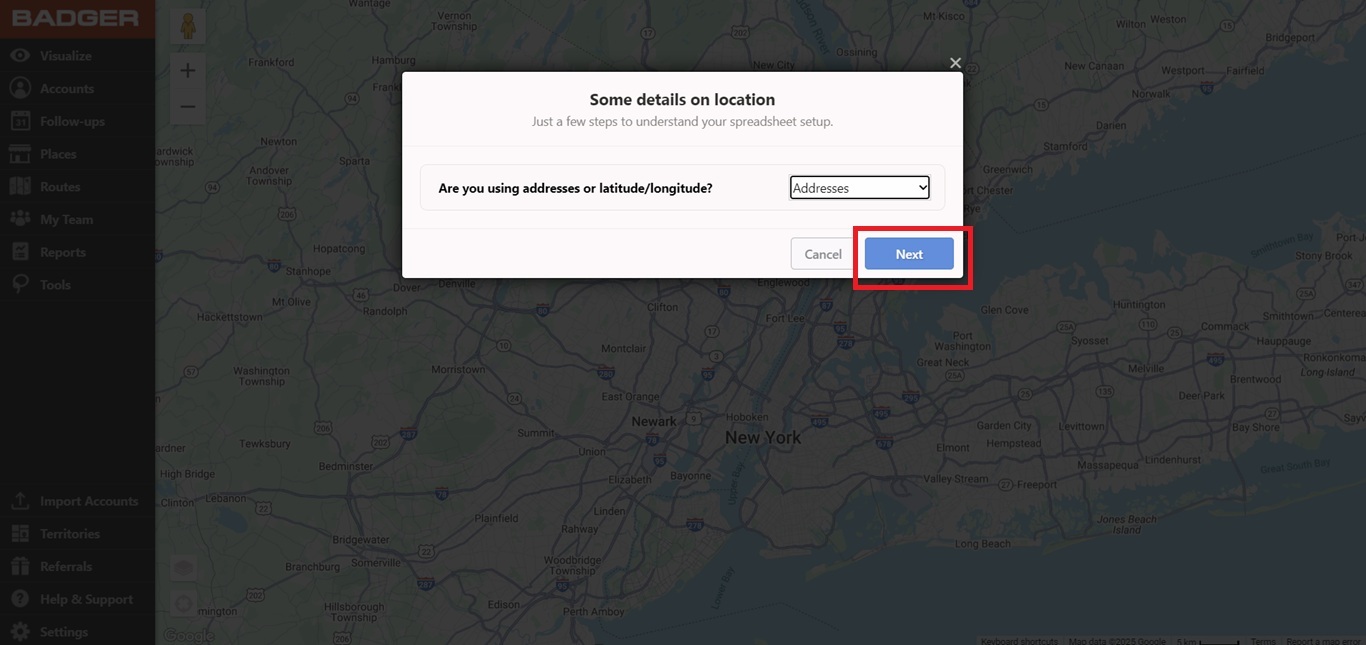
5. The next step is to choose the address details. You can either select Address, Lat/Long, or Both, then hit Next.
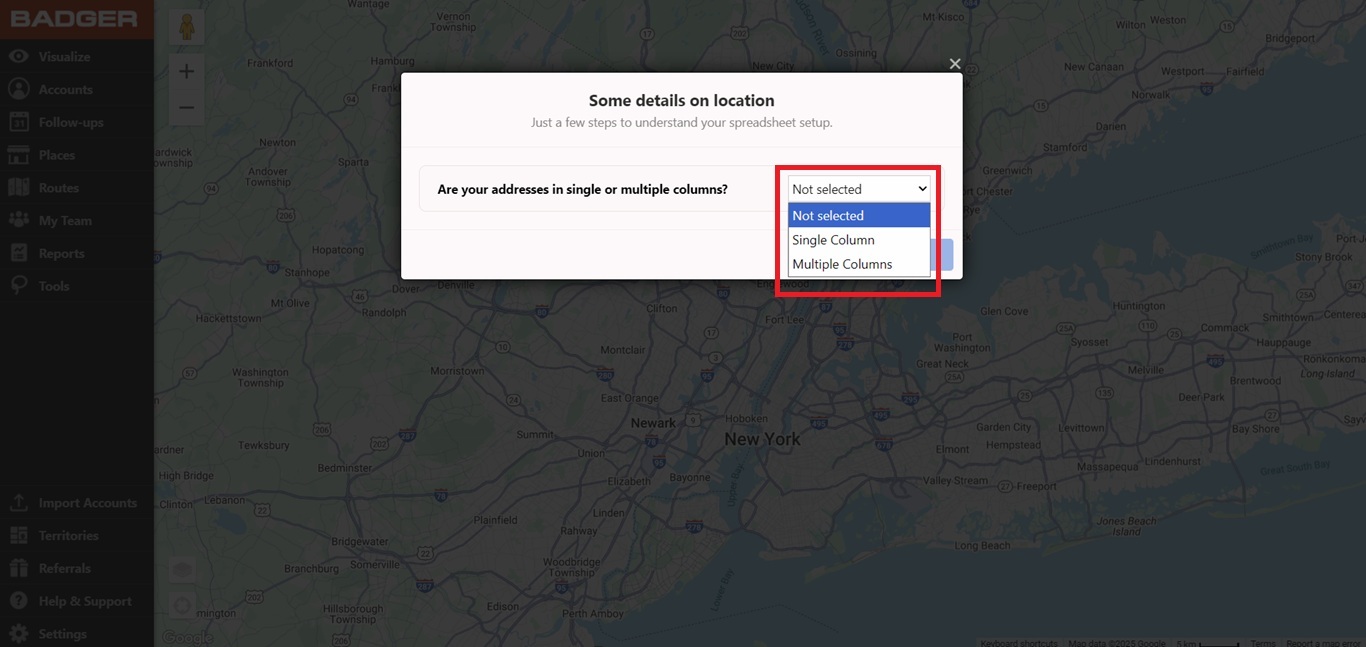
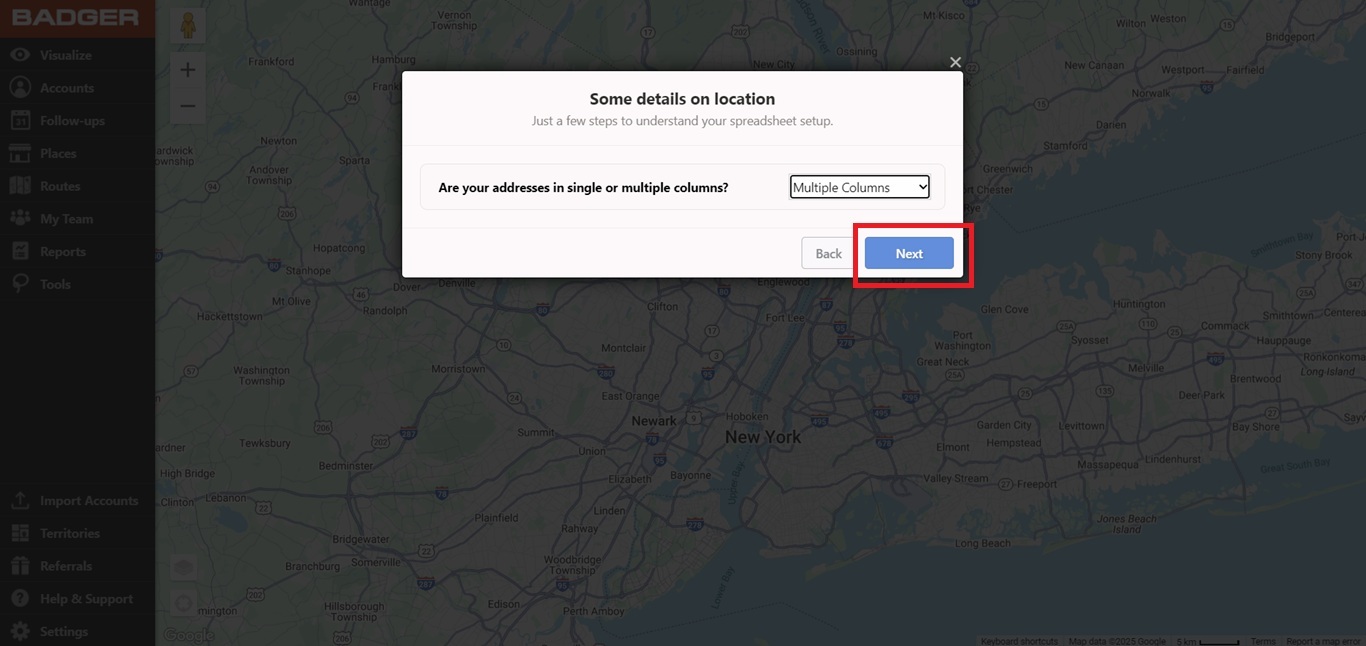
6. If you’re using an Address, you’d need to select whether they’re written in Single or Multiple columns on your spreadsheet. Click Next to proceed to the next step.
Here’s what a single address column looks like:

And here’s what a multiple address column looks like:

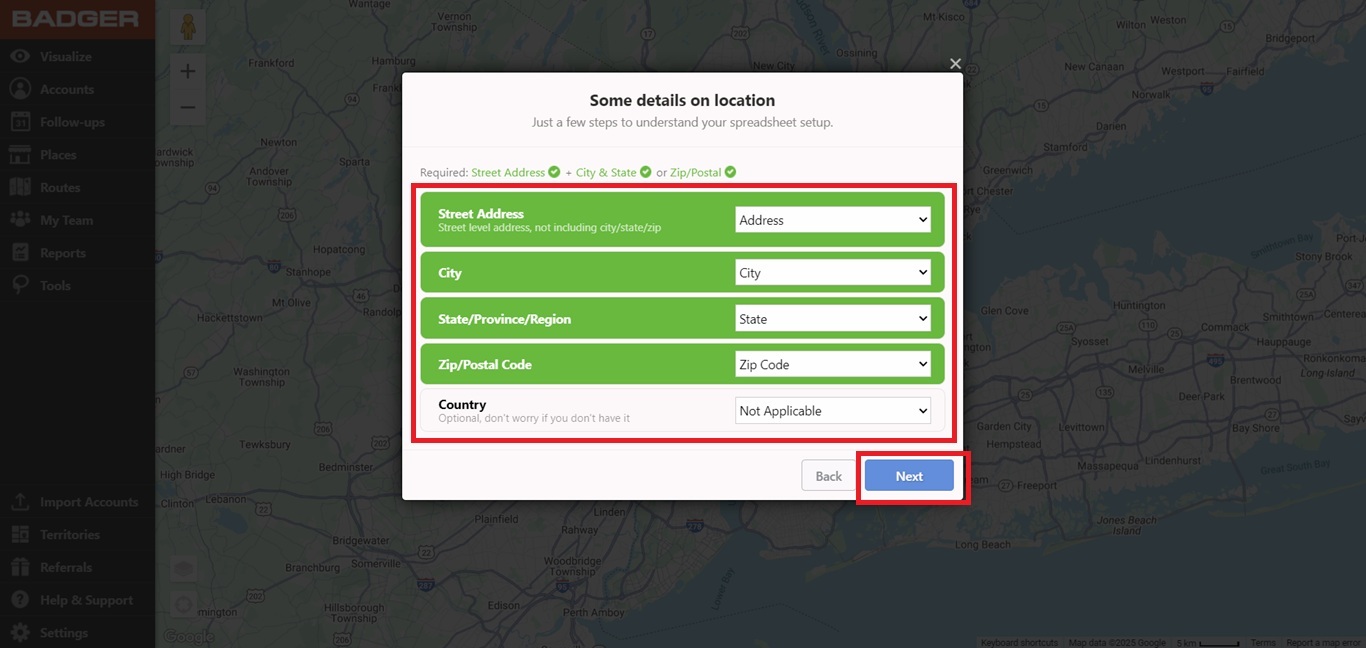
7. Assign the address headers to the appropriate fields. If you don’t have a certain default field, choose Not Applicable from the drop-down list then click on Next.
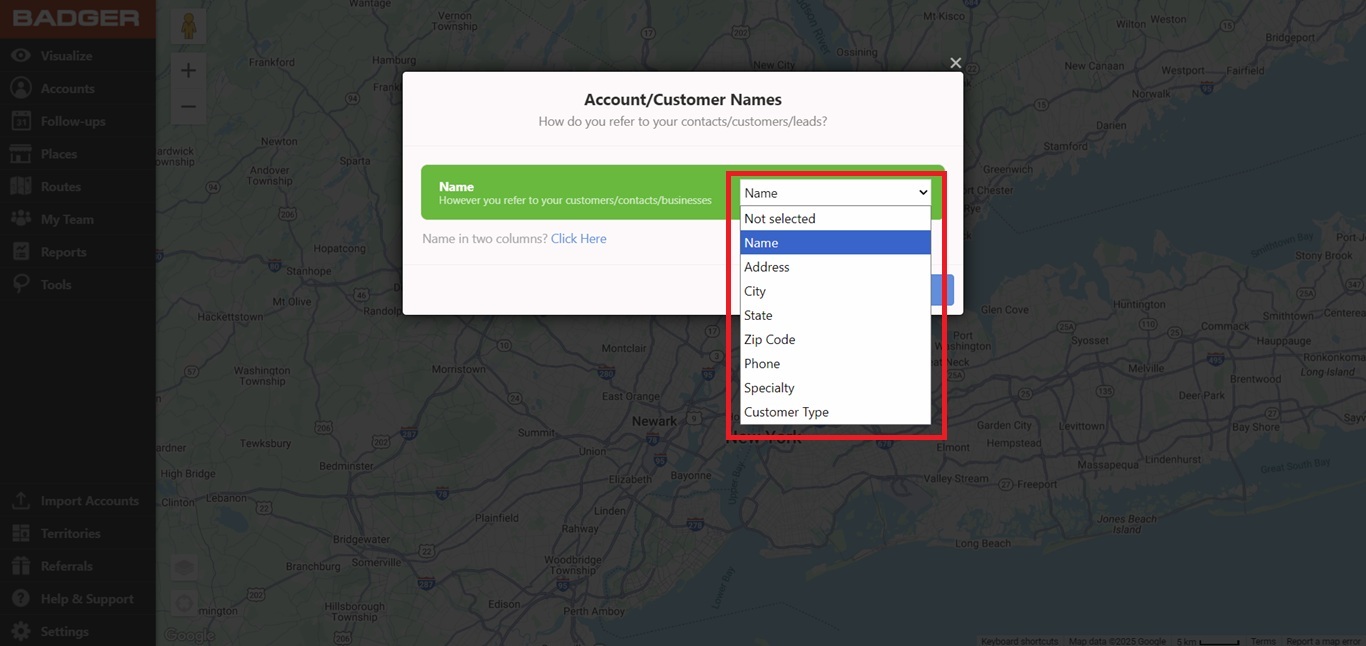
8. The next step will be assigning the info to the right fields. Choose the Account/Customer Name you prefer, and click Next.

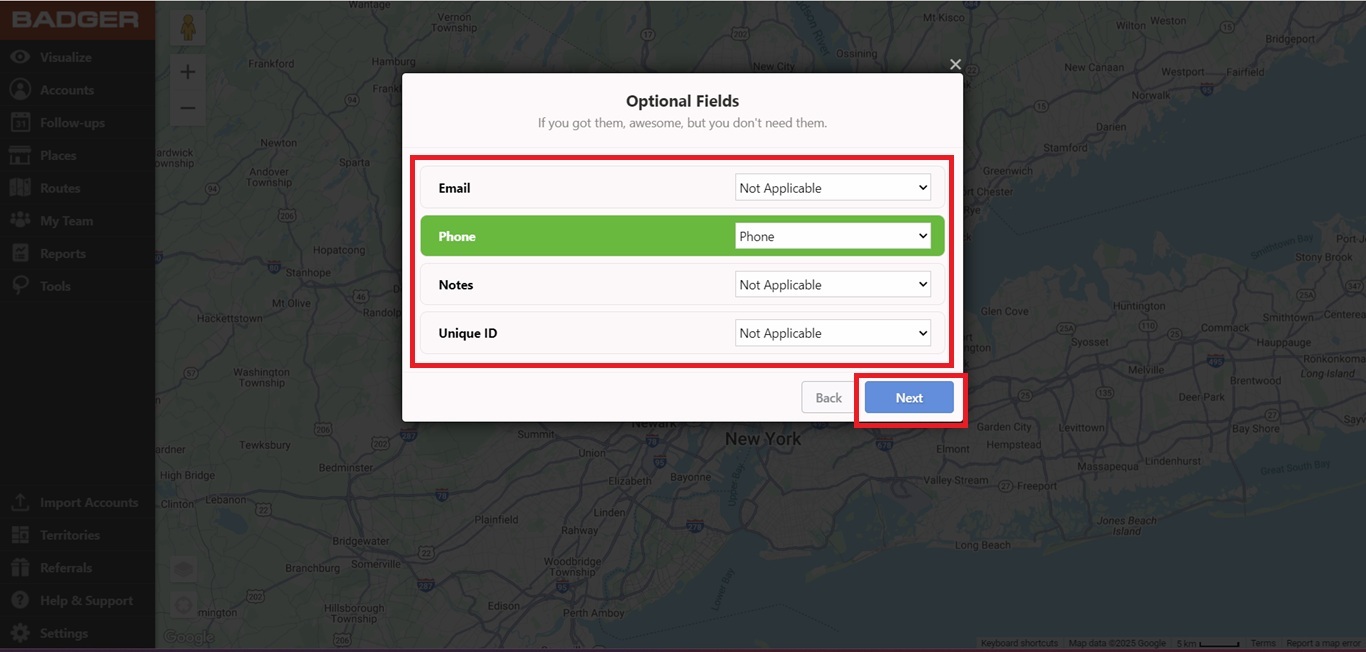
9. The app will also ask you to assign appropriate fields for Phone, Email, Notes, and Unique IDs. You can select Not Applicable from the drop-down list if a field is blank. Click Next after selecting the fields.
Note: The Unique ID is usually required when you update your data by using the Import feature, and you can find more details about it here.
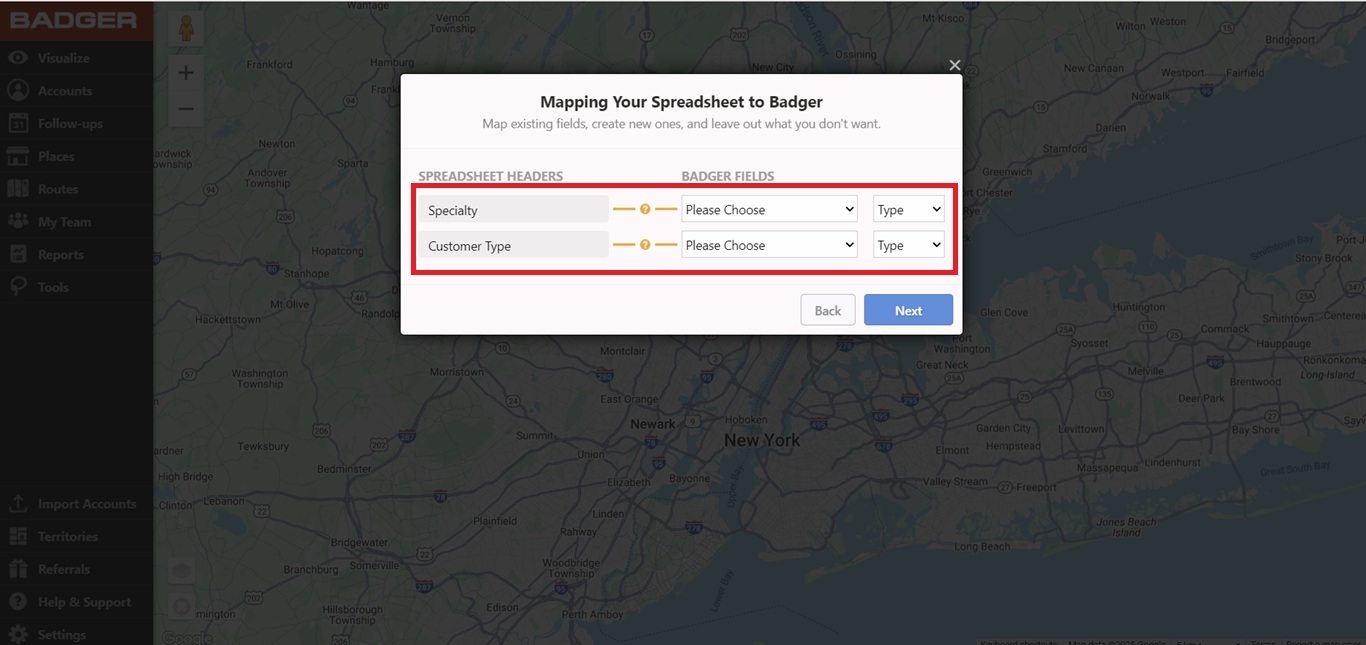
10. After selecting the fields for phone, email, etc., the app will show you a list of your spreadsheet headers. You’d have to choose which of those should be included in the import as custom fields. Please note that you can choose up to 30 custom fields.
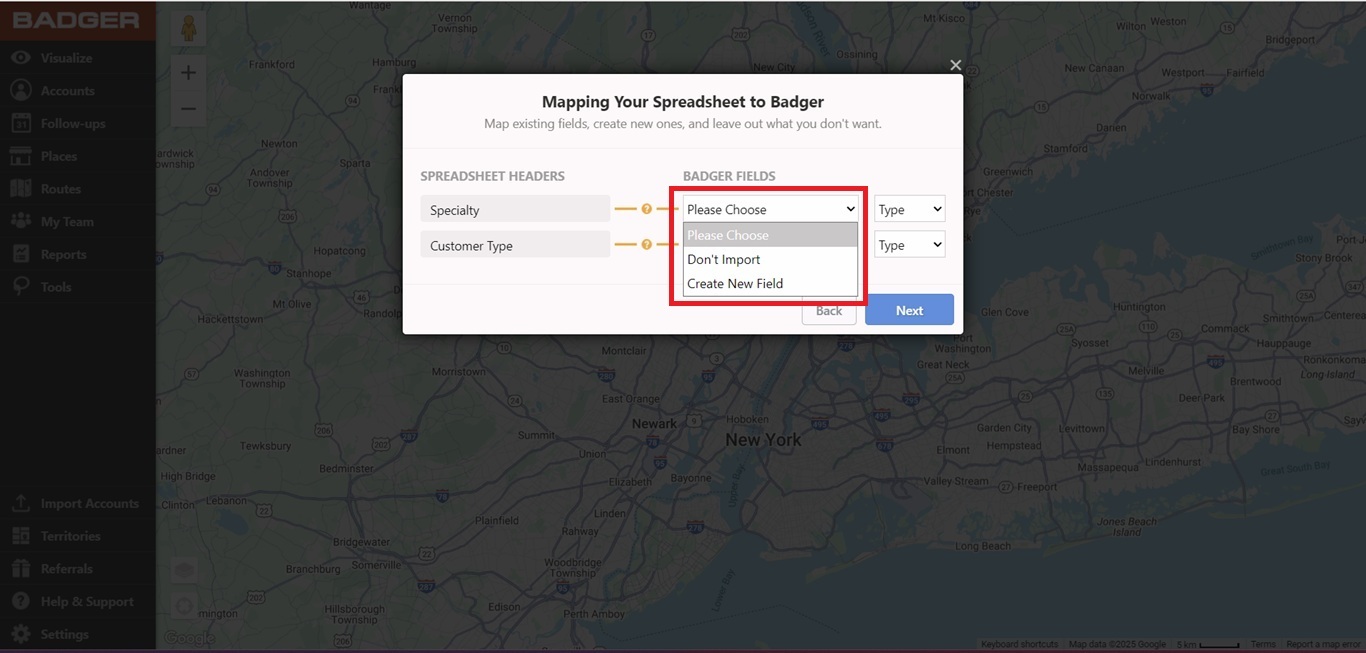
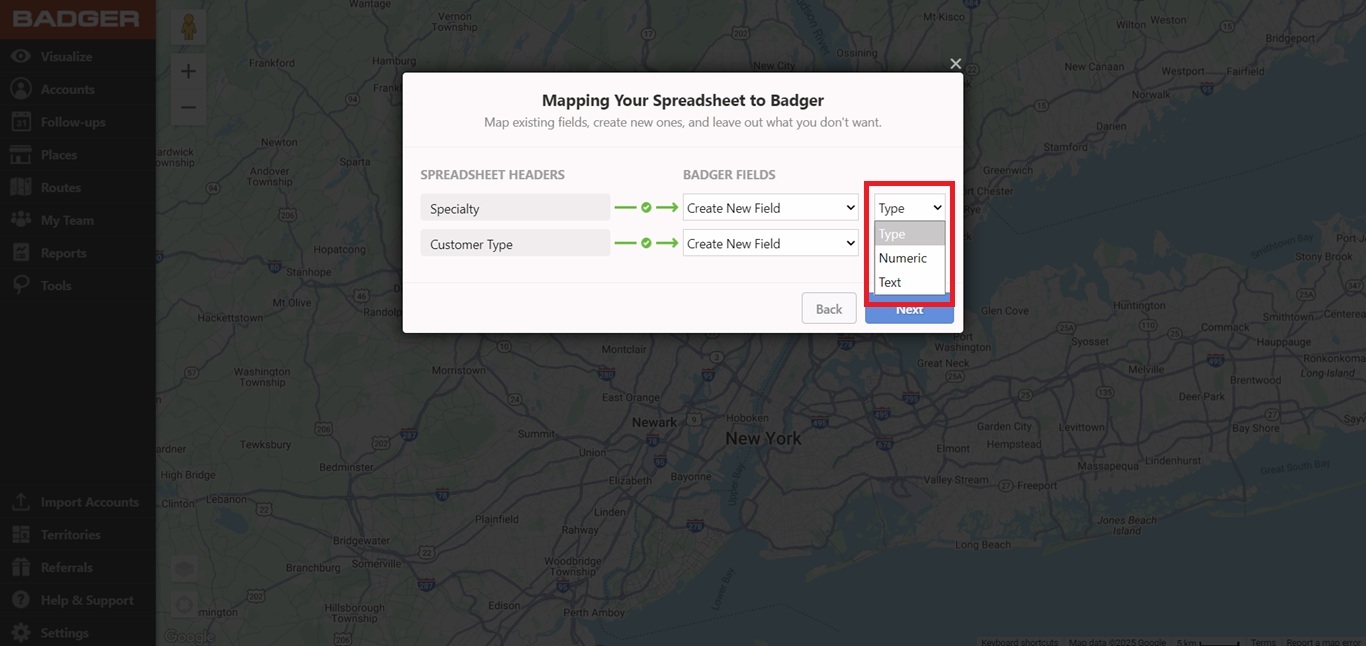
11. To choose, click on each field and select Create New Field if you’d like to include it on the upload. Click Don’t Import if it shouldn’t be included.
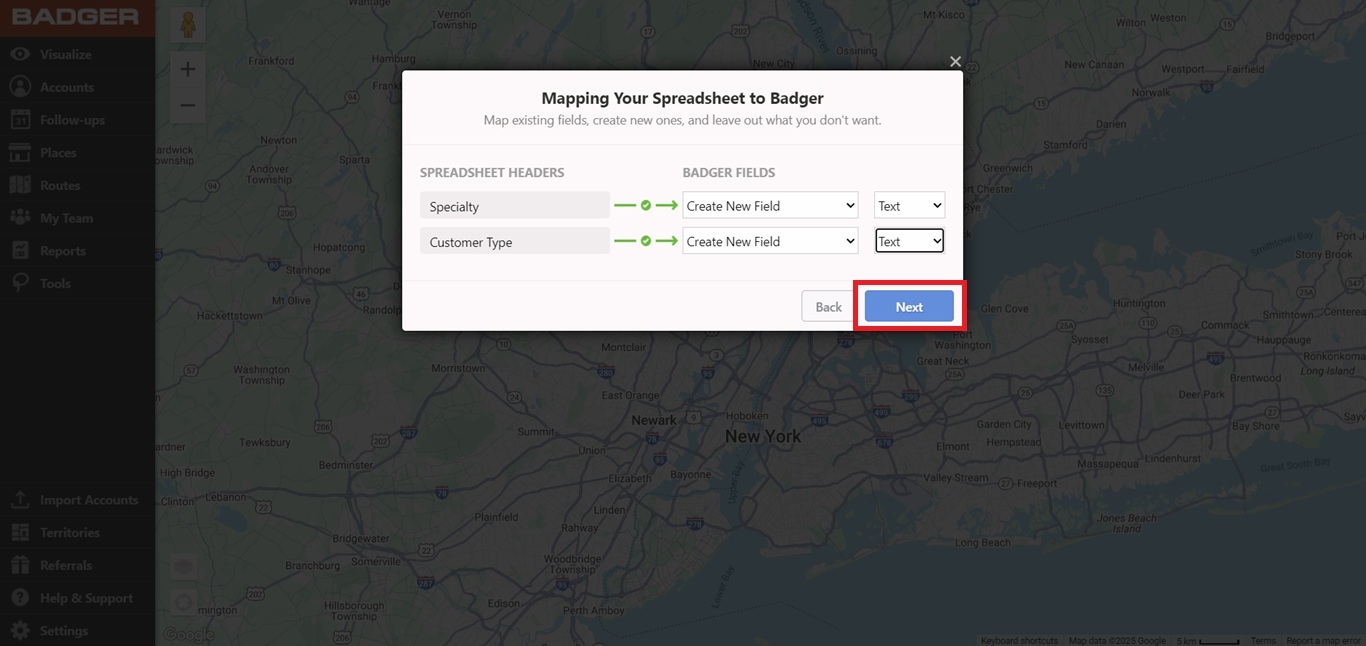
12. Then select if the data on that field should be Text or Numeric. For example, Text field would be used for something like “Specialty”, where a Numeric field would be used for something like, “Sales YTD”. Click Next when you’re done selecting.
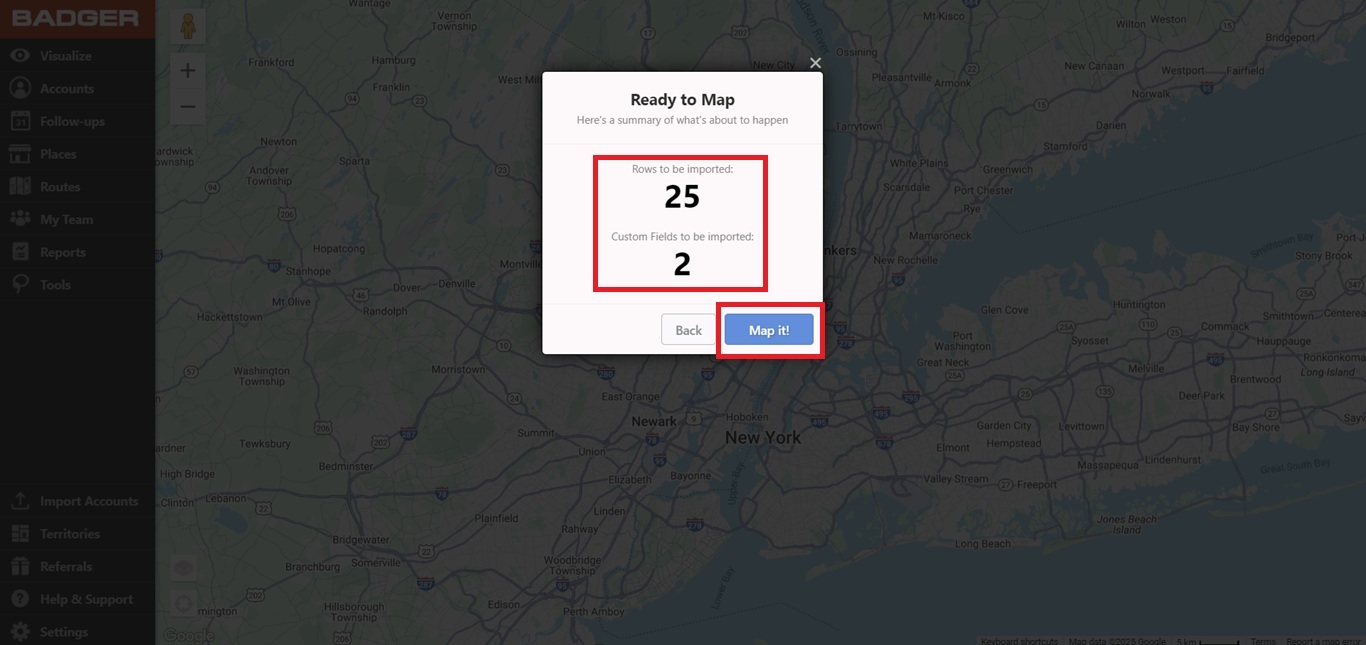
13. Before mapping, the app will show you a summary of how many accounts and custom fields are being imported. Just click on Map It! to confirm that all details are correct.
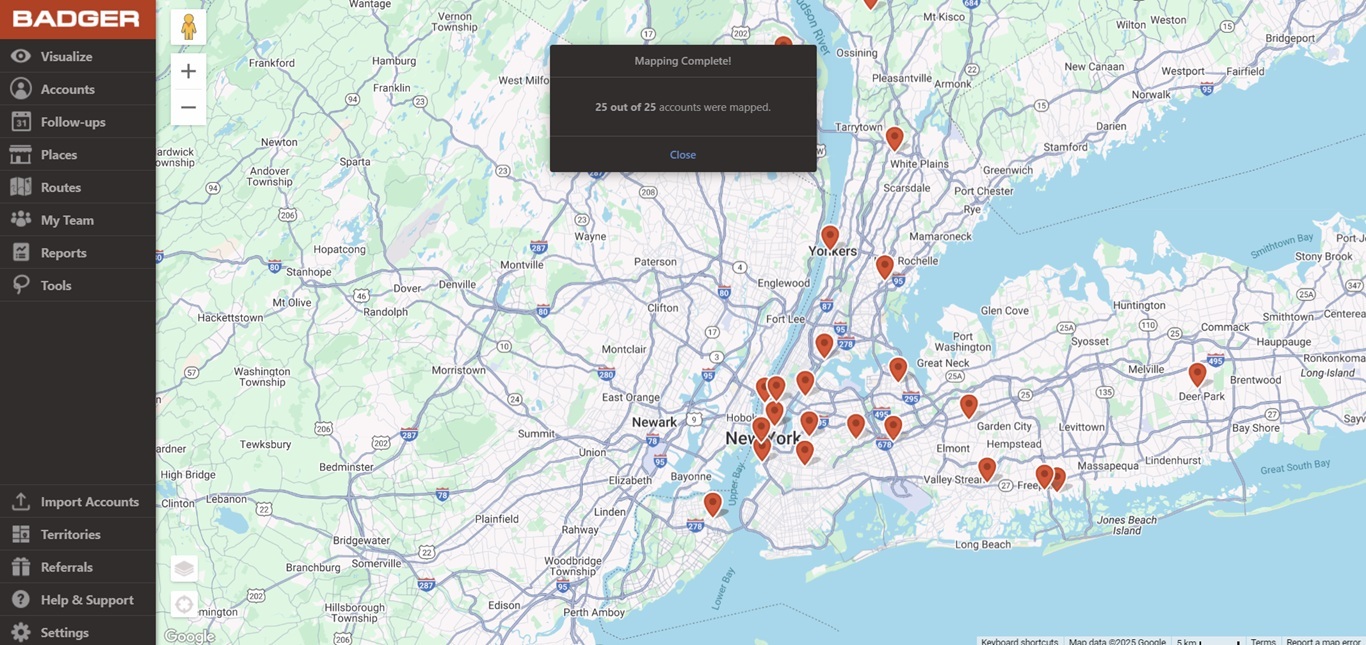
14. Your data set will be uploaded within a few minutes depending on the size of your file. Once the upload is completed, you will see a summary of the accounts that were successfully imported. If there are any accounts that failed to upload, you'll see a Download button. By clicking on it, you can download the list of the unmapped accounts. This usually happens when your spreadsheet is incorrectly formatted. Here's how you can fix it. Once you have updated the list, you can go ahead and re-import it.
If you want, you can also undo your import. Click here to find out how.
Looking for our logo?
Grab a Zip packed with our logo in PNG and EPS formats.