News: Now offering a 90-day money-back guarantee!
Learn more
News: Now offering a 90-day money-back guarantee!
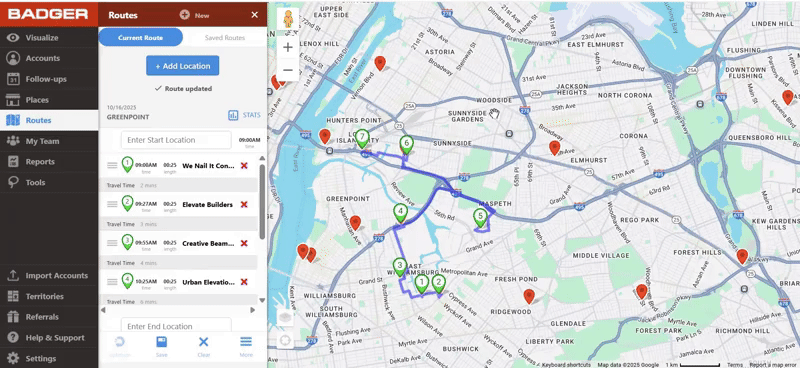
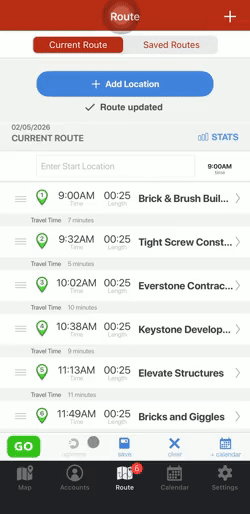
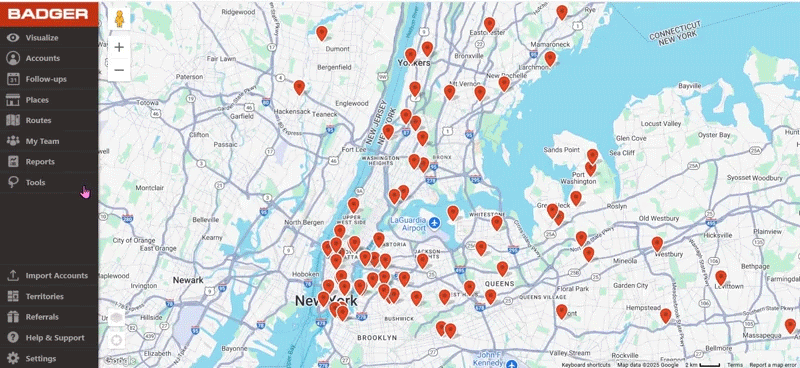
Learn moreBadger Map’s focus is helping you create optimized sales routes so you can save time and sell more. You can view your current routes and saved routes in the “Routes” tab.
To add a single account to route:
1. Click on the pin of the account you would like to add or select the account from your Accounts list.
2. Then click on the Add to Route button. This pin has now been added to your route.
3. Click on Optimize again to re-optimize your route (optional).
Go ahead and check out our complete guides for the Web, iOS, and Android apps.
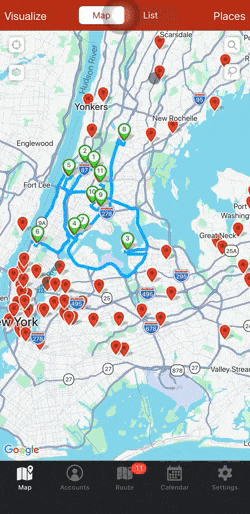
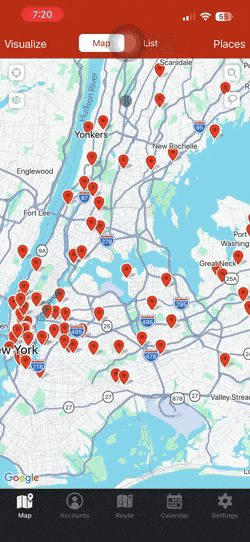
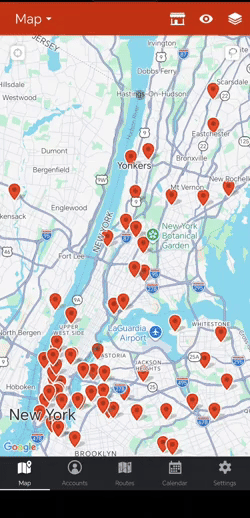
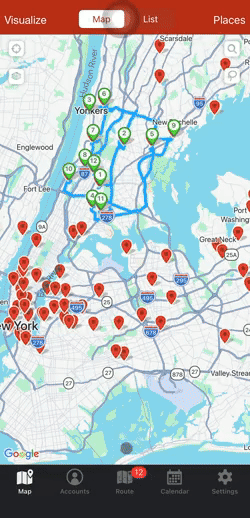
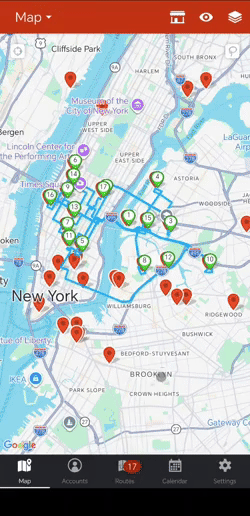
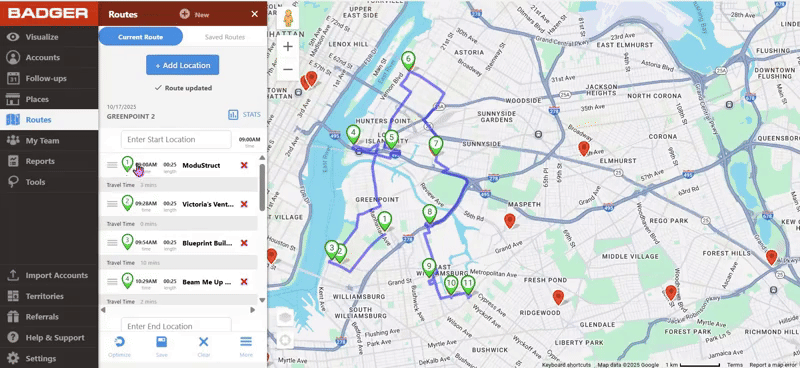
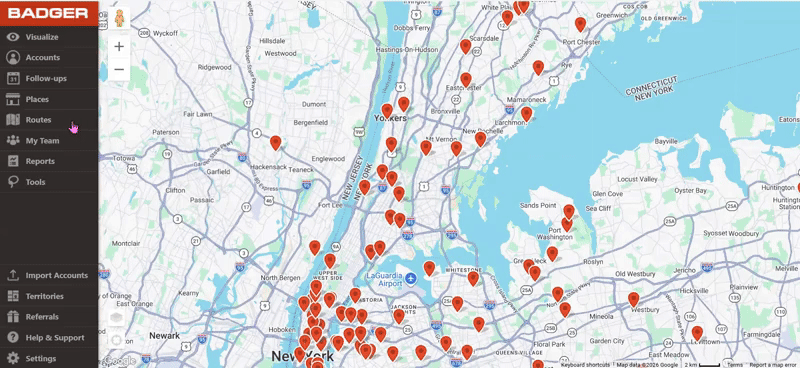
1. Select Lasso from the Tools tab.
2. Draw any shape around a group of accounts that you would like to create a route for.
3. On the bottom menu, click on the Create Route button.
For complete instructions, you can refer to our guides for the Web, iOS, and Android apps.
Click here to read our use case on best practices in using filters to create highly targeted routes!
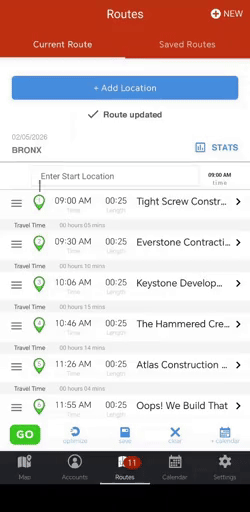
When you’re finished building your route, click on the Save button. You will need to enter a route date and a route name, this makes finding your saved routes easy to find.
When you save your route, you’ll be able to access it from the web app and on the mobile app version of Badger Maps so you’ll have all your routes at your fingertips.
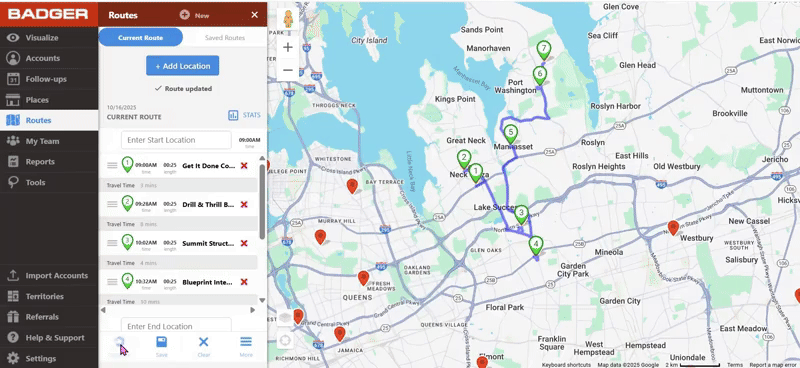
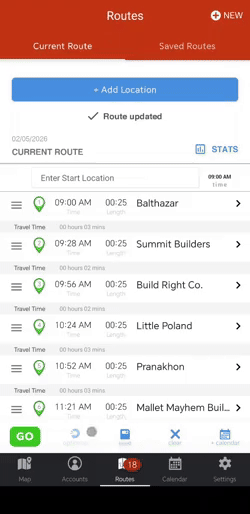
After you created your route or have added appointments to your route, you can click on the Optimize button at any time to re-optimize your route.
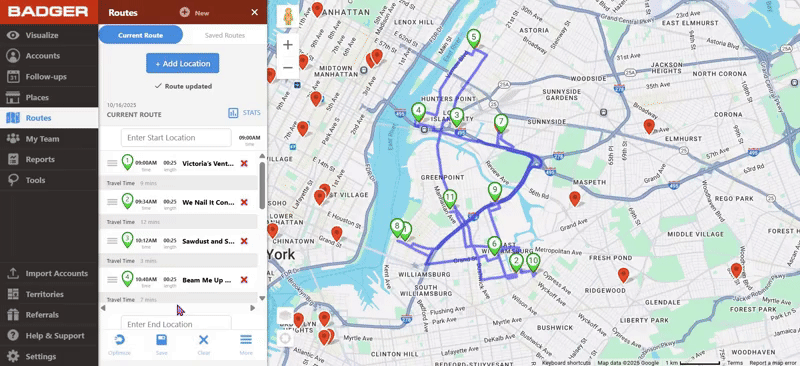
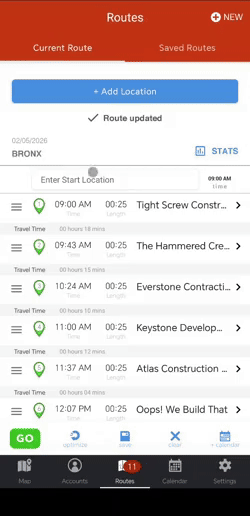
If you would like to change the order of your route, you can click on the three grey lines next to the lettered pin of the account you would like to change. Now, you’ll be able to drag the account to where you would like it on your route. Just make sure not click on Optimize because this would rearrange your route stops.
You have full flexibility to build your best sales routes.

You can find more details about how this works in these Web, iOS and Android guides.
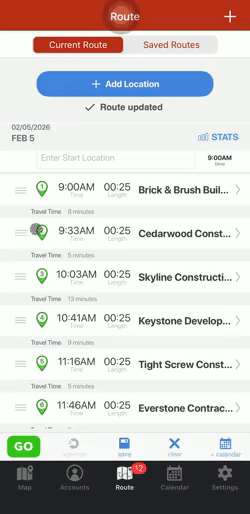
You can change both the time an appointment begins and the length of appointments on your routes.
To change the start time and duration of an appointment on the web app, simply click on the “time” and “length” icon next to the appointment that you would like to edit.
To change the start time and duration of an appointment on the mobile apps, click on the appointment that you want to edit to open up the Appointment Details section, and edit the meeting time and length there.
You can check these Web, iOS, and Android guides for the complete instructions.
Routes stats is a nifty and efficient way of knowing how long your route will take, how much you’ll be driving and breaks down your day by meeting time versus traveling time.
When you optimize your sales routes, you drive 20% less and sell 25% more with more meeting time.
We know that not everyone prefers to use their mapping app on their phone when going through their route so there are a few options to export your route based on your preferences.
To export your route to either a PDF, calendar/ICS file, or GPX file (for GPS navigation devices), click on the More button on your current route and you’ll be able to choose the format that you want to export your route to.
Learn more about exporting your route to your Outlook Calendar, Google Calendar or Apple Calendar.

For many sales people, it’s important to keep track of which accounts have already been added to a route. This makes it easier to build future routes faster and with less headache.
You can do this in a few clicks with the Lasso Tool:
1. Create a Filter in your Badger Maps account called Routed that you will use to mark down the accounts that have been added to a route.
2. Once you have the group of accounts you would like to create a route with, use the Lasso tool to select them.
3. Click on Mass Update and change the Routed filter value to be Yes or whatever value you choose to let you know that the account has been routed.
4. Save with the Update Accounts button.
5. Now you can create your route by clicking on Create Route.
Looking for our logo?
Grab a Zip packed with our logo in PNG and EPS formats.