News: Now offering a 90-day money-back guarantee!
Learn more
News: Now offering a 90-day money-back guarantee!
Learn moreAs a team manager, you have the ability to assign routes to your sales reps. Continue reading to find out how it’s done using our Android app.
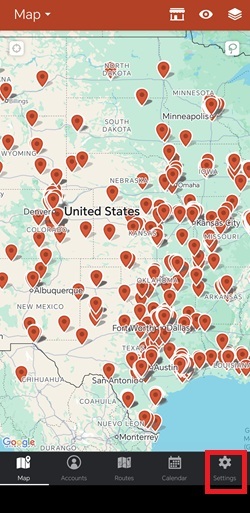
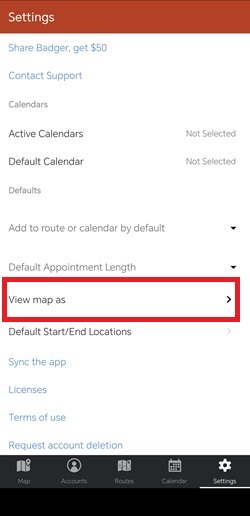
1. Go to Settings, and tap View map as.
Note: Make sure all of the accounts are assigned to the rep that you'd like to create a route for.
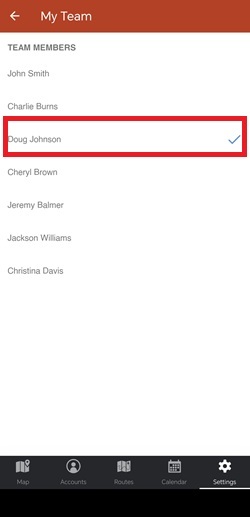
2. Choose the rep that you want to create a route for, then tap Map to go back to the Map screen.
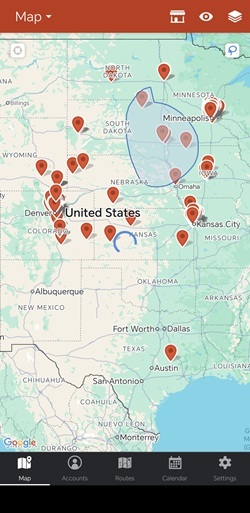
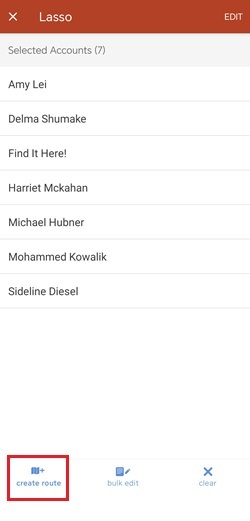
3. After that, choose the accounts that you would like to include as stops in the route. See Step 1 of this guide if you need to find out how to do that.
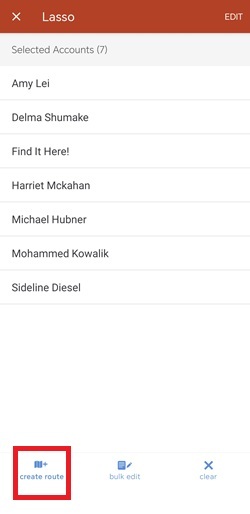
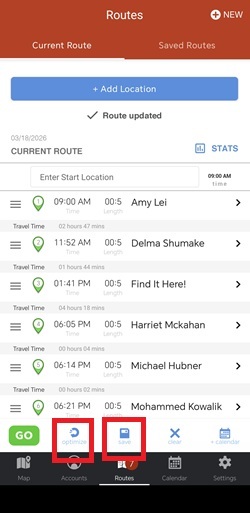
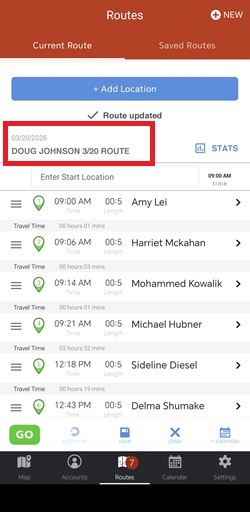
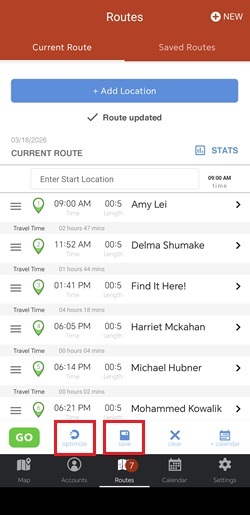
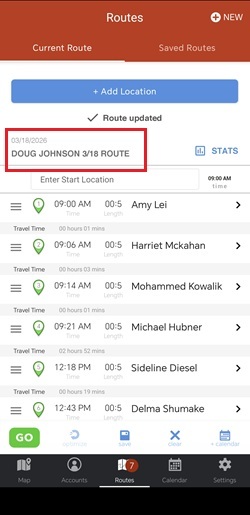
4. Once done, You’ll be directed to the Current Route page. Click Optimize to get an optimized route, and then tap the Save button beside it.
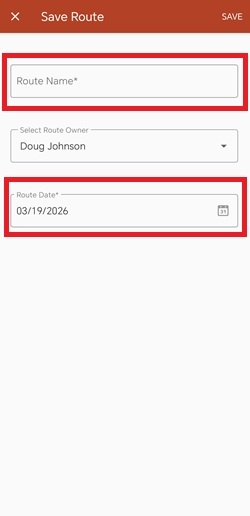
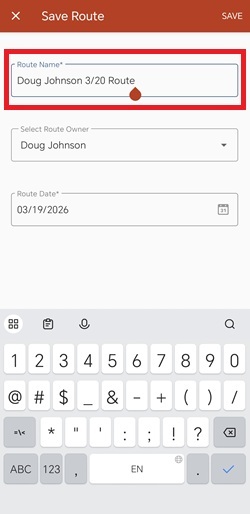
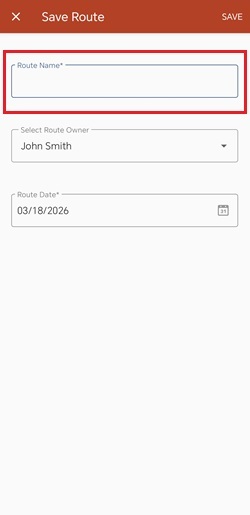
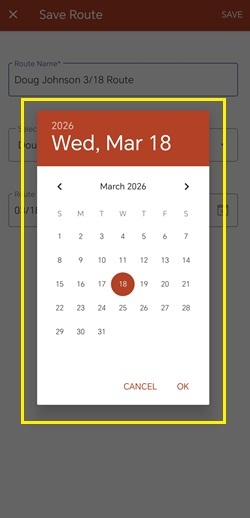
5. Set a Route Name and a Route Date, then tap Save. Note that the Route Owner field is automatically filled with the name of the rep who owns the accounts.


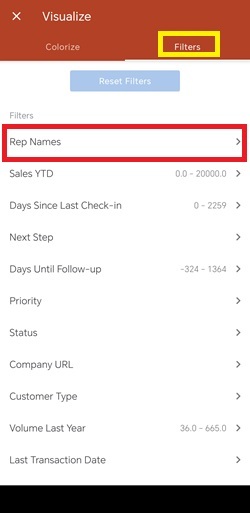
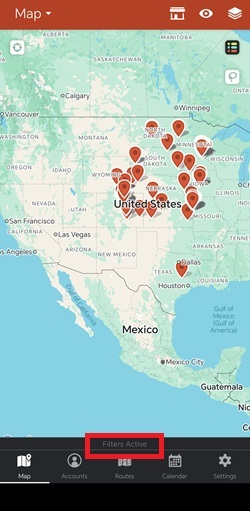
1. Filter the accounts according to Rep Names, and toggle off the reps that you don’t wish to see on the map.
Note: Make sure all of the accounts are assigned to the rep that you'd like to create a route for.


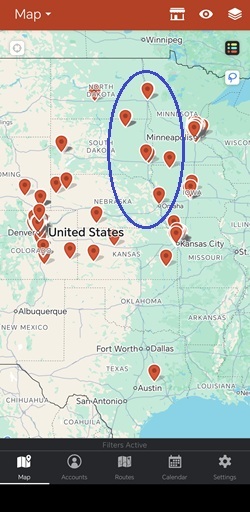
2. Then, select the accounts that you would like to include as stops in the route. Take a look at Step 1 of this guide if you need to find out how to do that.
3. After selecting the stops, you’ll be directed to the Current Route page. Click Optimize to get an optimized route, and then tap Save.
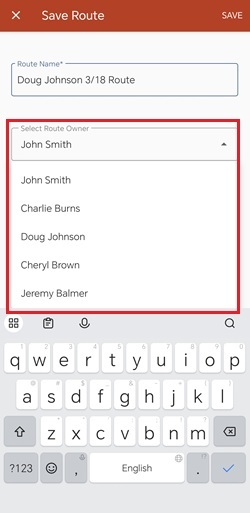
4. Assign a Route Name, and select the name of the rep that you’d like to assign the route to on the Select Route Owner box. If there are accounts that do not belong to that specific rep, the app will prompt a message if you’d like to reassign the accounts. Just confirm it, and you’re all set.
Note: This is turned off by default. If you don’t see that option, contact your Team Specialist, and they’ll turn it on for you.
5. Choose a Route Date, and Save.

And you’re done! Go ahead and try this now.
Looking for our logo?
Grab a Zip packed with our logo in PNG and EPS formats.