How to Push Routes from the iOS App to the iPhone Calendar (iPhone)
Pushing your routes to your iPhone calendar allows you to receive notifications on upcoming appointments and reminders to check in after your visits. Check out these simple steps on how to do this:
Note: If your routes are already pushed to your Google calendar, you can also integrate those to your iPhone calendar. Click here to learn how.
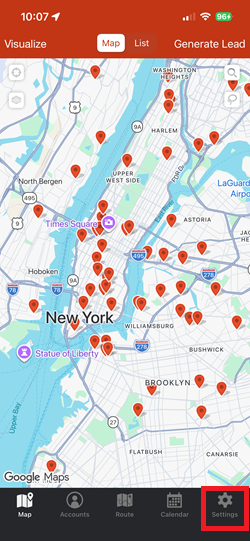
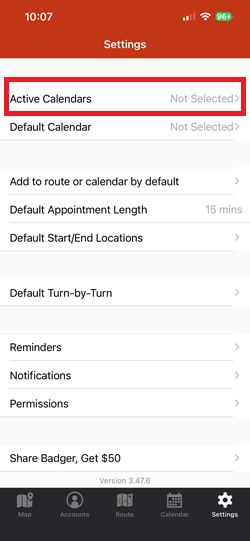
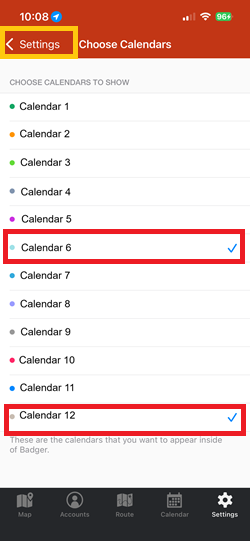
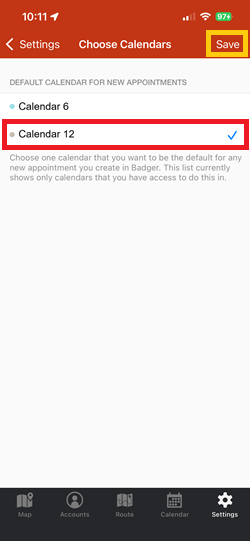
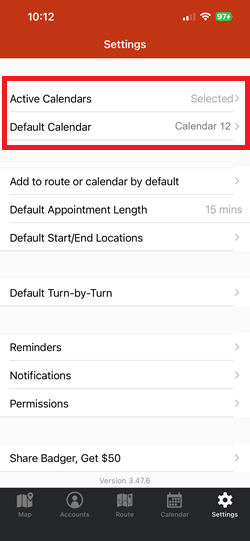
1. Log in to the Badger Maps app on your iPhone and go to Settings. Tap Active Calendars, then select one or more calendars from the list. When you're finished, tap Settings at the top of the screen to save your selection.
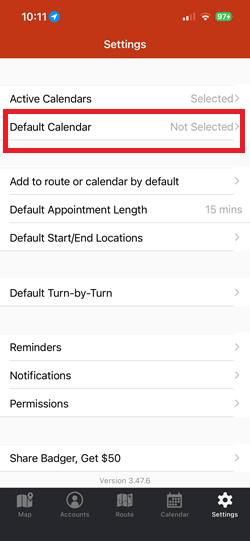
2. Tap Default Calendar, choose which calendar you want to assign as default, and tap Save.
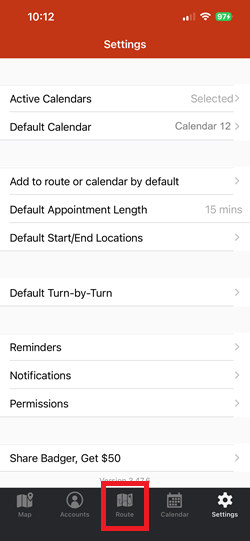
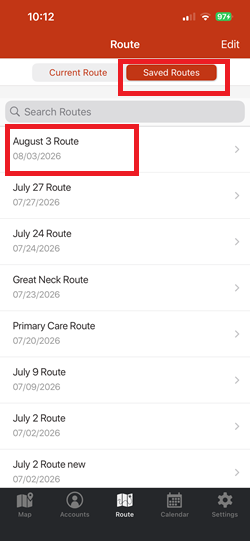
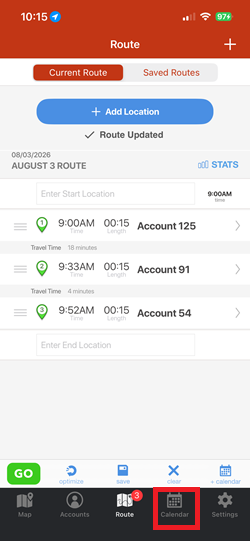
3. Now go to Route, and load the route that you want to push to your calendar.
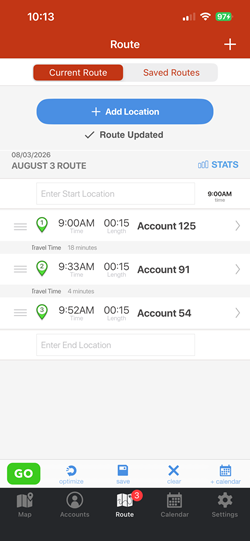
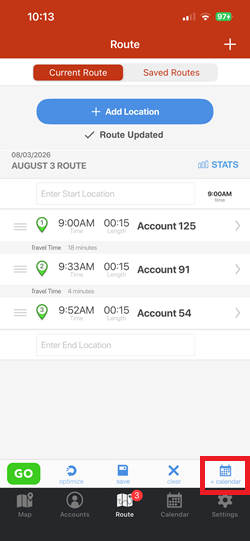
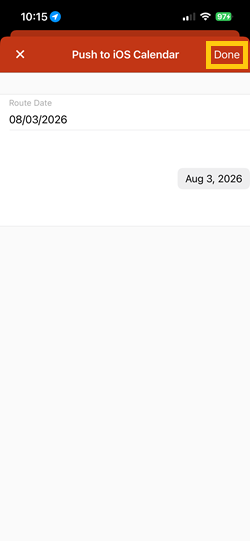
4. Once loaded, tap the Calendar button beside Clear to open up the Push to iOS Calendar window. Tap Done, and tap OK.
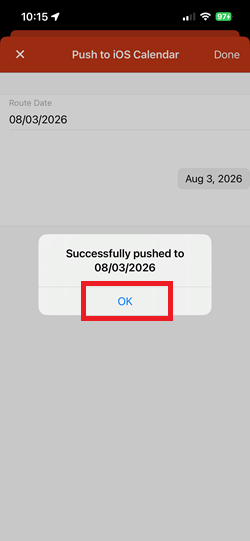
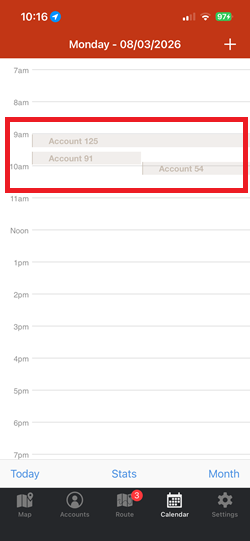
5. The route is now pushed to your calendar at this point. To check, tap the Calendar menu beside Route, and you should see your appointments on your calendar.
Here's a video on how you can create routes and push them to your iOS calendar:


