News: Now offering a 90-day money-back guarantee!
Learn more
News: Now offering a 90-day money-back guarantee!
Learn moreEver find yourself needing to add a stop to your route that's not on your account list? No worries! Our Quick Stop feature makes it super easy to add temporary locations as you go. If you're wondering how to use it with the iPad, keep reading for all the details.
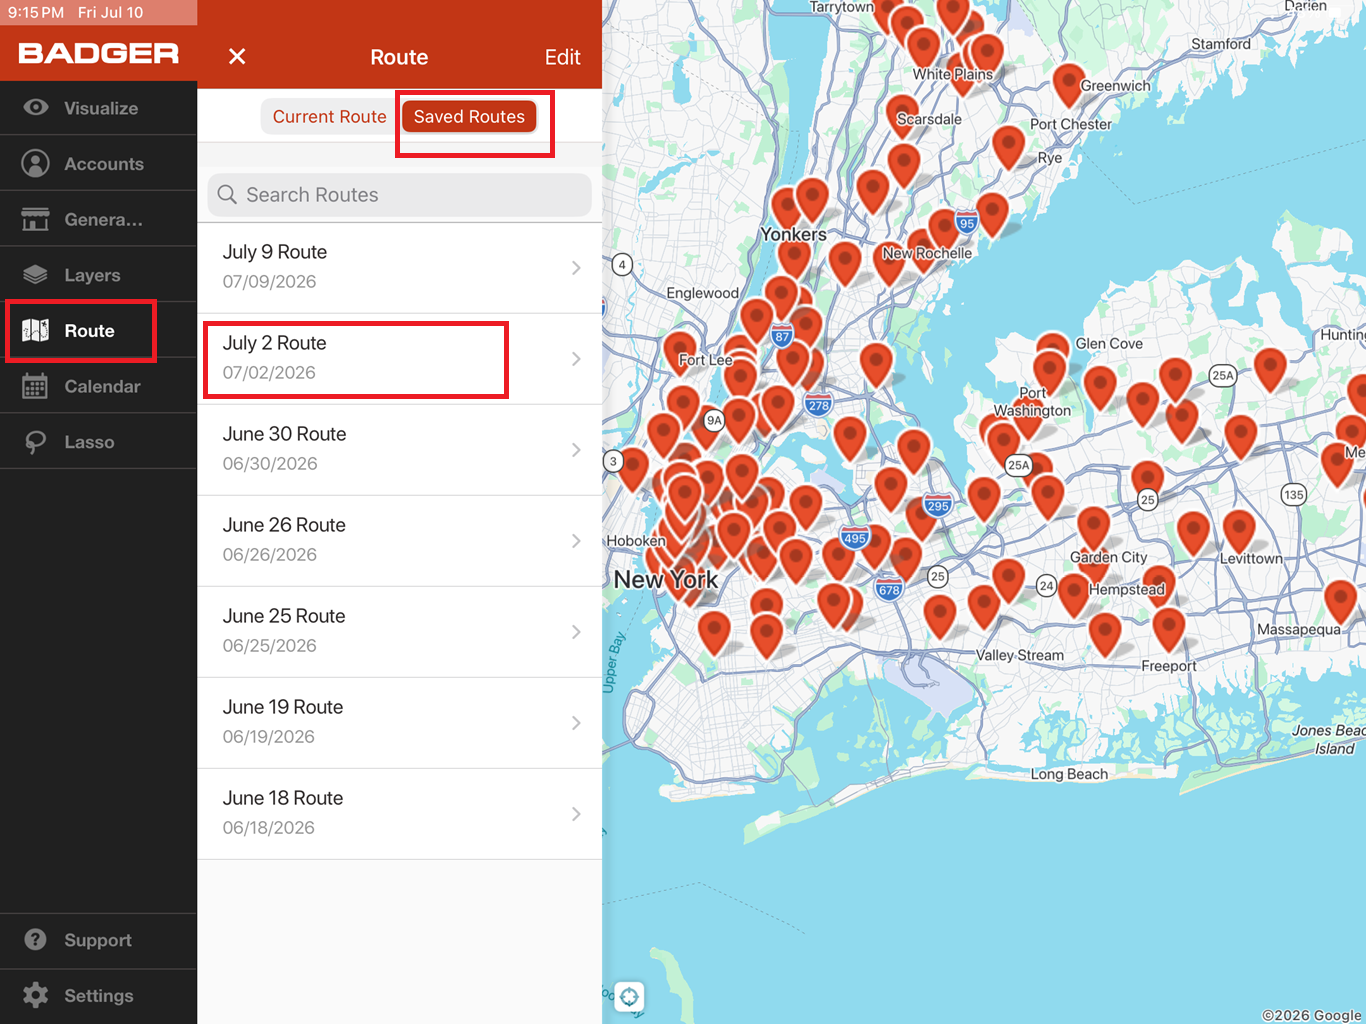
1. To get started, open the Badger Maps app and tap on Route to load a saved route.
Note: If all the locations are quick stops, you can proceed to the next step without loading a saved route.
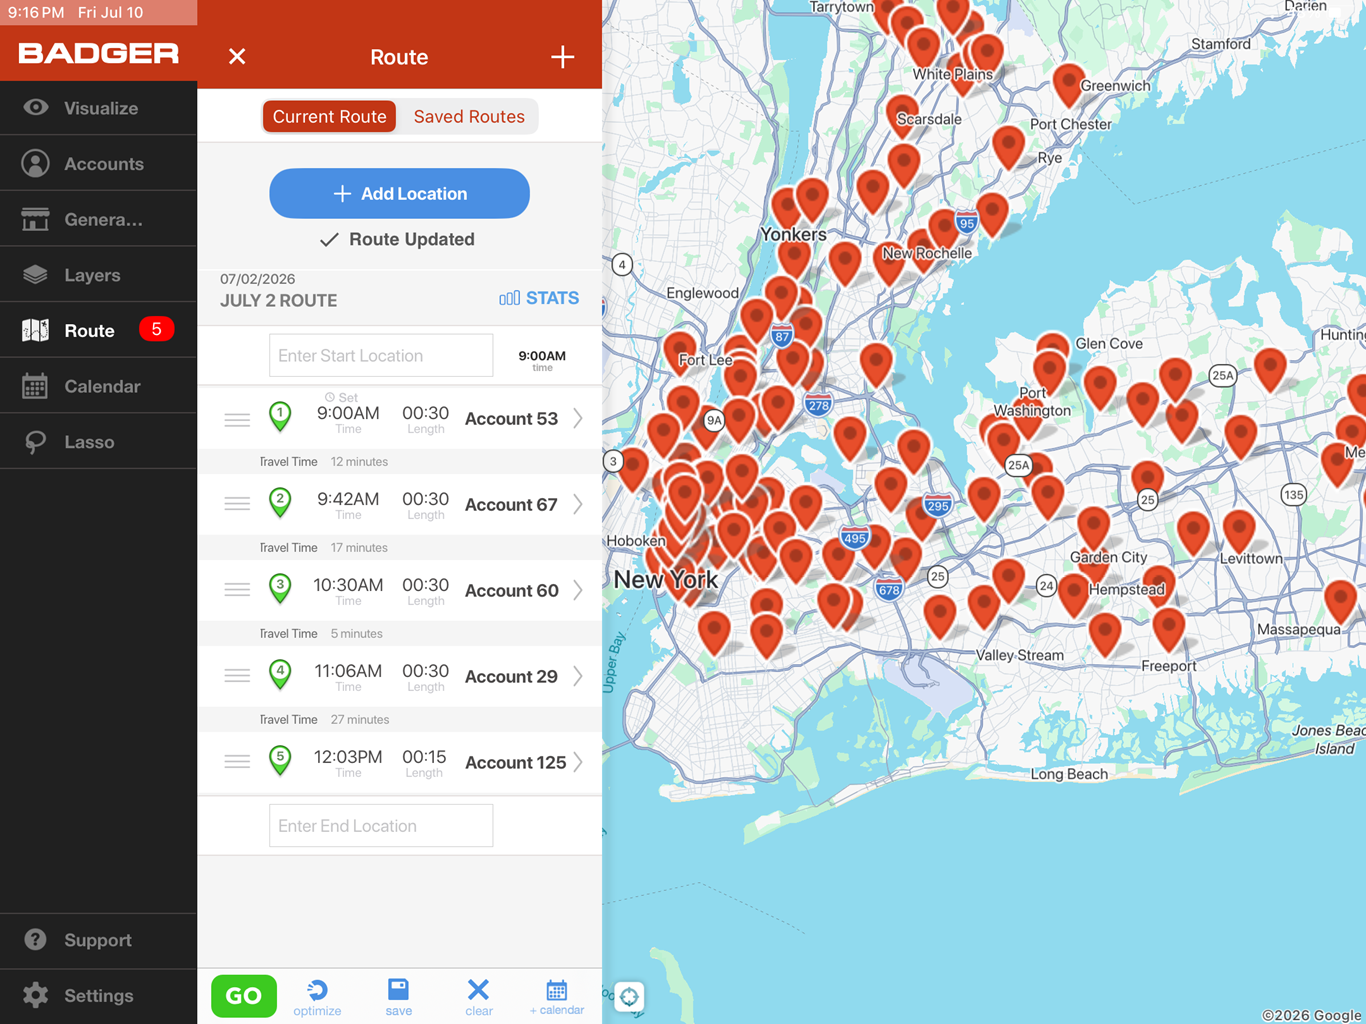
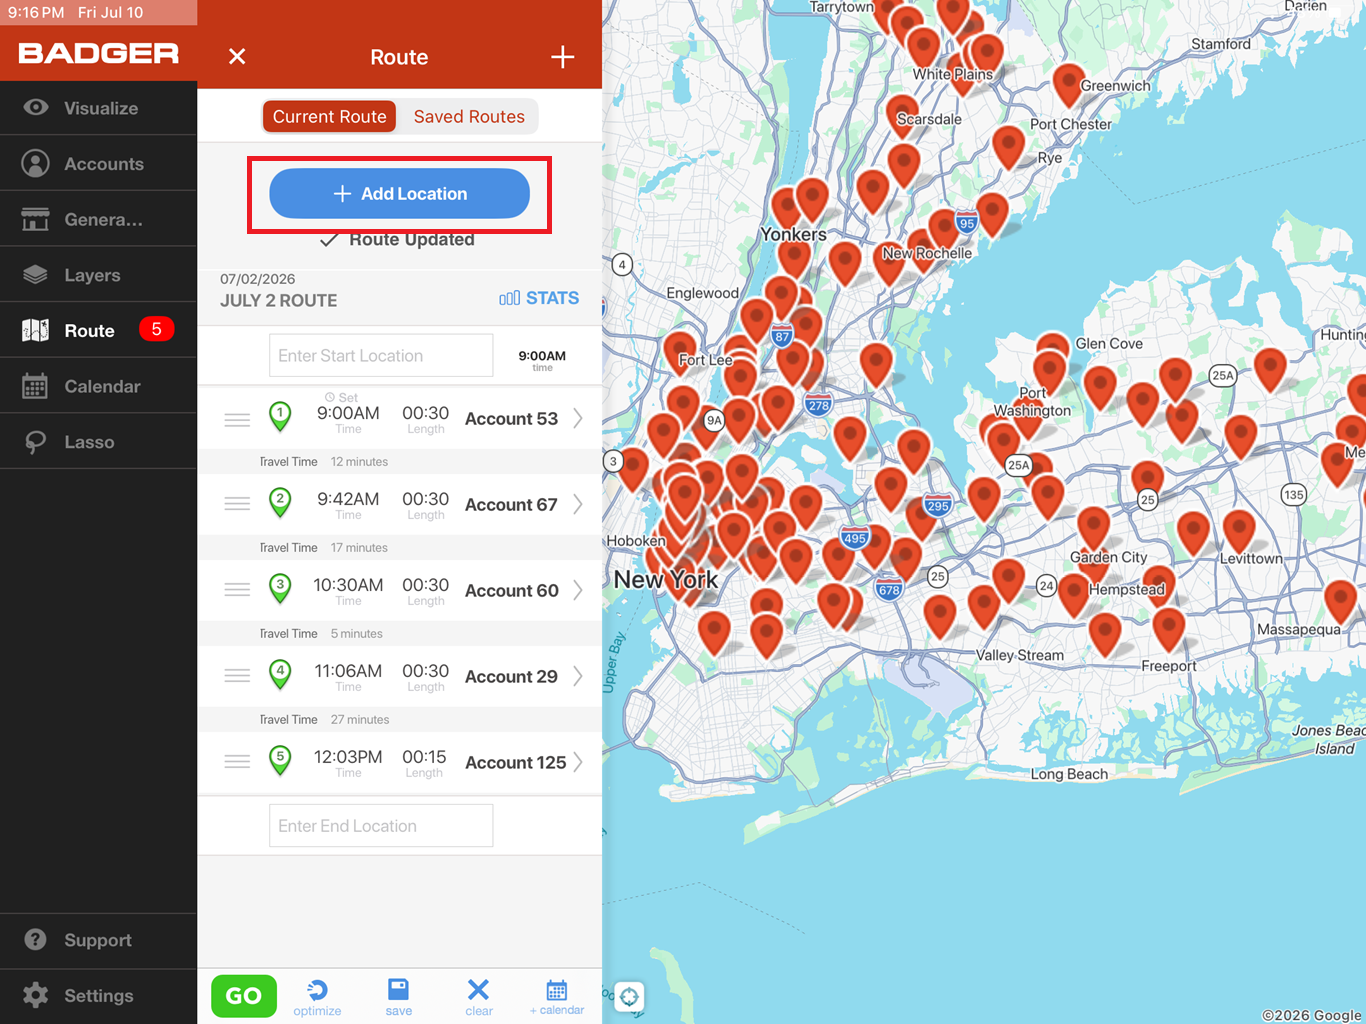
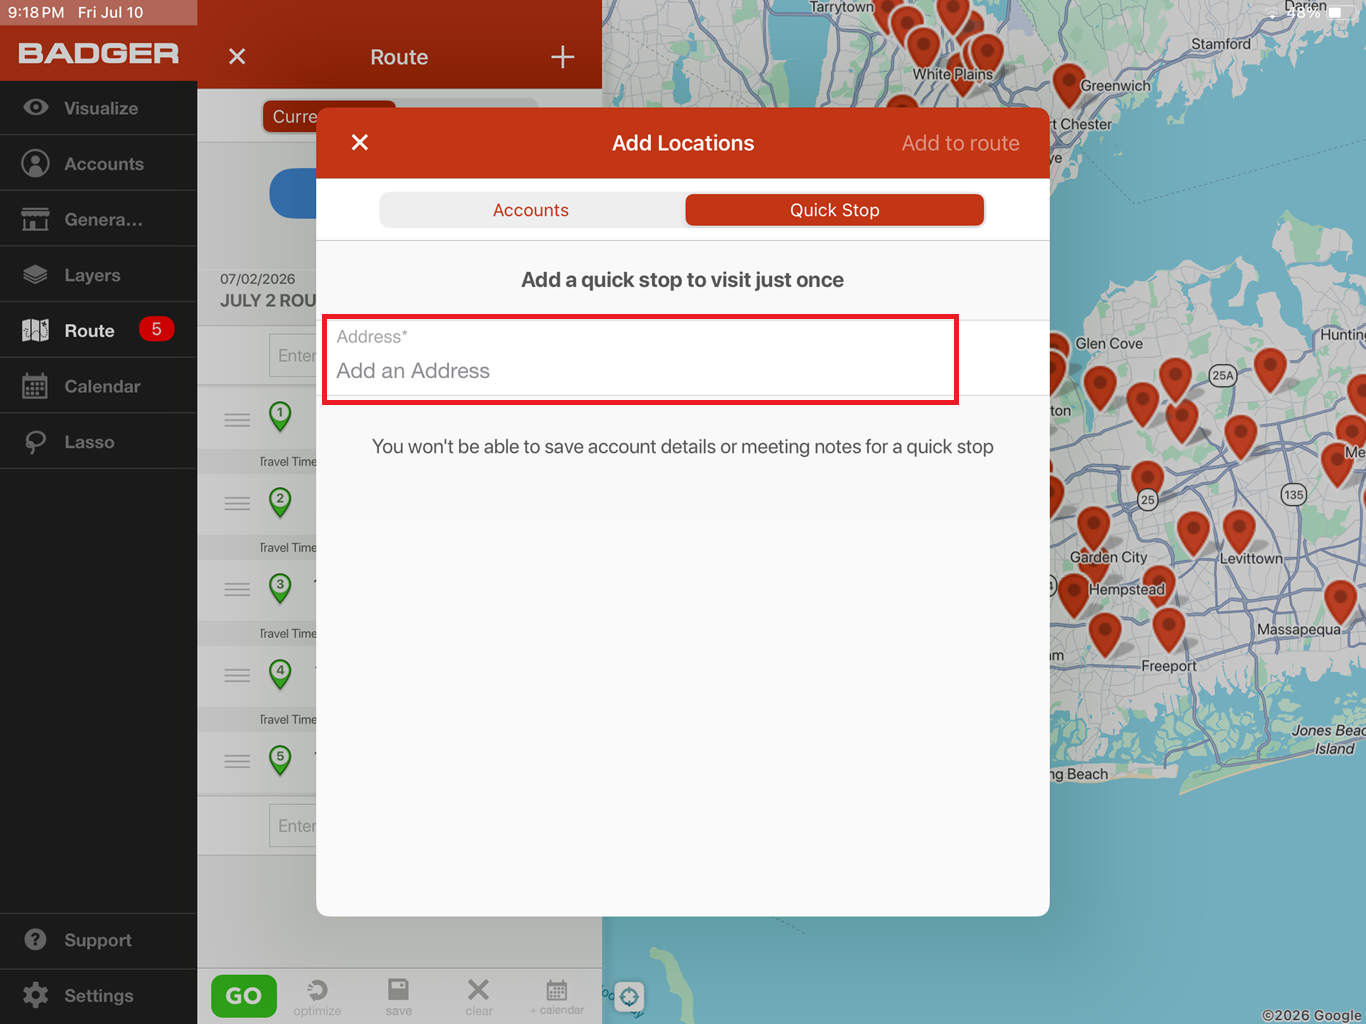
2. Next, tap on the + Add Location button and choose the option for Quick Stop.
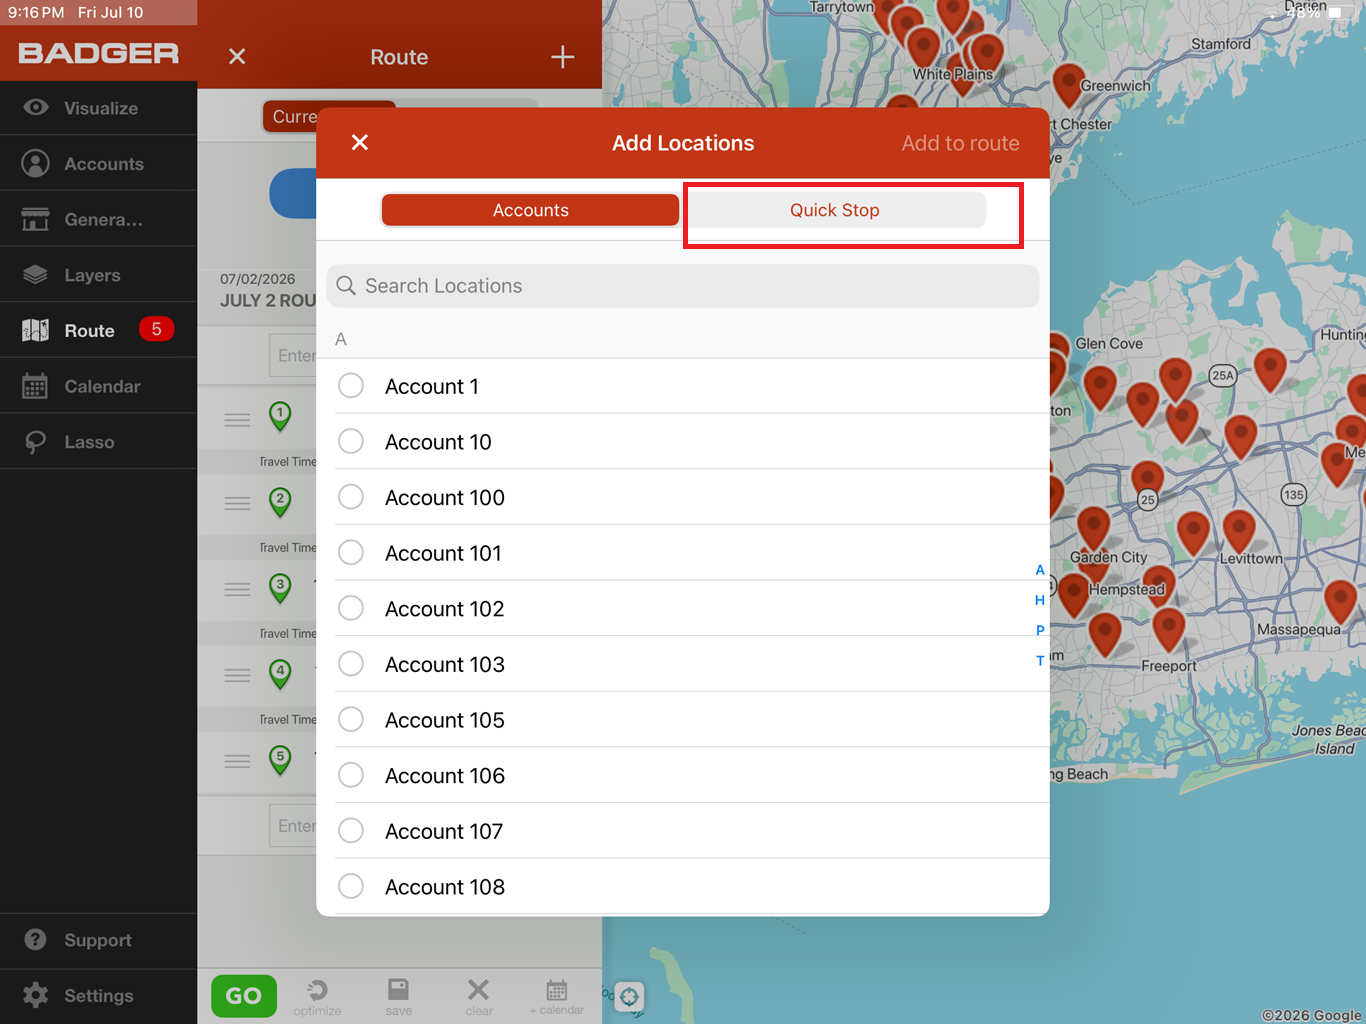
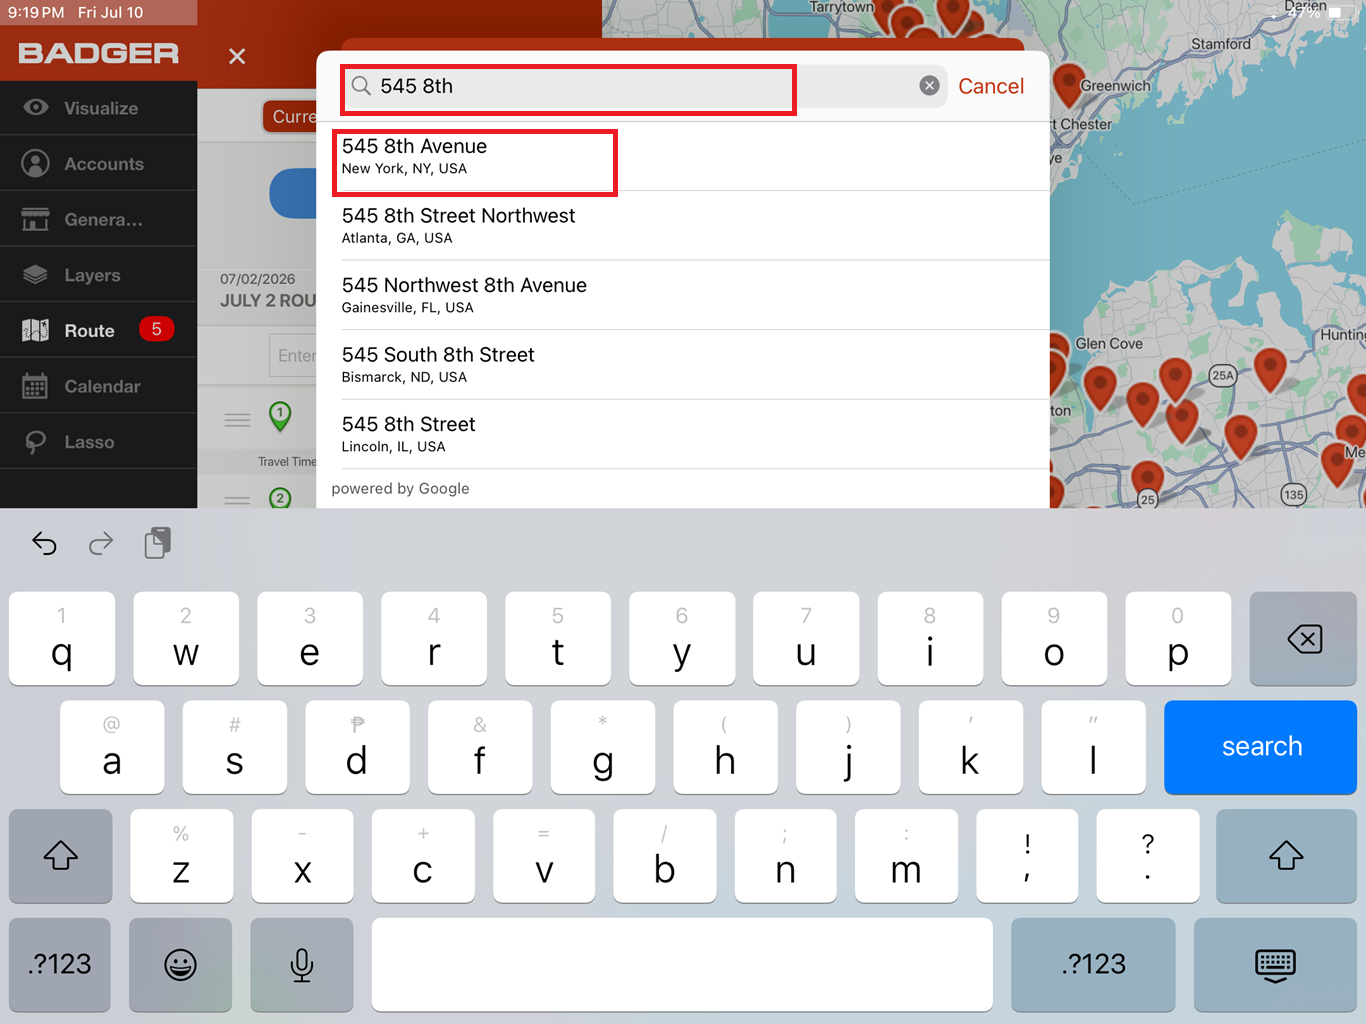
3. After that, click on the Address field and enter any of the following: the actual address, the name of the place, or simply tap on "Use Current Location" if the Quick Stop is your current location.
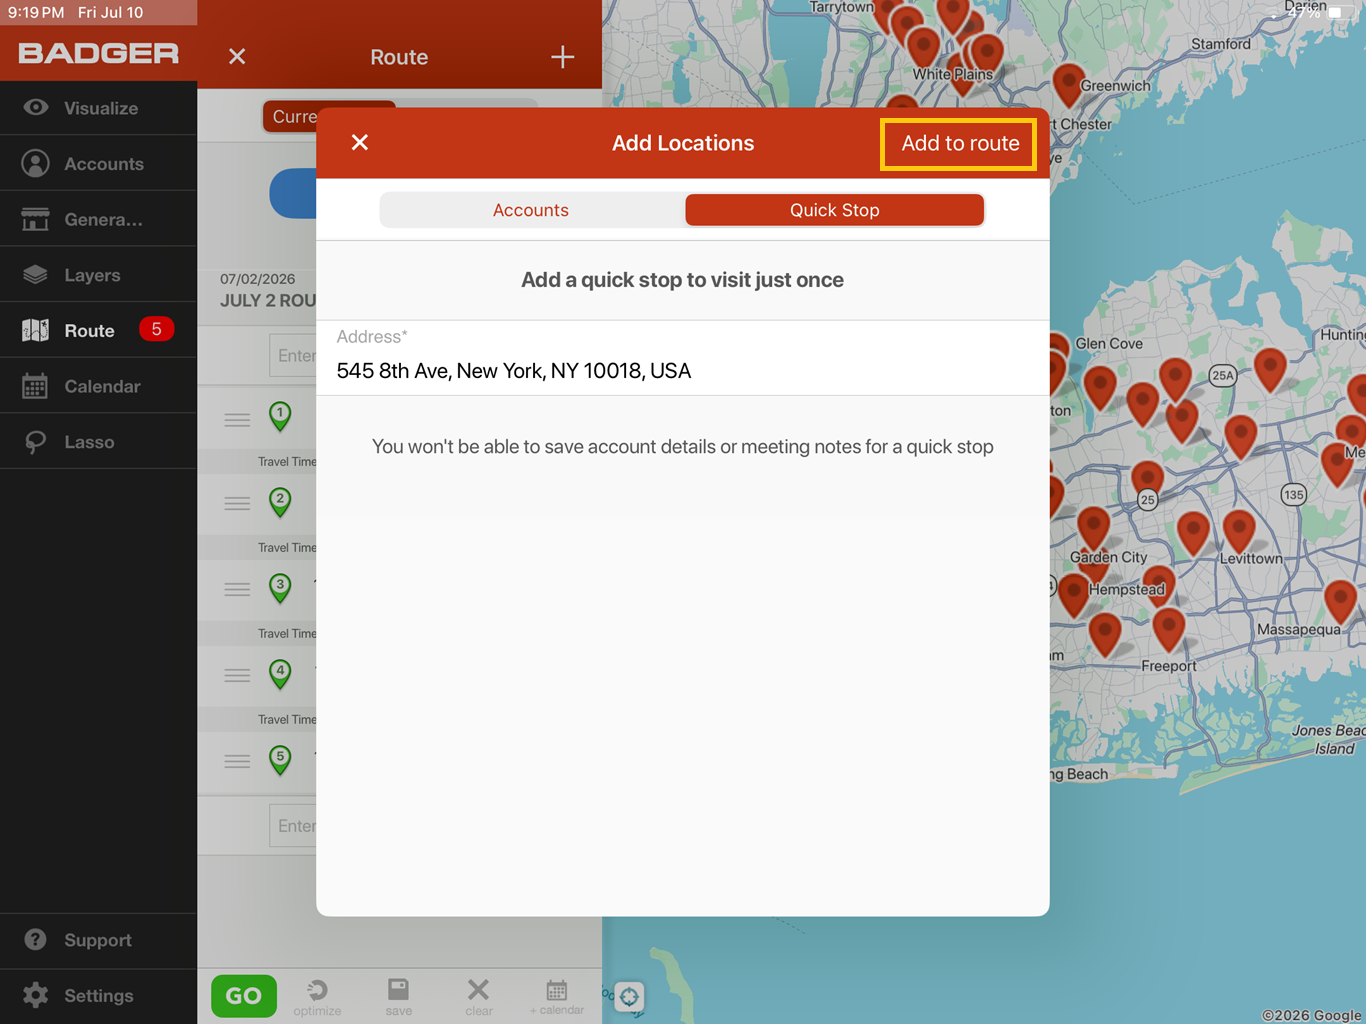
4. Click the Add to route button to add the Quick Stop on your route.
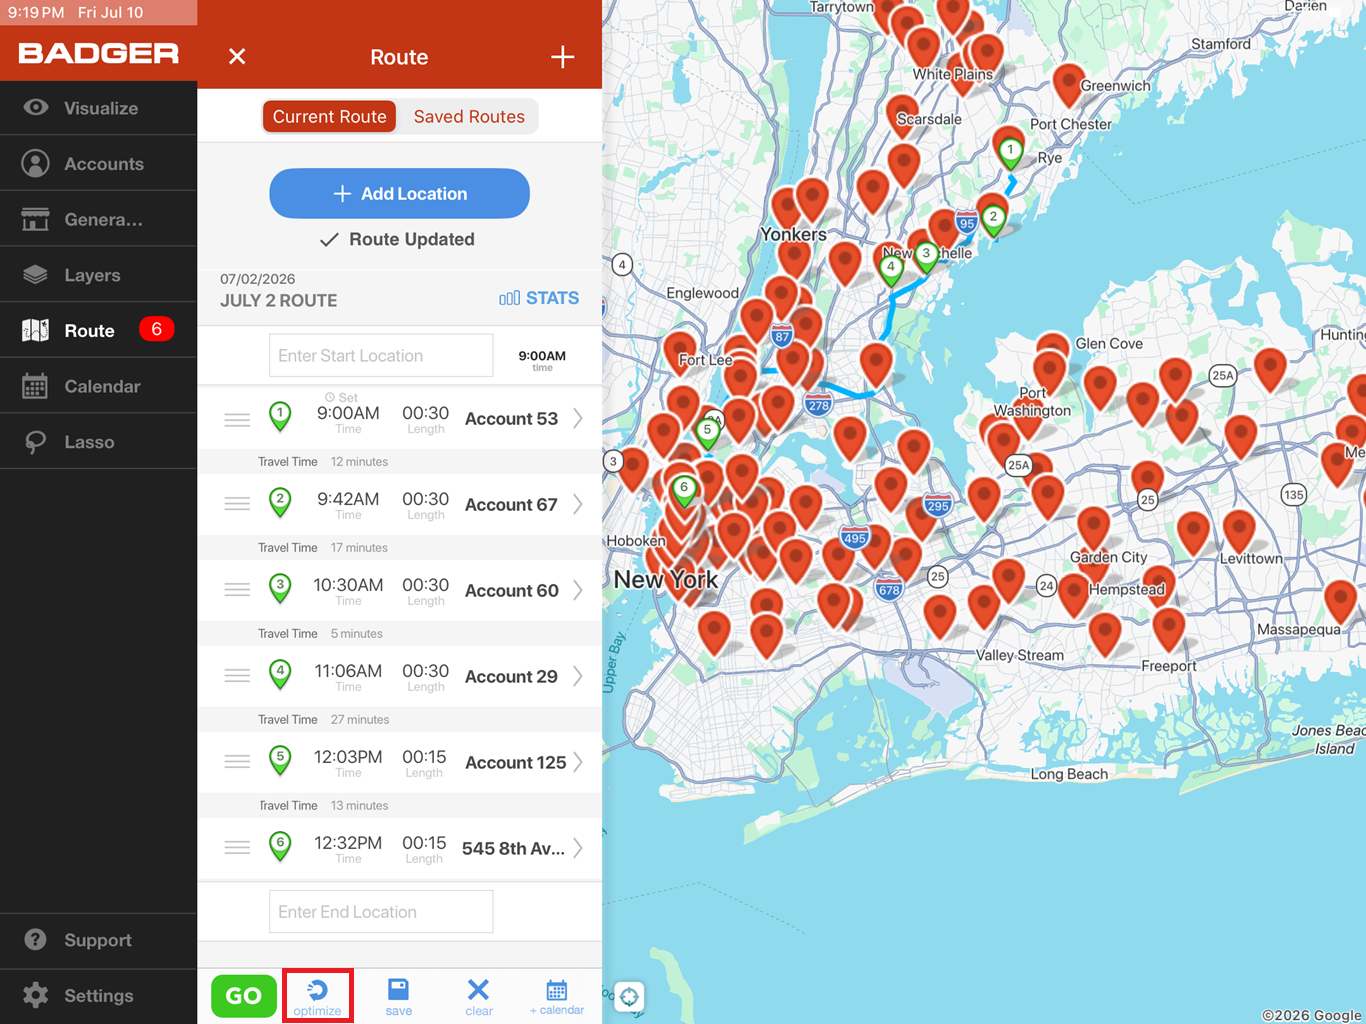
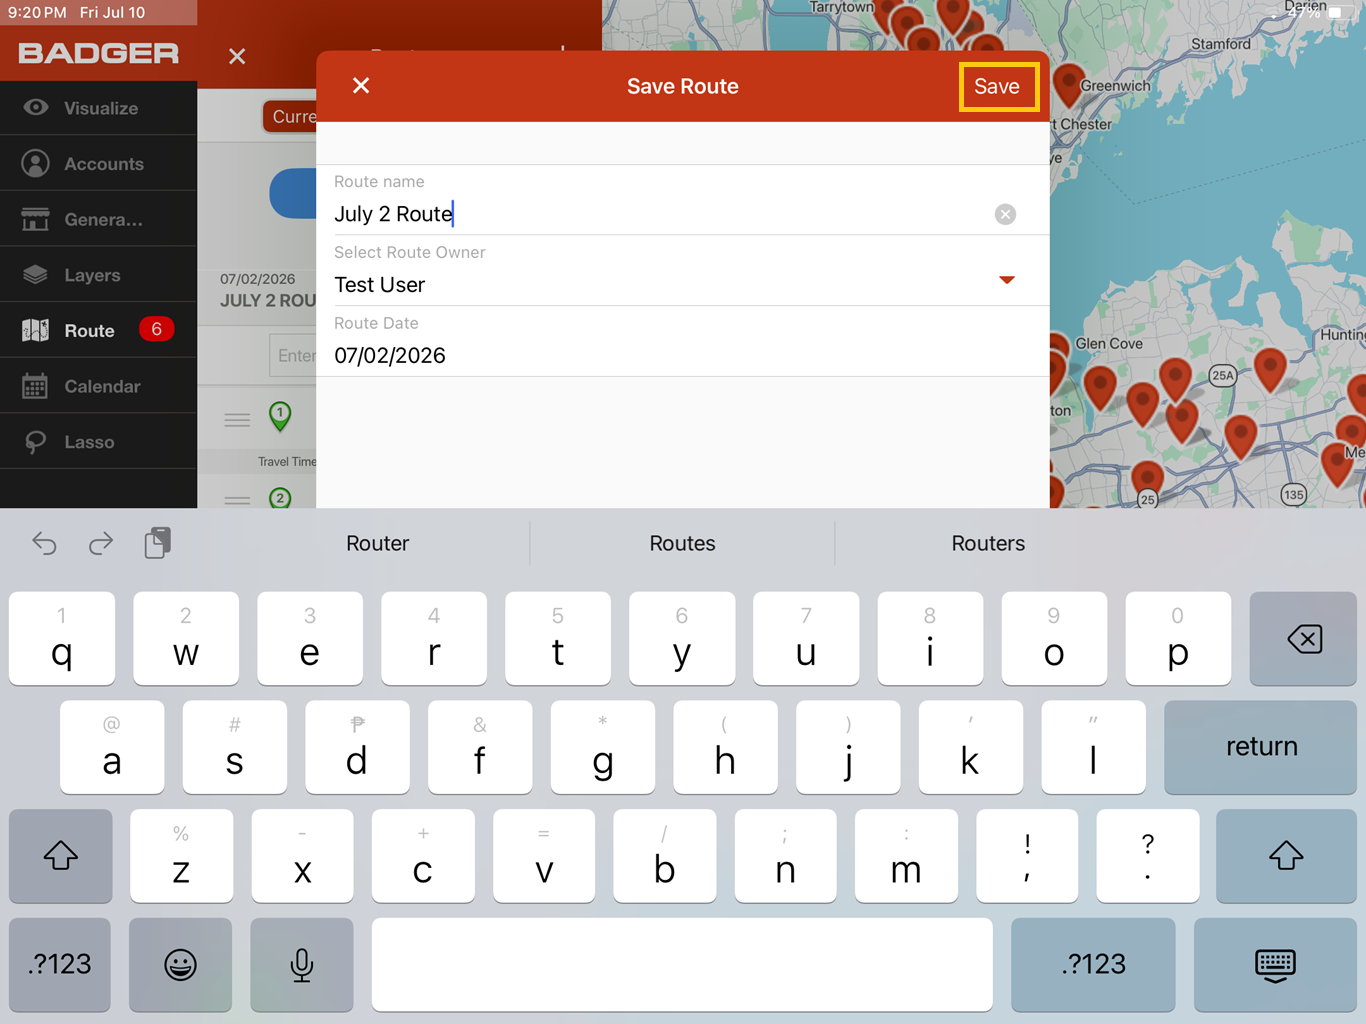
5. To ensure the most efficient route, optimize it by selecting the Optimize option. Once you're satisfied with the optimized route, click the Save button beside it to save the changes you've made.

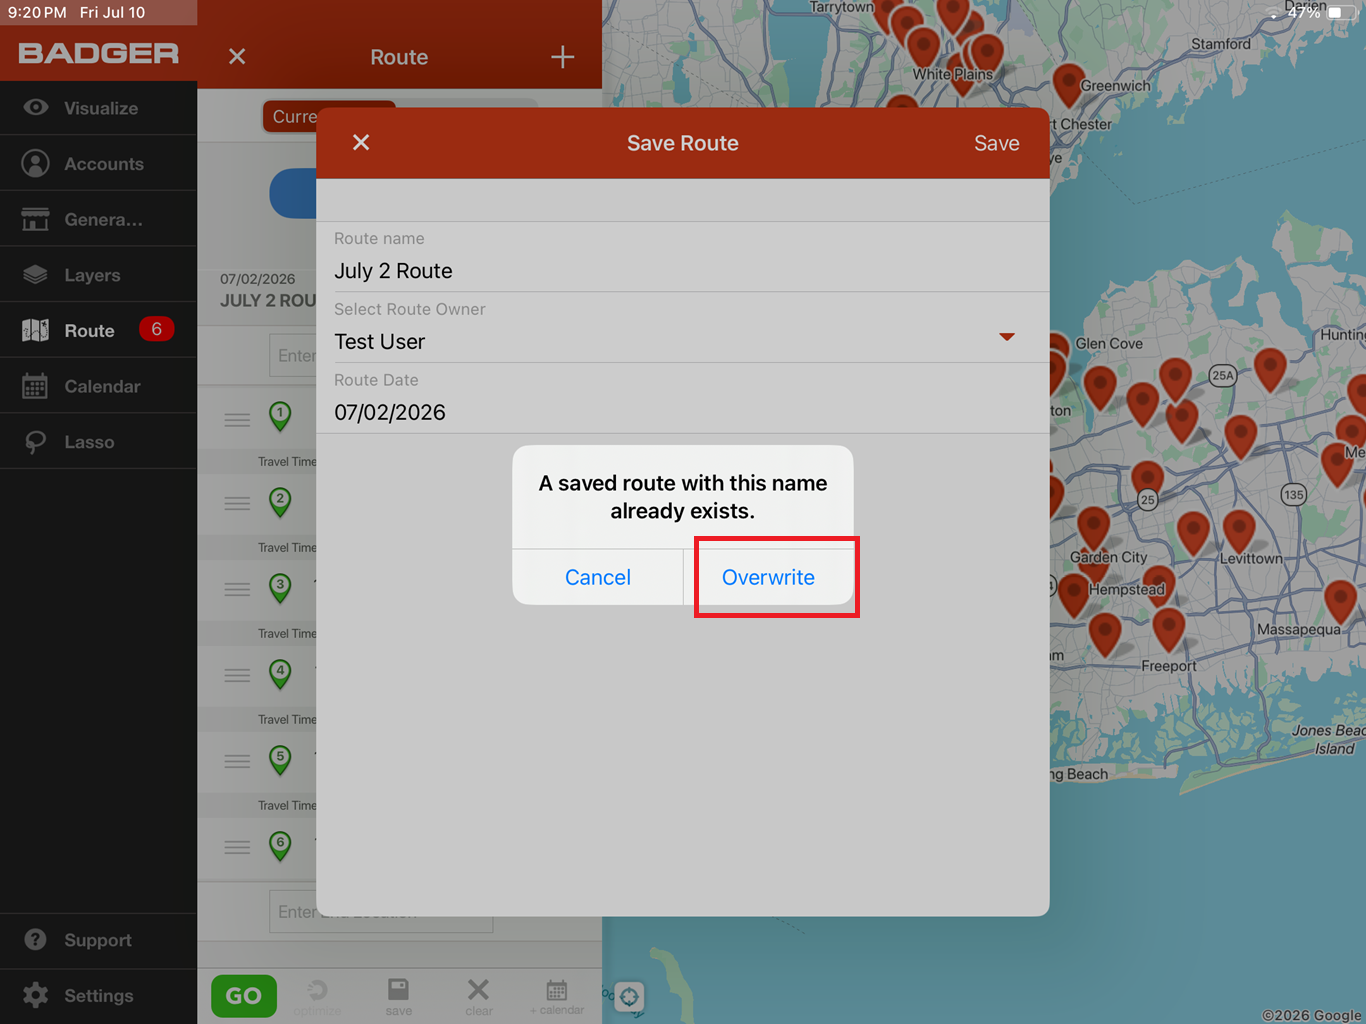
6. Once you hit the blue Save button, you have the choice to Overwrite the current route you have, or rename and assign a new route date (if needed) to create a new one that includes the Quick Stops. After that, click the Save button to save the route.


Just a quick note: The Check-in feature is not available for Quick Stops. To use Check-in, add the Quick Stops as individual accounts first. Then, you'll be able to check-in.
That's all there is to it! It's a simple process, right? Give it a try now!
Looking for our logo?
Grab a Zip packed with our logo in PNG and EPS formats.