News: Now offering a 90-day money-back guarantee!
Learn more
News: Now offering a 90-day money-back guarantee!
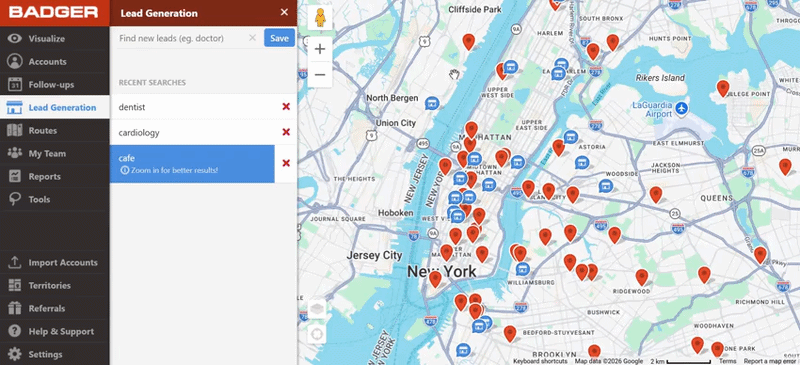
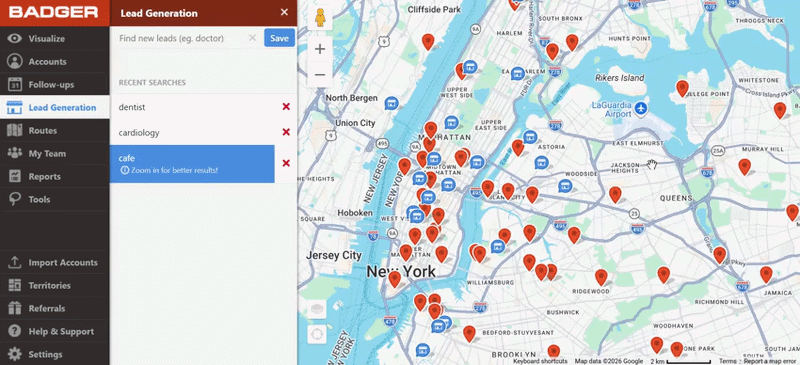
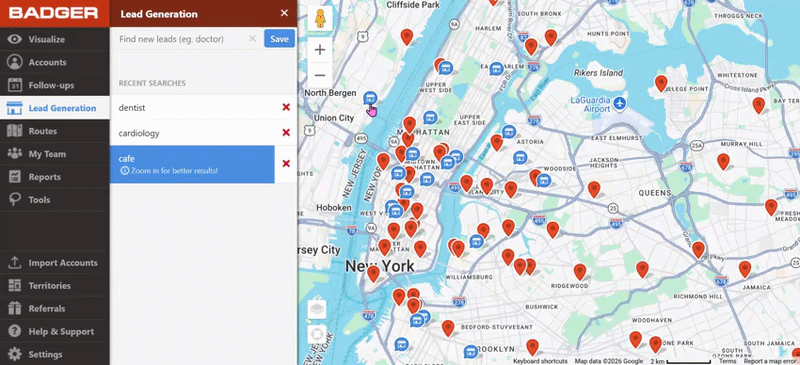
Learn moreThe Lead Generation tool finds new contacts on your map by keywords. This can be anything from local coffee shops, a gas station to potential leads. This tool is ideal for adding in pit stops into your route or finding new leads around your territory to add into your route.
To search with the Lead Generation tool, you can either do a new search or select a saved search.
1. Type in the search bar the type of place you would like to see on your map. You can use keywords like “coffee shop” or “dentist” or “manufacturing”.
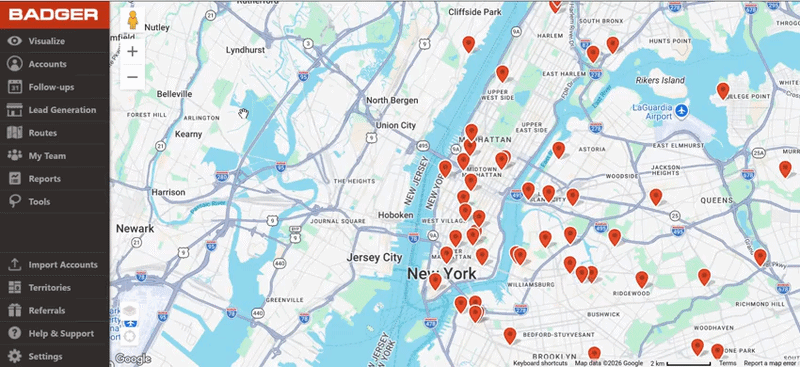
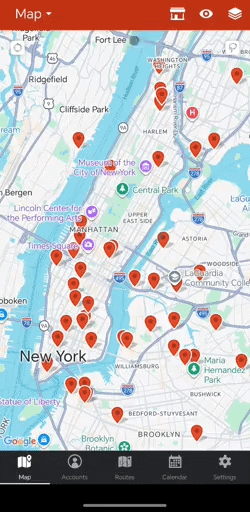
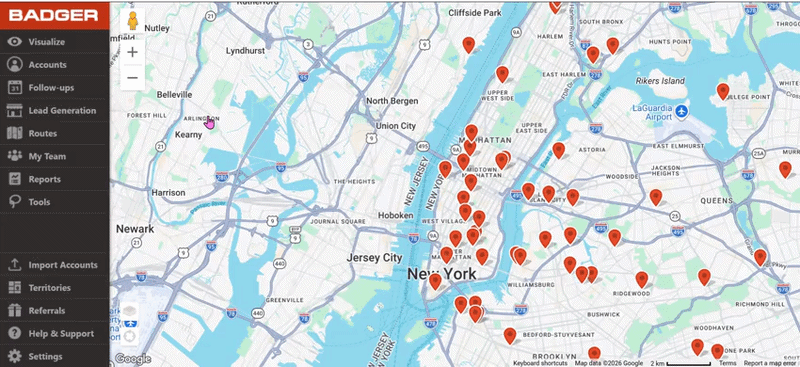
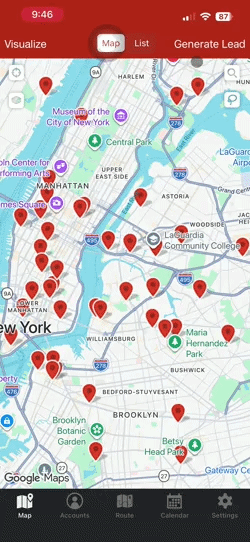
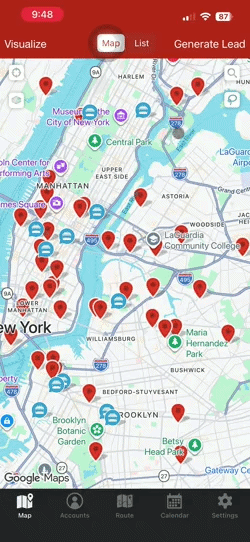
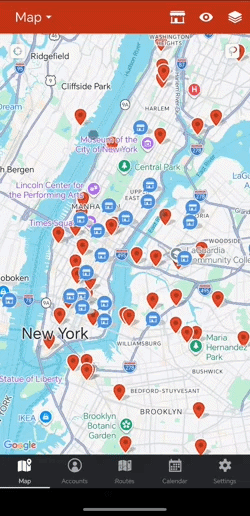
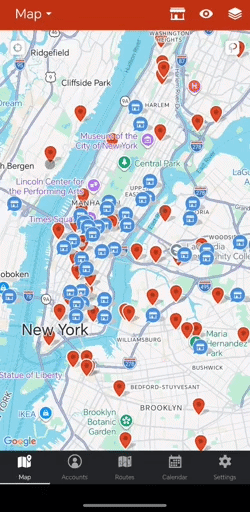
2. Click on Save or press Enter to save the place and show the results on your map. The pins will appear in blue and will look different from your current accounts’ pins.
3. Zoom in for better, more precise results.
Click here for the full guide.
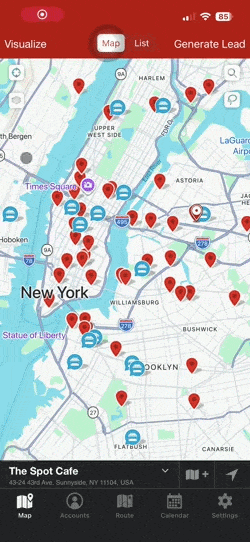
1. Tap Generate Lead, then click the Create New Search button.
2. Type in the business type that you’d like to see on your map, then tap Save.
3. Click the X button to see the results on your map.
Click here for the full guide.

1. Tap the Lead Generation icon, and click the Create New Search button.
2. Type in the business type that you’re looking for, then hit OK.
3. Tap the X icon to go back to the Map screen to see the results.
Click here for the full guide.
1. Open the Lead Generation tab and select the saved search you would like to see on your map.
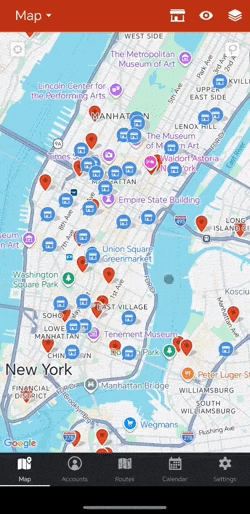
2. The generated leads will appear on your map as blue pins.
1. Tap Generate Lead, and choose from the Saved Searches list.
2. Click the X button to go back to the Map screen, and the results will appear in blue pins.
1. Tap the Lead Generation icon, and toggle on the business type that you want to search.
2. Click the X icon to go back to the Map screen, and you’ll see the search results in blue pins.
Only one saved search will appear at a time on your map, this is to make sure that the pins that appear on your map are exactly what you searched for and makes your map easier to read.
If you no longer need a saved lead search, you can always delete that from your list, and here’s what you need to do.
1. Go to Lead Generation.
2. Click the red X icon next to the saved search that you want to remove.
1. Tap Generate Lead, then click Edit.
2. Choose the saved search that you want to delete, then tap Delete, and tap Done when you're finished.
1. Tap the Lead Generation icon, then tap Edit.
2. Select the saved search that you need to delete by ticking the box beside it, and tapping the trash can icon.

To find out more details about a generated lead, just click on the blue pin, then click on the lead’s name at the bottom left of the screen. From there, you'll see its address, phone number, and website. Clicking the Show Details button allows you to view the lead’s other info like hours of operation.
All generated leads’ pins that populate on your map will have information filled in to make it easy for you to qualify the prospect. You’ll see information like the lead’s address, phone number, website and hours of operation.
Adding the leads to your accounts list is easy. Just click on the Add to Accounts button on the Web app or Create Account button on the mobile apps to save it into your map and accounts list. By saving it to your accounts list, you can make check-ins, write notes, and add it to your route at any time. This will ensure that you can keep track of this pin and won’t have to search for it again with the Lead Generation tool
We highly recommend that you add the lead that you would like to visit to your Accounts list before adding it to a route. This makes it easy for you to take notes, record check-ins or change any fields on that account while you’re in the field. This keeps your information about your leads always up to date.
To add a lead to your route (if you would not like to add it to your accounts list), click on the Add to Route button and it will be added to your current route. Once you’re finished adding generated leads to your route, click on Optimize in the Routes tab to re-optimize your route.
When you find a lead with the Lead Generation tool that you’d like to add as a prospect, you can add that lead and an Account. If you have a filter that denotes the status of that account (ex. Cold Lead, Warm Lead, Hot Lead, Customer, etc.), you can change this account field for the newly added account to its correct status.
Use this method to stay organized, know exactly who you’re meeting, and record the source of your leads.
See a full overview of the Places Tool and how to search for leads near you in the video below!
Looking for our logo?
Grab a Zip packed with our logo in PNG and EPS formats.