News: Now offering a 90-day money-back guarantee!
Learn more
News: Now offering a 90-day money-back guarantee!
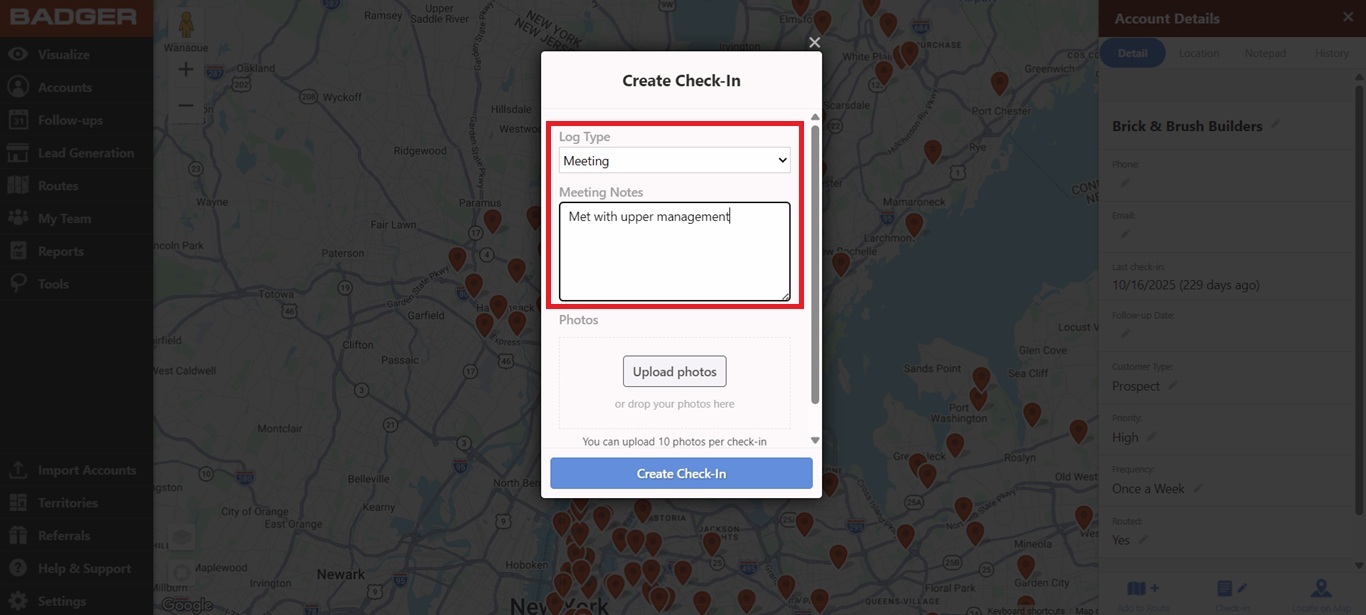
Learn moreBadger Maps’ Check-in feature easily allows you to log your meeting information with the click of a button. We now made this even better because you can now log your meeting notes in a visual way by adding photos to your Check-ins.
Here’s how it works:
1. Fill out the Check-in form. Click here if you need to know how to create a Check-in.
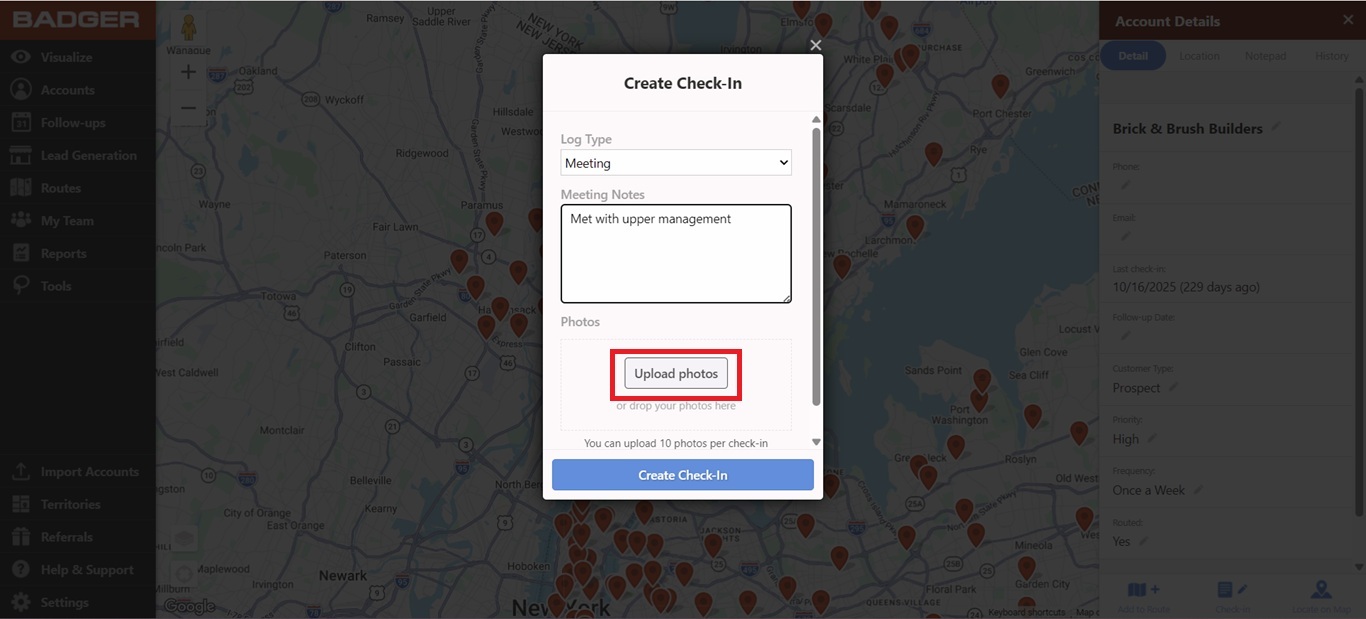
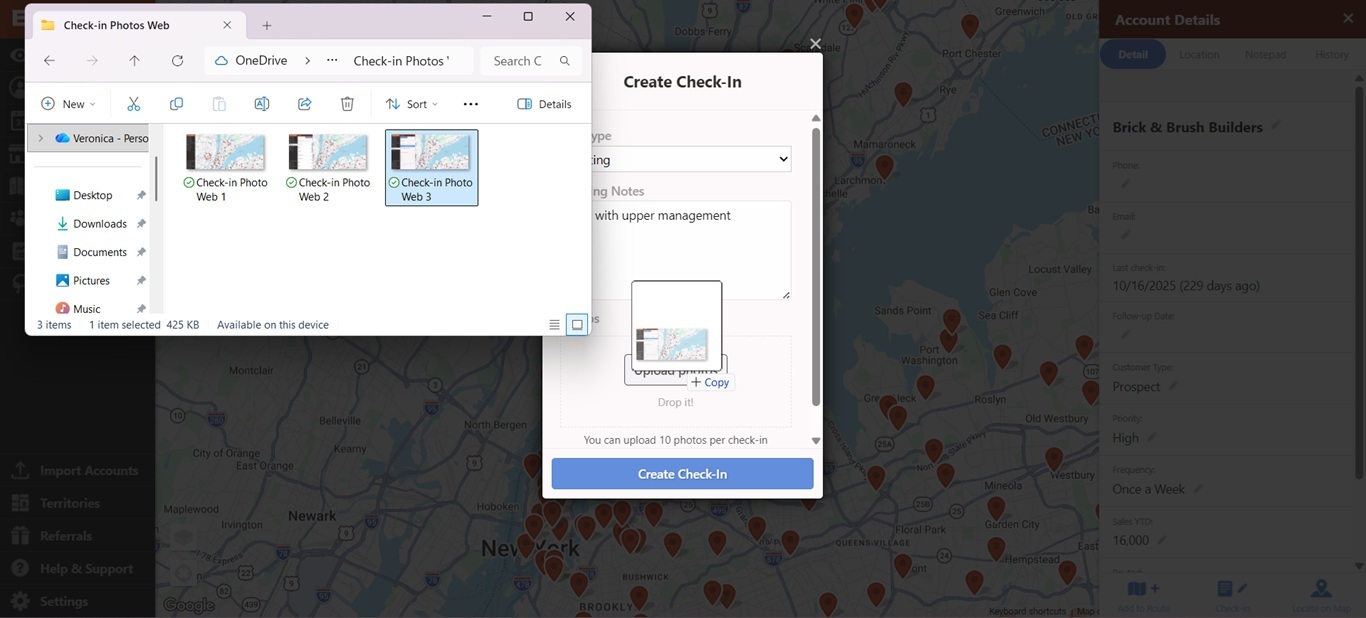
2. To upload your photos, you can either: (A) Click on Upload photos or (B) Drag and drop the photos from your computer.
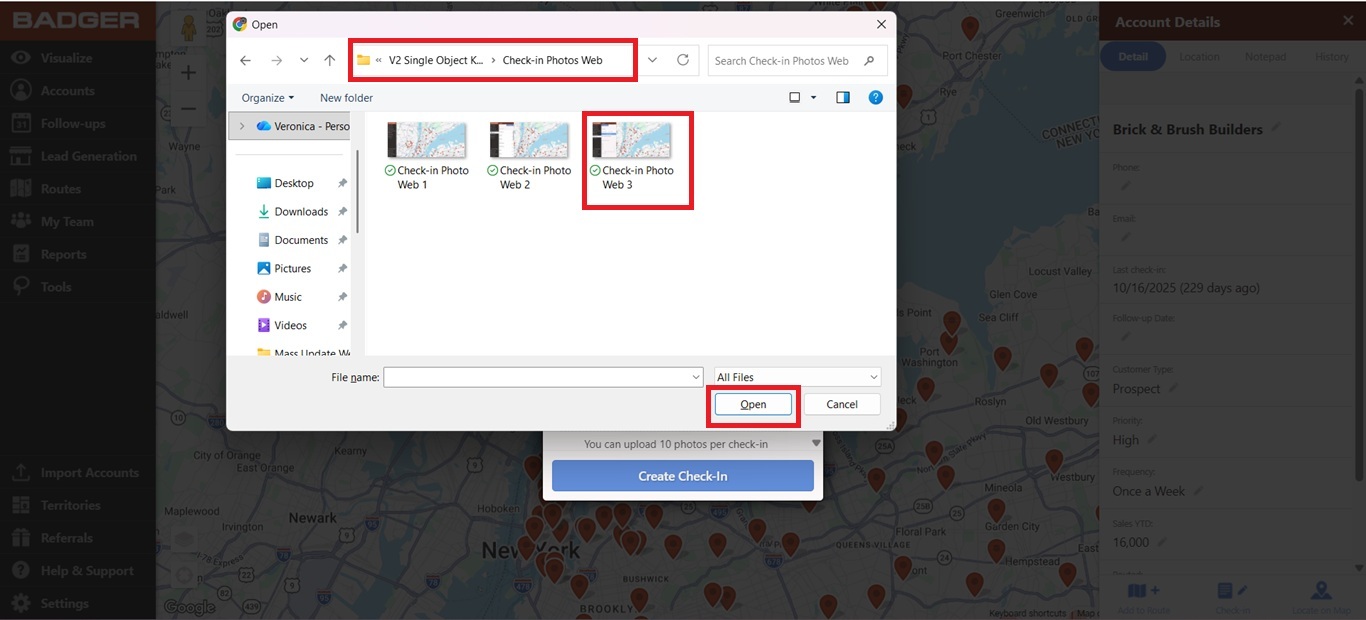
A. Click on Upload photos, and select the folder where the picture is saved.
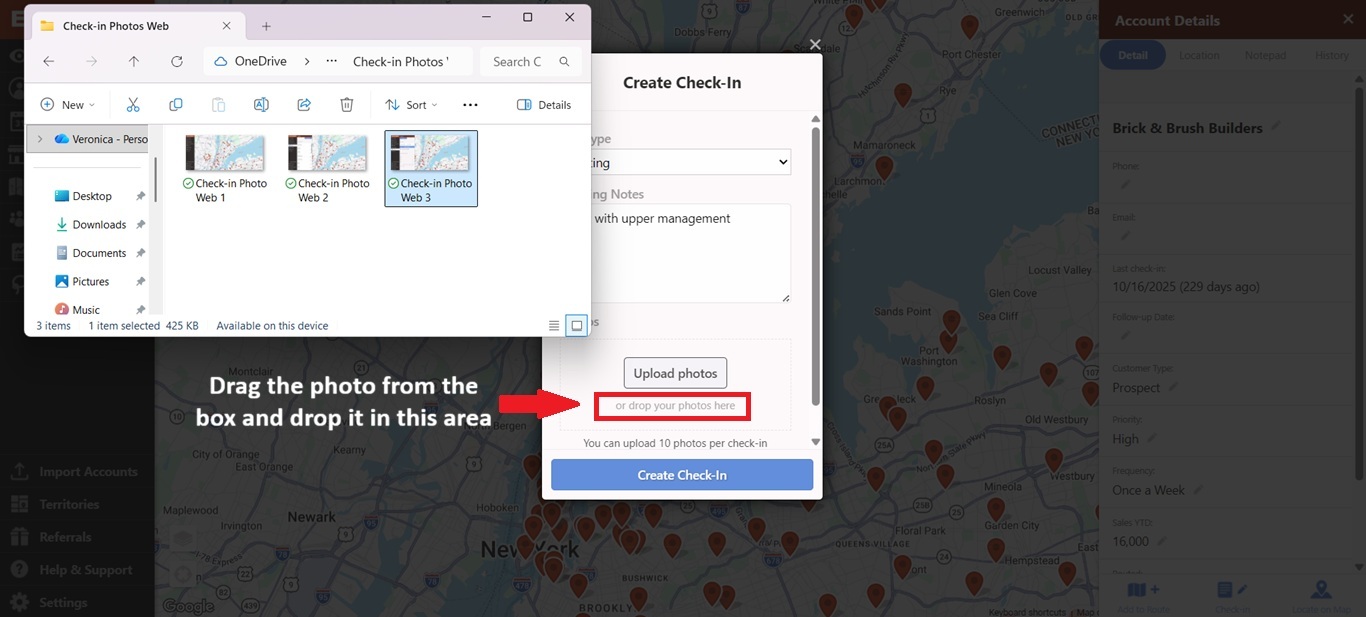
B. Drag and drop the pictures selected into the Photos box. This method allows you to add multiple photos at the same time.
Note: You can upload up to 10 photos per Check-in, but you have to add them one at a time.
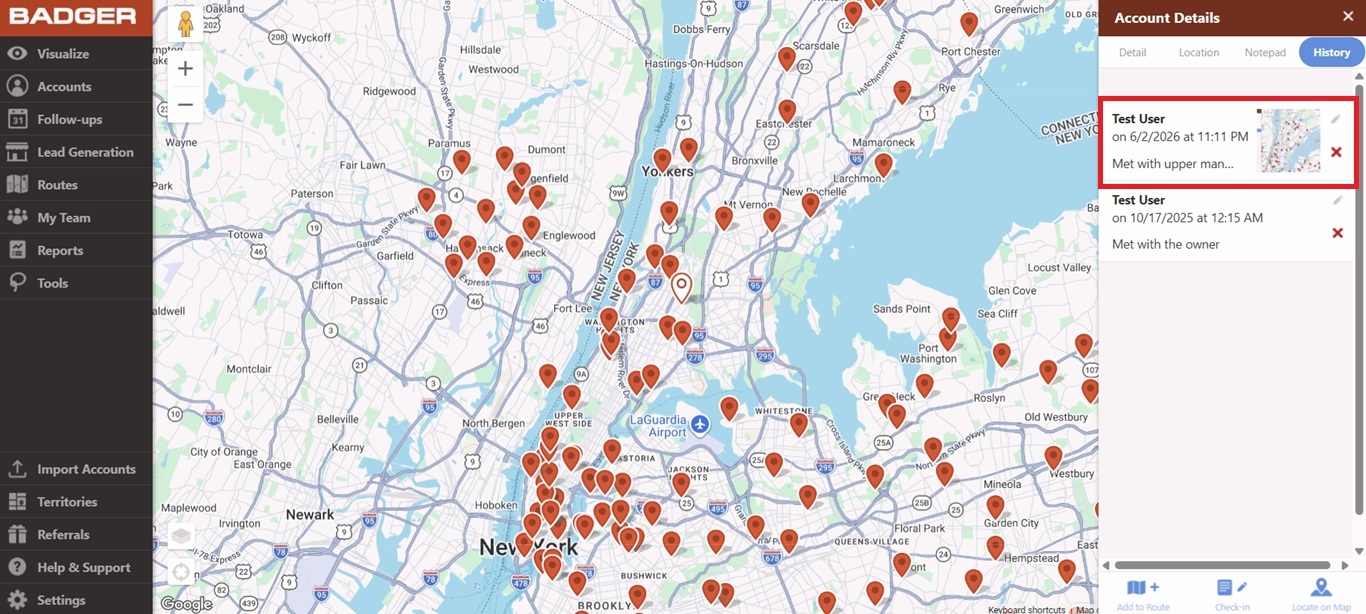
3. Then, click Create Check-In to save. You’ll now see your Check-in on the History tab, along with the photo/s you’ve uploaded.
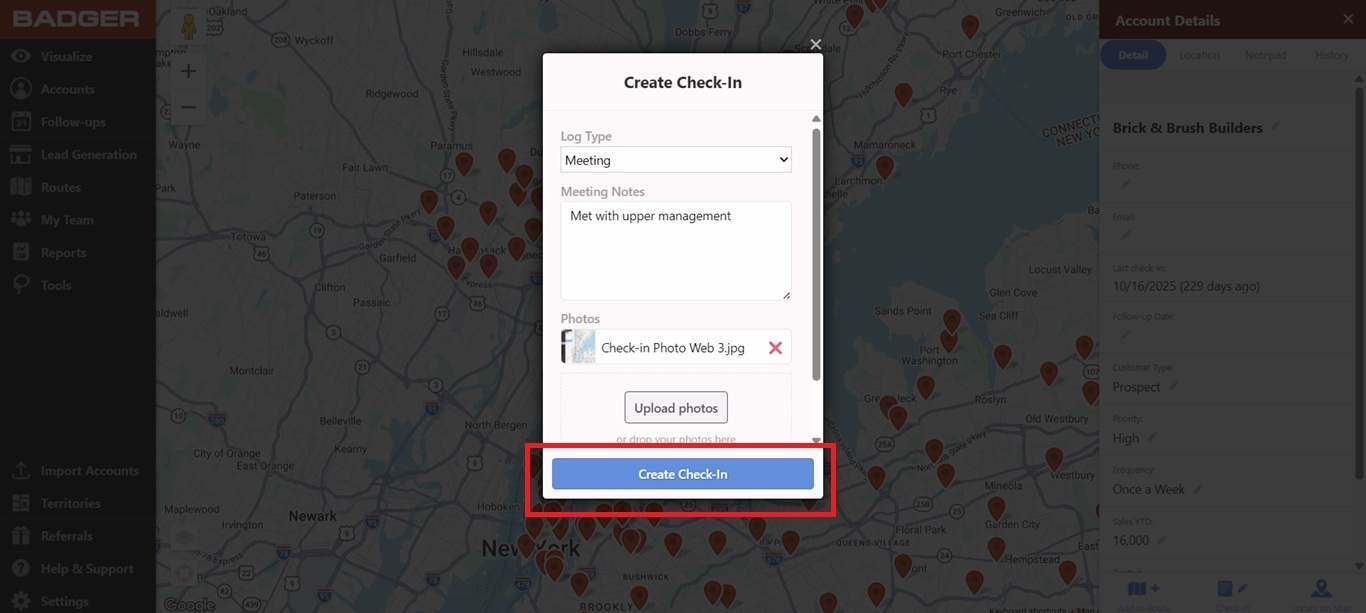
Note that you should only hit Create Check-In after you finished adding all the photos. After saving your Check-in, you will not be able to edit or delete the photos added.
That’s it! You can now make your sales process easier by adding photos to your Check-ins!
Check this link too if you wanted to learn how to export your check-in photos.
Looking for our logo?
Grab a Zip packed with our logo in PNG and EPS formats.