News: Now offering a 90-day money-back guarantee!
Learn more
News: Now offering a 90-day money-back guarantee!
Learn moreWhile we are still working on the functionality to colorize routes, you can definitely make use of our Visualize feature to easily identify which accounts belong to which route. Here are a few easy steps to do this:
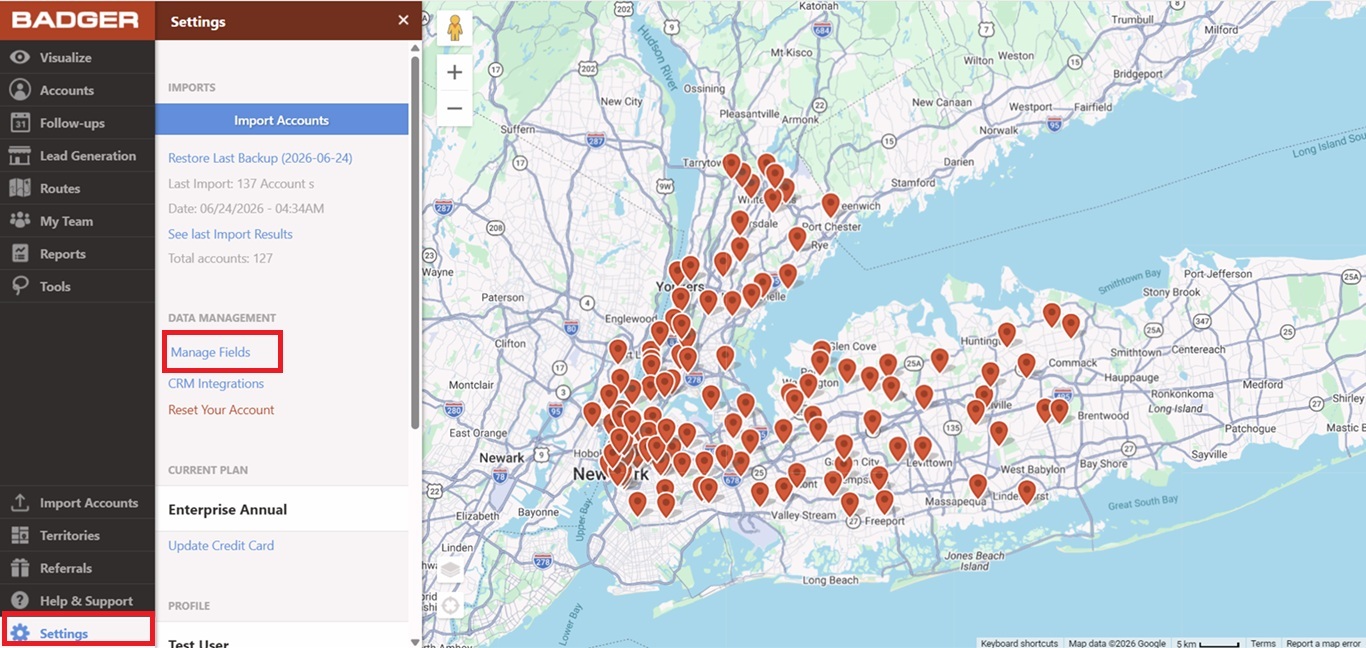
1. Log on to the Badger Maps web app. Add a new field by going to Settings, and clicking Manage Fields.
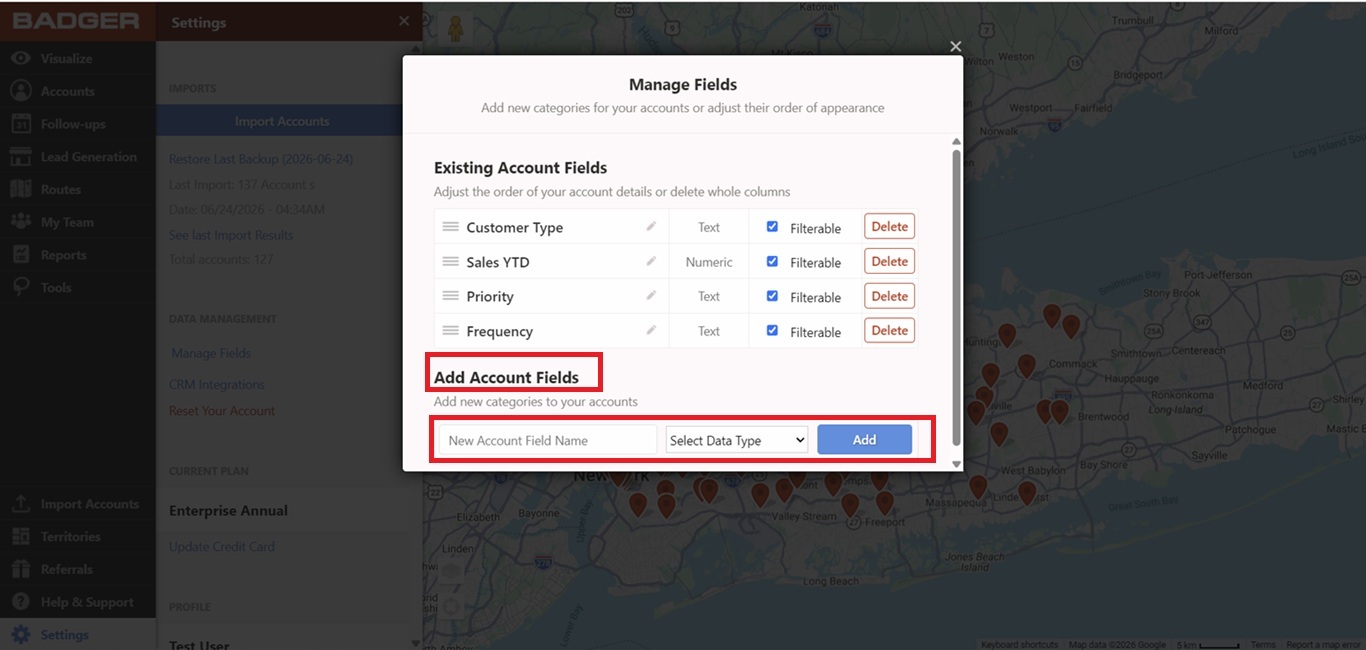
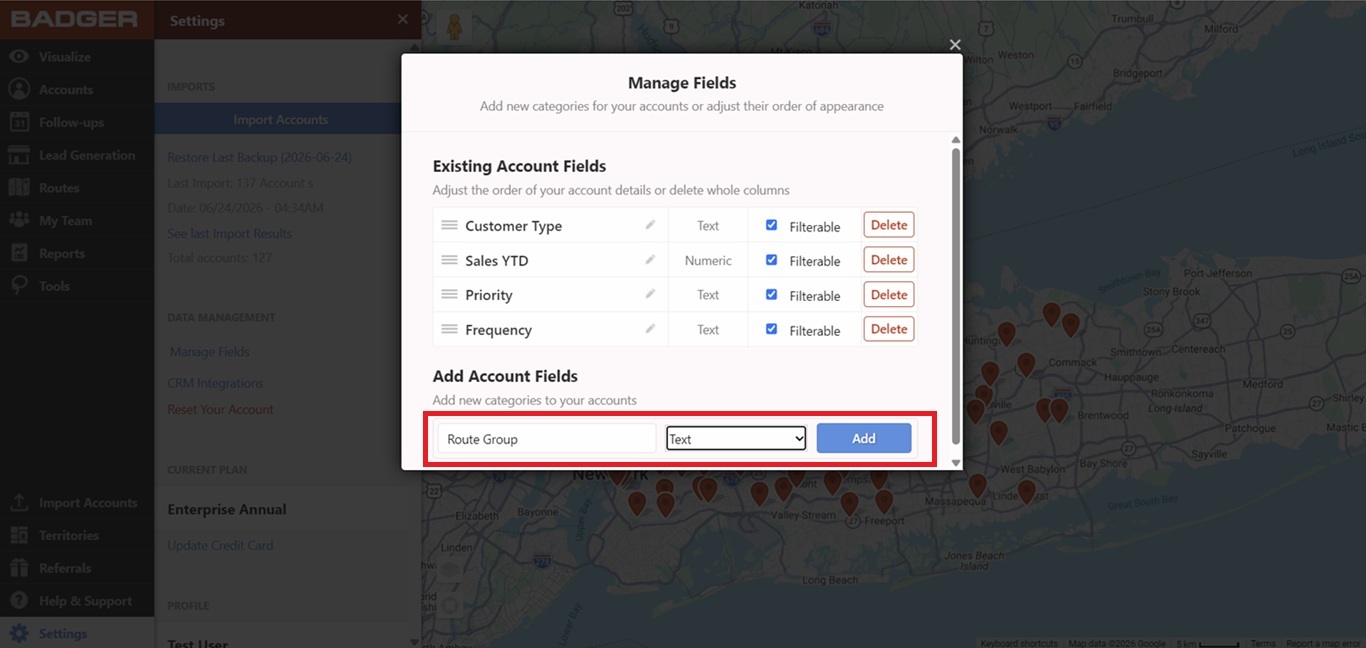
2. Look for Add Account Fields. Then type the field name (Route Group for example) on the New Account Field Name box, select Data Type, and click Add.
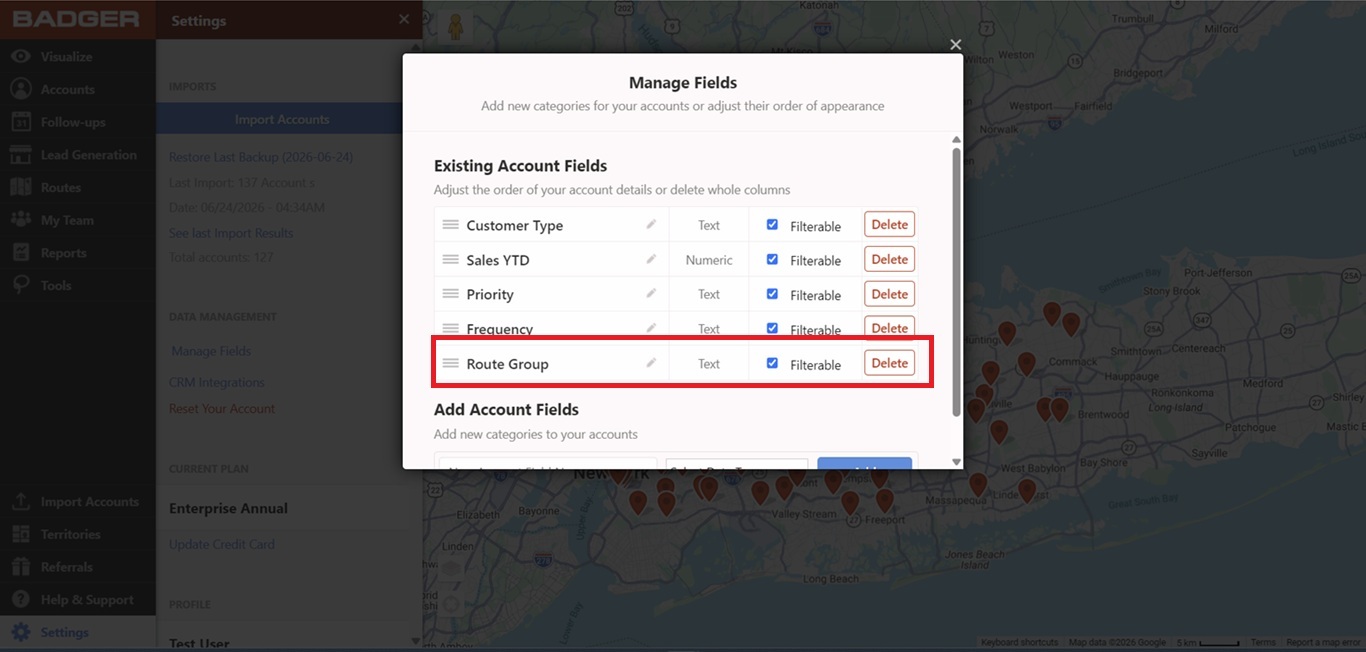
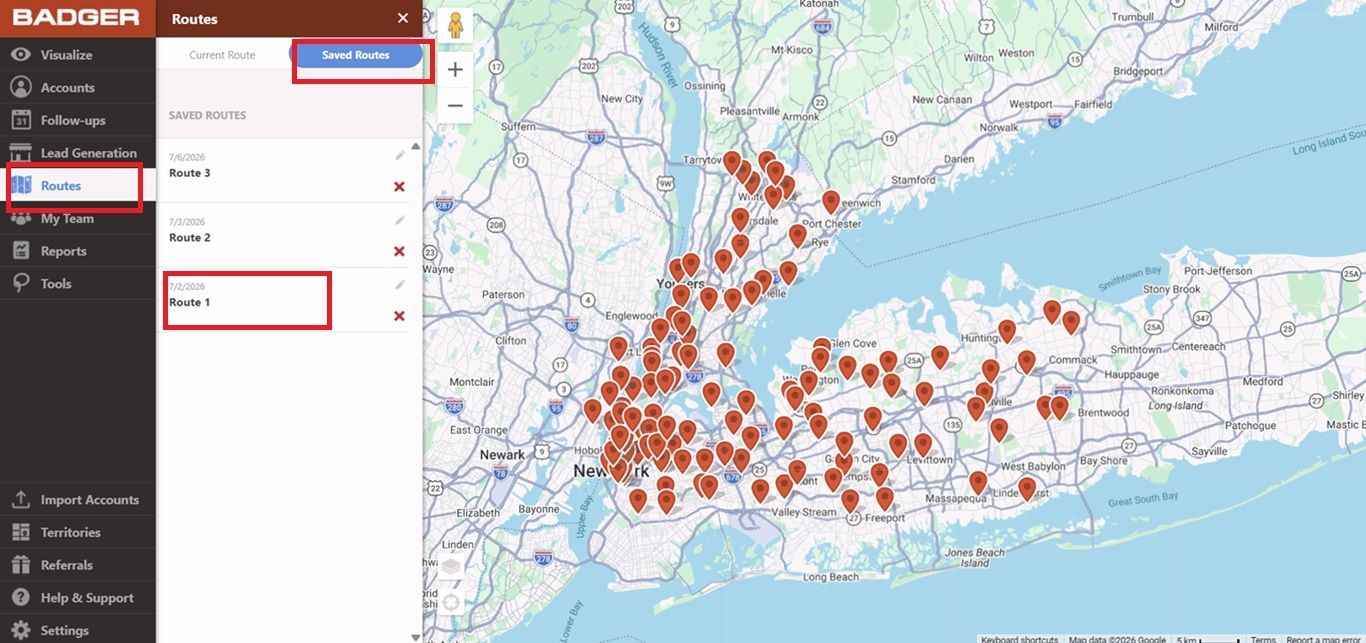
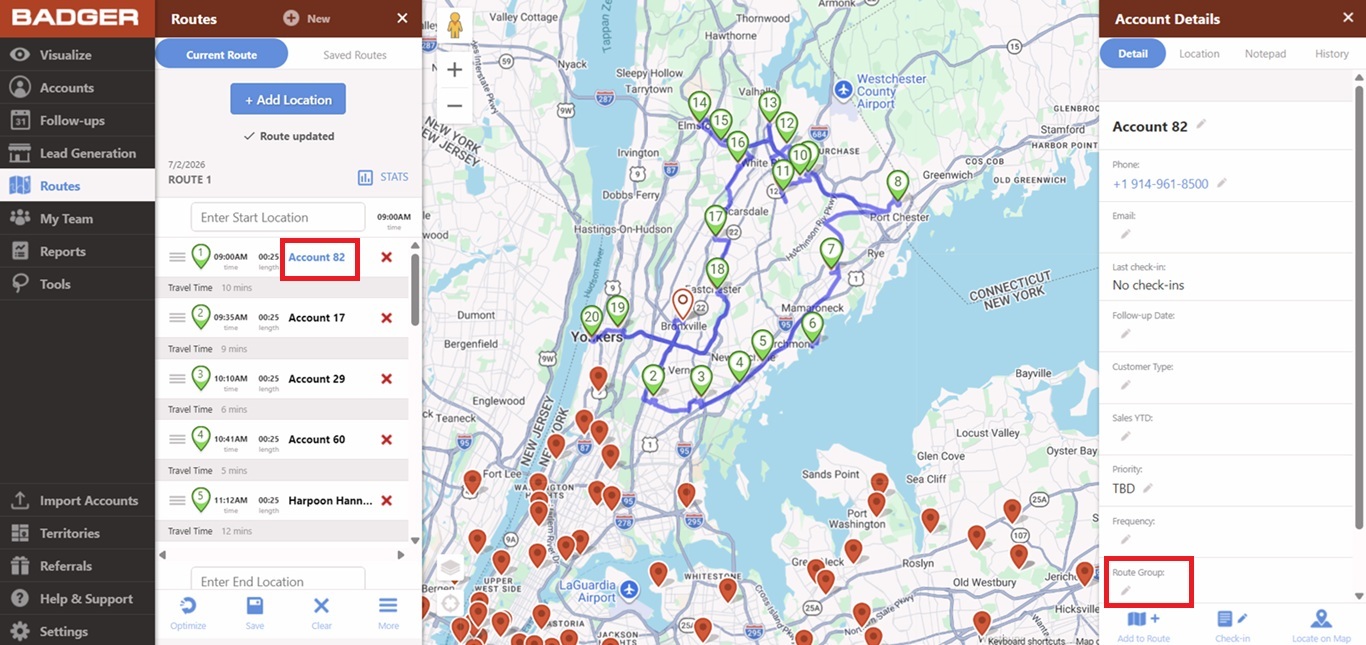
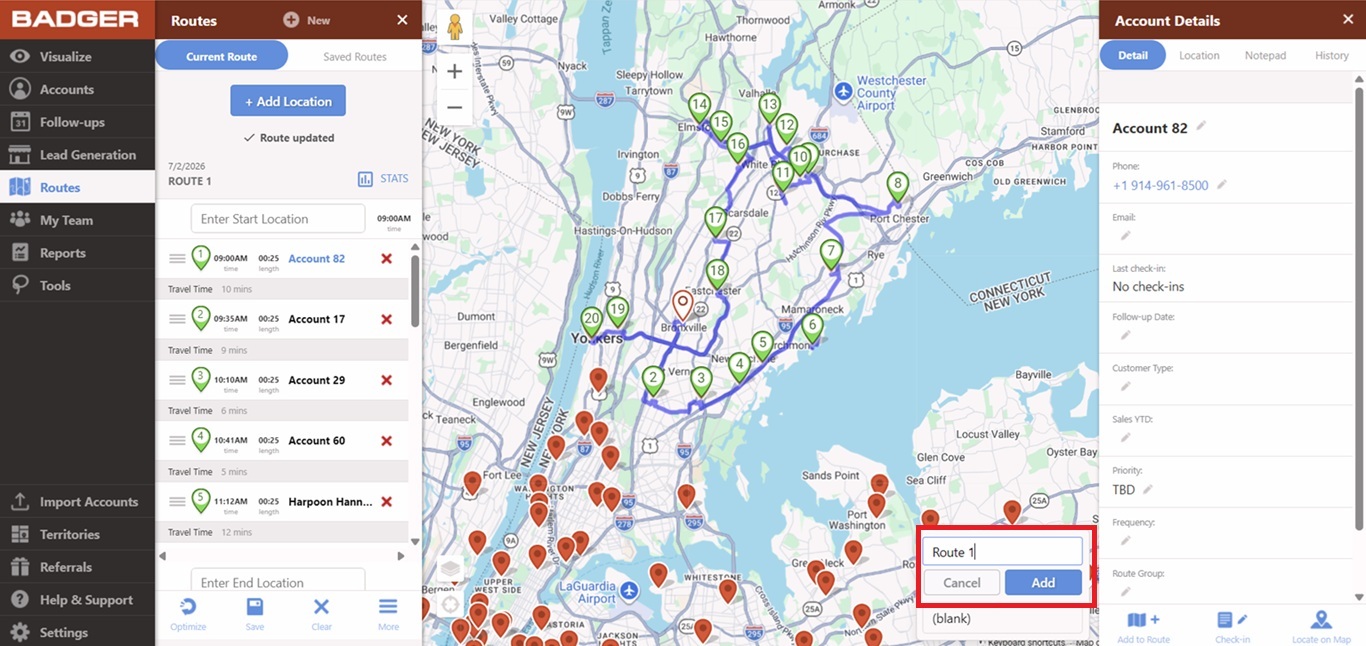
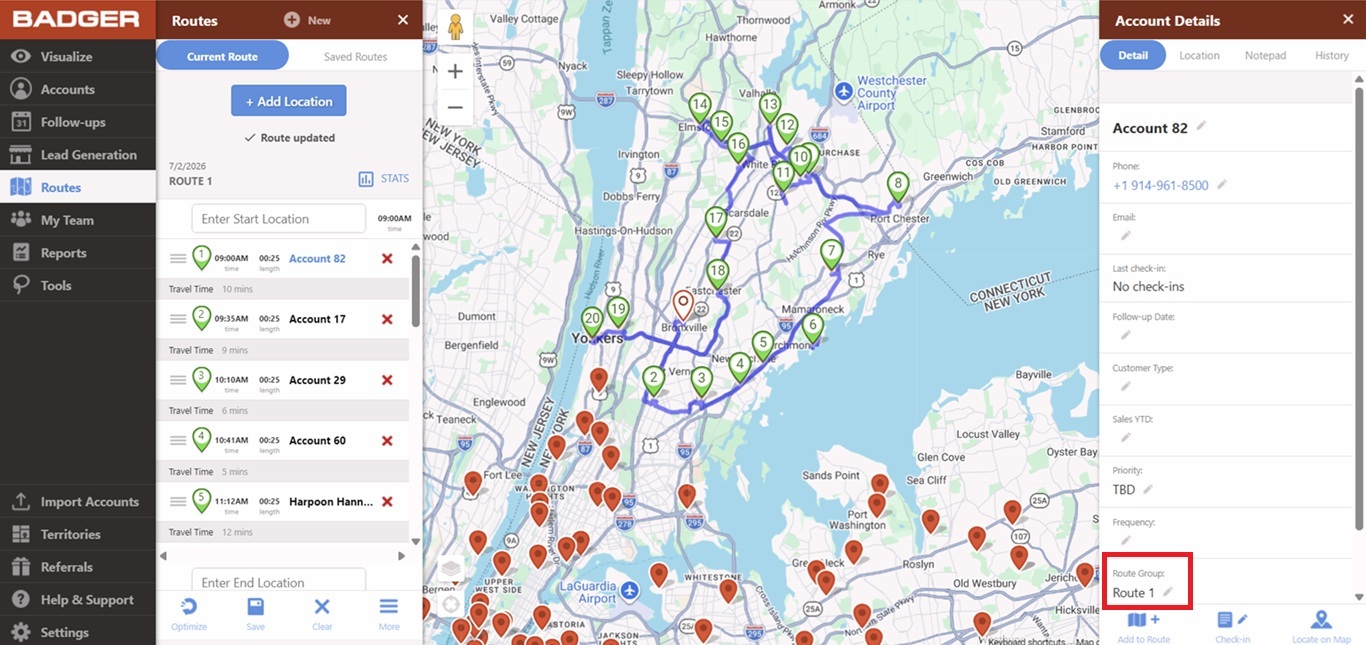
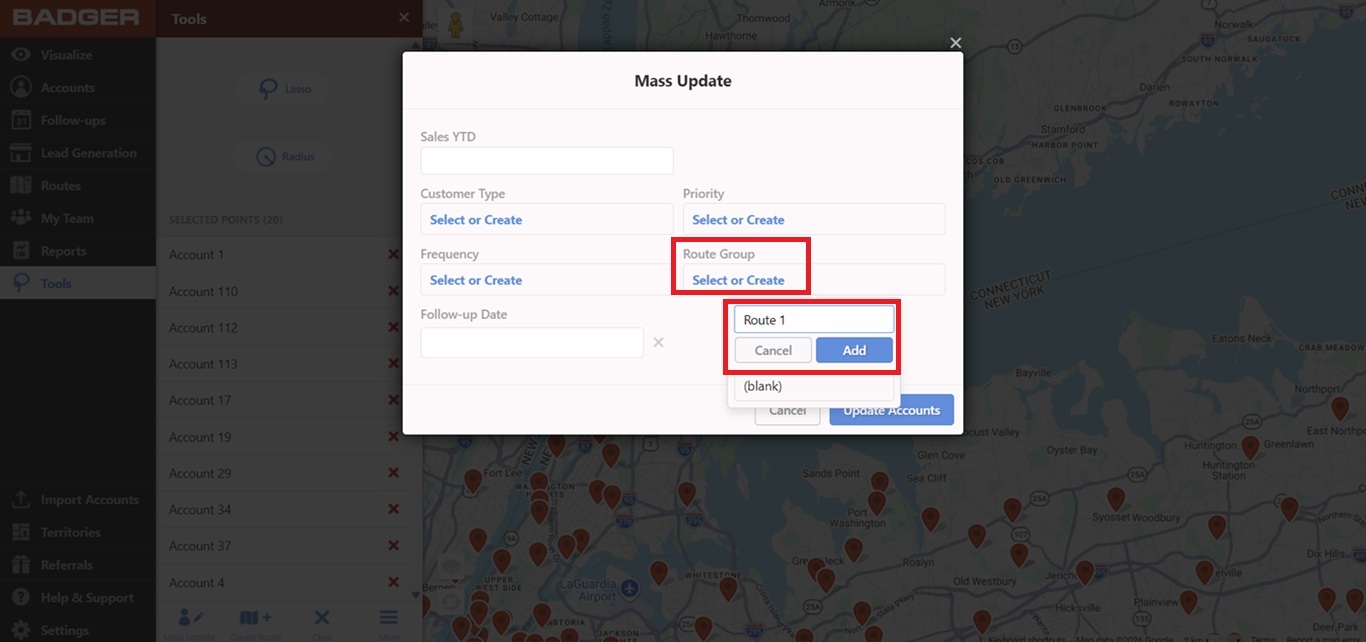
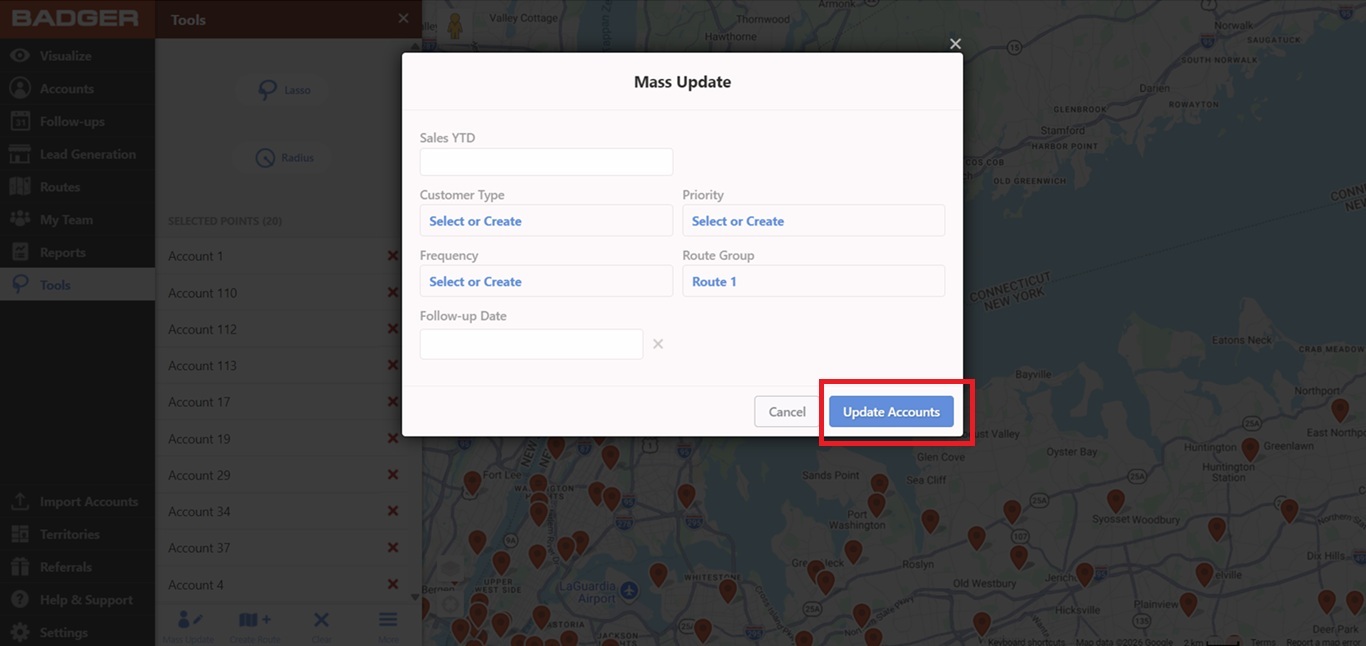
3. Once the field is created, load a saved route, and label the points under Route Group field according to the name of the route.
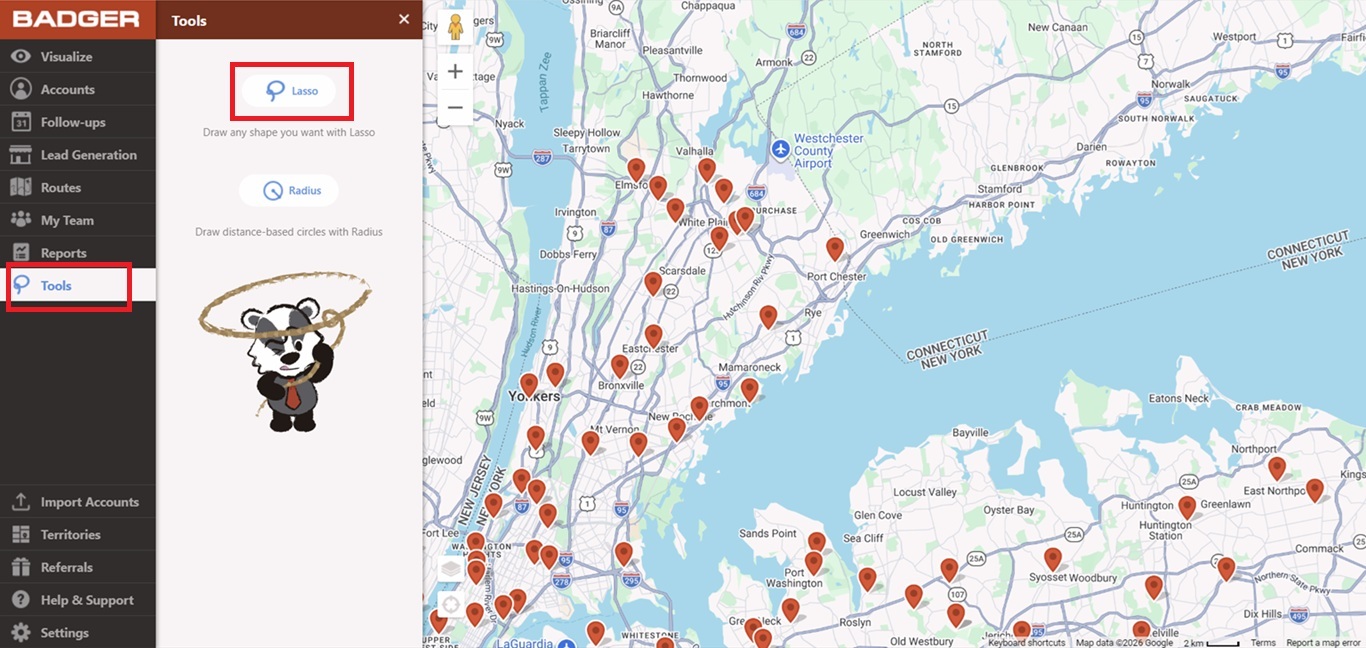
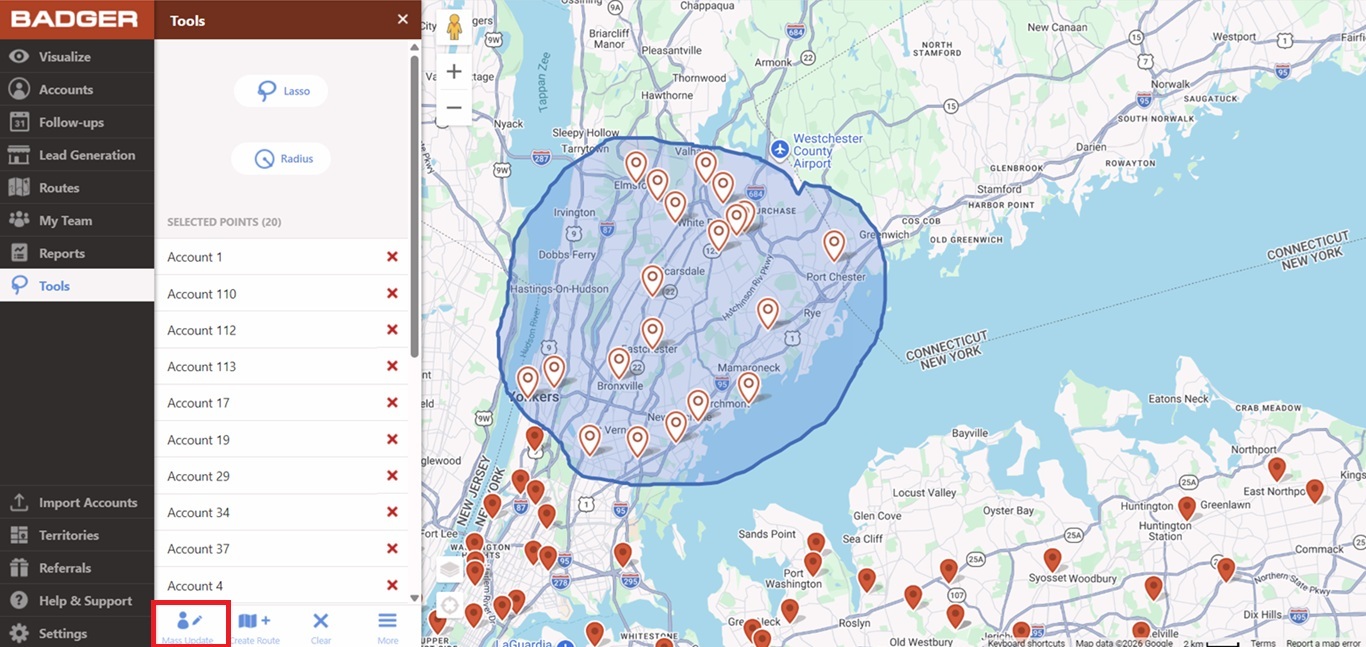
4. This can also be done even before the route was created. The Mass Update option under the Lasso tool is the easiest way to do this.
Note: This step only categorizes your accounts and does not necessarily create a route. Check this guide if you wanted to learn how to create a route using the Lasso tool.
5. After labelling the accounts accordingly, go to Visualize, hit Colorize, and look for Route Group to color code your accounts.

That's all! You just learned how to color code your routes. Click here if you wanted to find out how to remove routed accounts from the map. Happy routing!
Looking for our logo?
Grab a Zip packed with our logo in PNG and EPS formats.