News: Now offering a 90-day money-back guarantee!
Learn more
News: Now offering a 90-day money-back guarantee!
Learn moreOne of Badger’s main features are Check-ins. This feature is available on all devices, and it’s a great tool to keep track of your customer interactions. We’ve upgraded this fantastic feature recently; you can now add photos to your Check-ins from your Android device.
1. When you check in on an account, you will see the new Photos field at the bottom. After filling out the usual Check-in details, tap on Add Photos.

2. You will be prompted to choose between Camera - to take a new photo on the spot or Gallery - to choose from the existing photos on your device.

3. From your Gallery, select the photo you’d like to upload, and it will automatically be added to your Check-in. You can upload up to 10 photos, but you have to add one photo at a time. Hit Save once done.


4. After saving your Check-in, you’ll see it along with the photo you uploaded under the History tab.

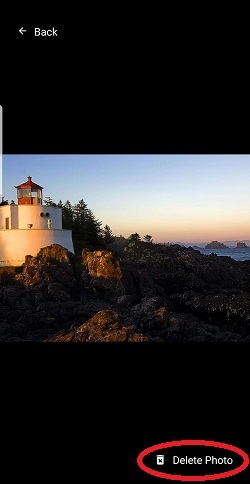
5. If you haven't saved your Check-in yet and accidentally added the wrong photo, you can easily delete it by tapping on the photo and hitting Delete Photo. Note that this won't work if the Check-in is already saved. You also won't be able to edit or add more photos on saved Check-ins.
That’s it! You can now make your sales process easier by adding photos to your Check-ins!
Click here if you want to learn how to export your check-in photos.
Looking for our logo?
Grab a Zip packed with our logo in PNG and EPS formats.