News: Now offering a 90-day money-back guarantee!
Learn more
News: Now offering a 90-day money-back guarantee!
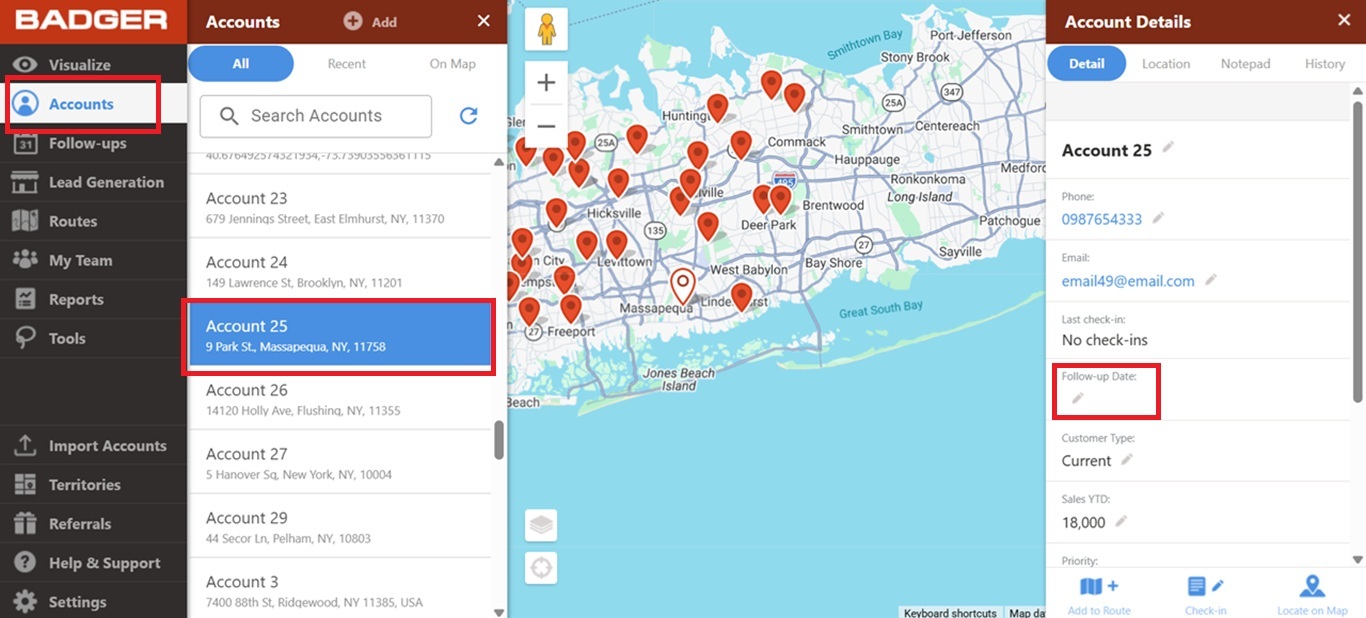
Learn moreWe have just recently released a new core or primary field called Follow-up Date. This feature allows you to add a date for your next visit. It also comes along with the "Days Until Follow-Up" filter which gets automatically updated under Visualize once you started adding Follow-Up Dates to your accounts. Here are some easy steps to follow on how this works.
1. Go to the Accounts menu of the web app. Click on any account to pull up the Account Details panel. You will find the Follow-up Date field below the Last check-in field.
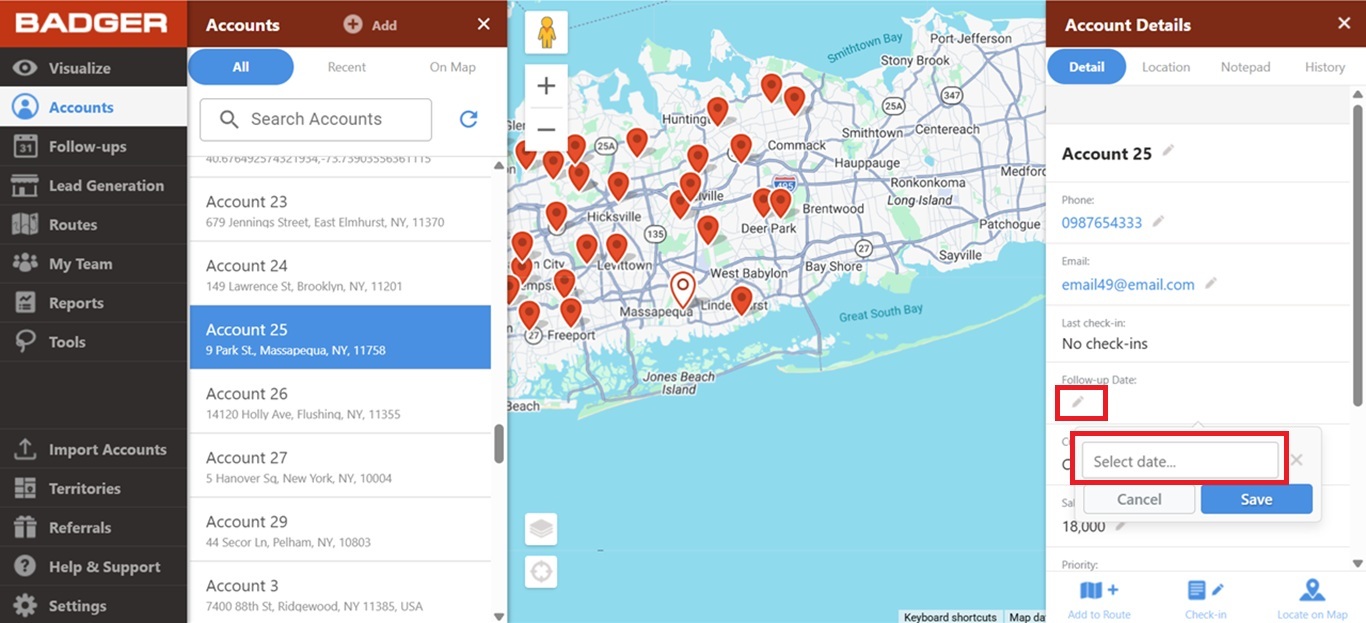
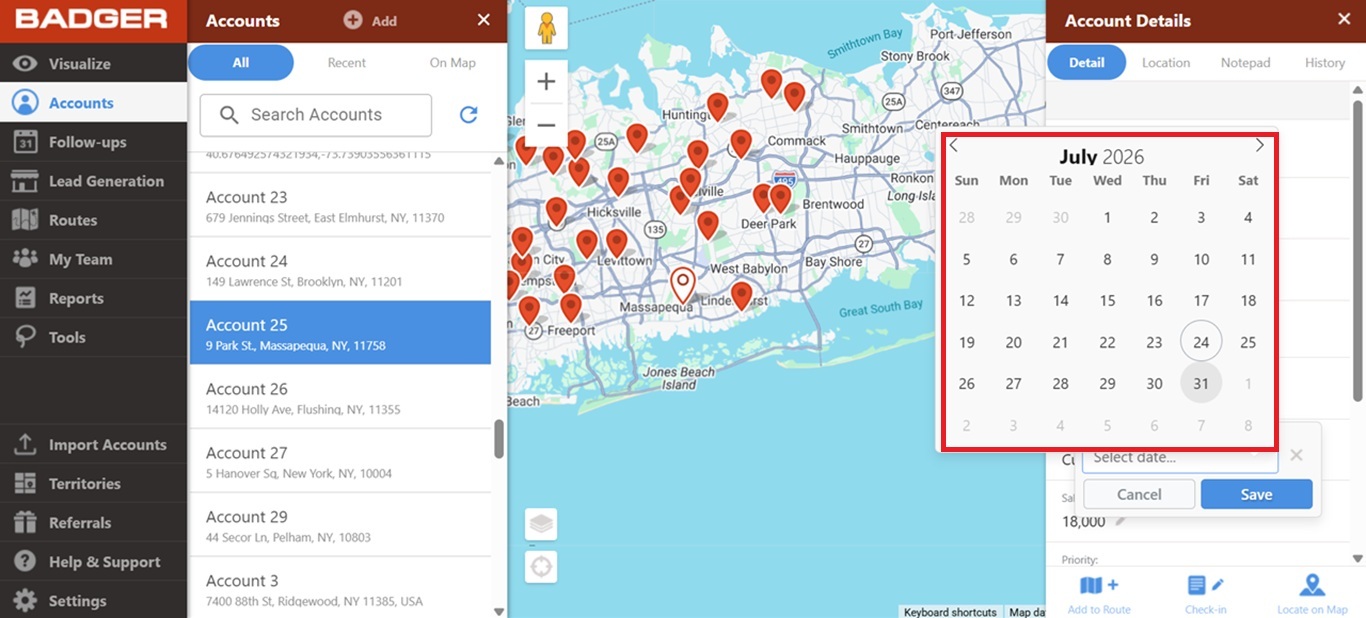
2. Click on the pencil icon in the Follow-up Date field, select your preferred date, then Save.
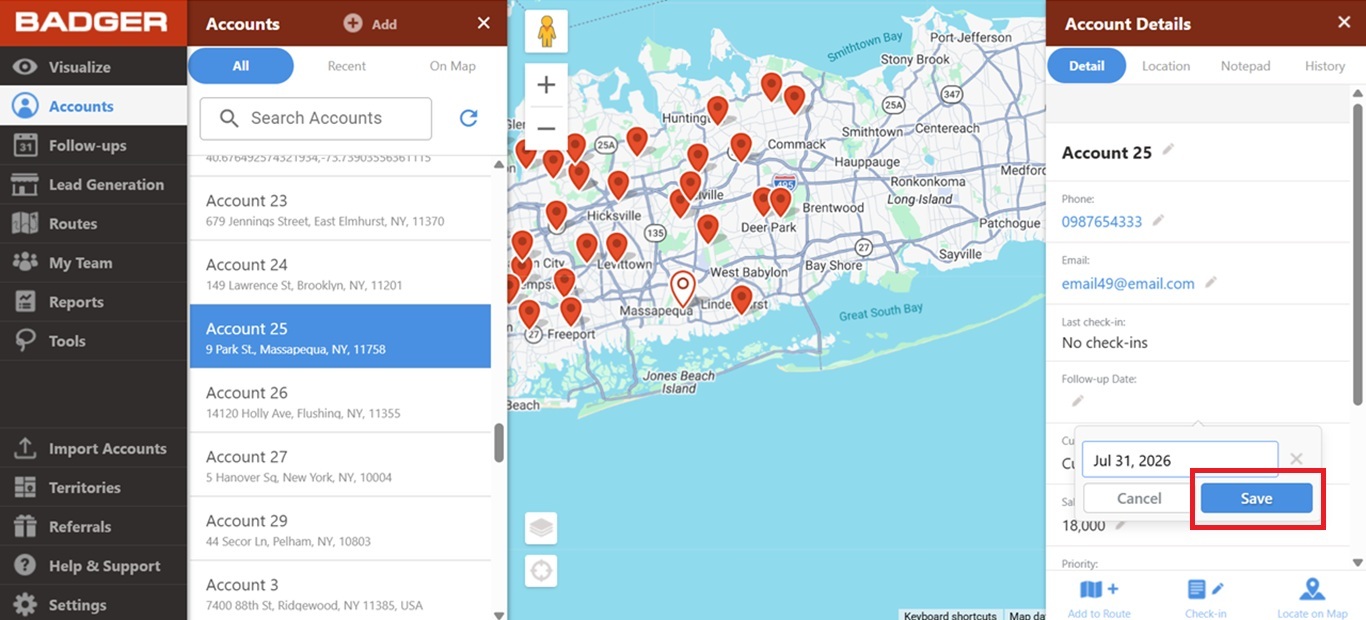
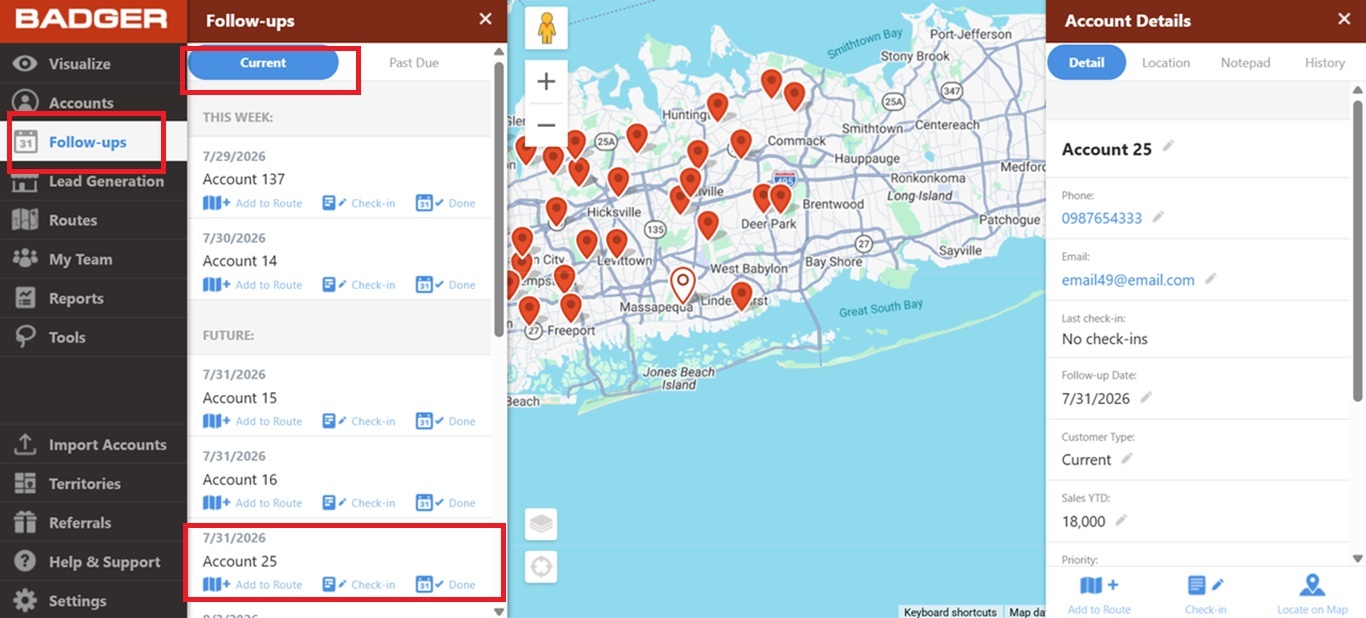
3. Once saved, it should look something like this.

4. To see your entry on the Follow-ups tab, go to Current, and scroll down until you find your recently saved Follow-up entry.
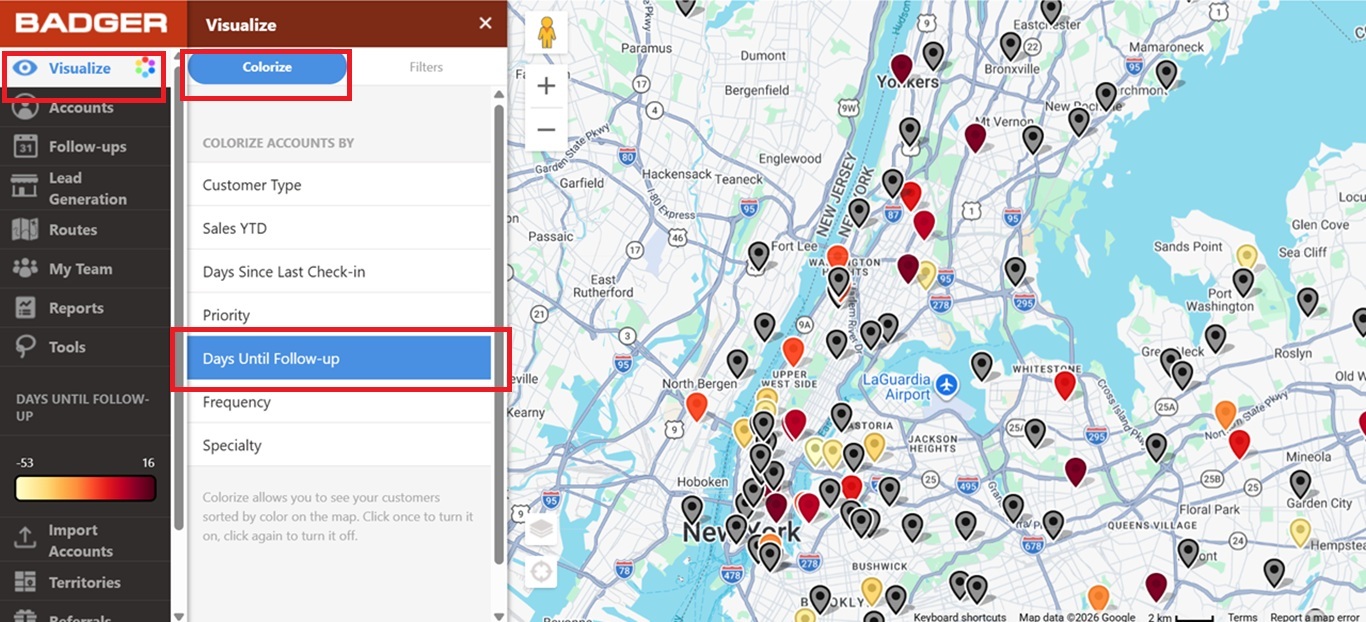
5. The Visualize tab also has a built-in Days Until Follow-up field. This appears on both Colorize and Filter, and it gets updated automatically as you continuously add follow-up dates. Check this if you'd like to find out more about how the Visualize tab works.
That's it! You just learned how to use this helpful feature. Go ahead and click here for more info about this amazing feature.
Looking for our logo?
Grab a Zip packed with our logo in PNG and EPS formats.